You’ve positioned the logo and applied some effects
to it. It’s time to add some animation! You’ll use a simple animation preset that will fade the words travel Europe
onto the screen next to the logo. You’ll need to work in the
destinations_logo composition so that you can apply the animation to
only the TRAVEL EUROPE text layer.
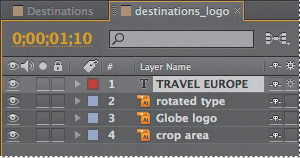
1. | Click the destinations_logo tab in the Timeline panel, and select the TRAVEL EUROPE layer.
|
2. | Move the current-time indicator to 1:10, which is the point at which you want the text to start fading in.
|
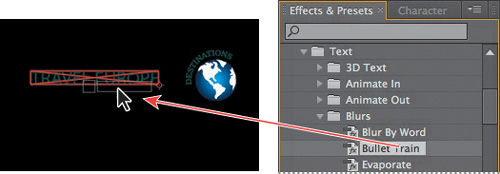
3. | In the Effects & Presets panel, choose Animation Presets > Text > Blurs.
|
4. | Drag the Bullet Train animation preset onto the TRAVEL EUROPE layer in the Timeline panel or over the words travel Europe
in the Composition panel. Don’t worry about the text
disappearing—you’re looking at the first frame of the animation, which
happens to be blank.
 |
5. | Click
a blank area of the Timeline panel to deselect the TRAVEL EUROPE layer,
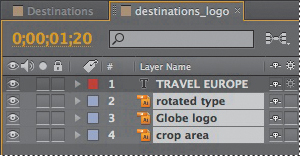
and then drag the current-time indicator to 2:00 to manually preview
the text animation. The text appears, letter by letter, until the words travel Europe are fully onscreen at 2:00.

|
Precomposing layers for a new animation
The travel show ID is coming
along nicely, and you’re probably eager to preview the complete
animation. Before you do, however, you’ll add a dissolve to all of the
logo elements except the words travel Europe.
To do this, you need to precompose the other three layers of the
destinations_logo composition: rotated type, Globe logo, and crop area.
Precomposing
is a way to nest layers within a composition. Precomposing moves the
layers to a new composition. This new composition takes the place of the
selected layers. When you want to change the order in which layer
components are rendered, precomposing is a quick way to create
intermediate levels of nesting in an existing hierarchy.
1. | Shift-click to select the rotated type, Globe logo, and crop area layers in the destinations_logo Timeline panel.
|
2. | Choose Layer > Pre-compose.
|
3. | In the Pre-compose dialog box, name the new composition Dissolve_logo. Make sure the Move All Attributes Into The New Composition option is selected by default. Then click OK.
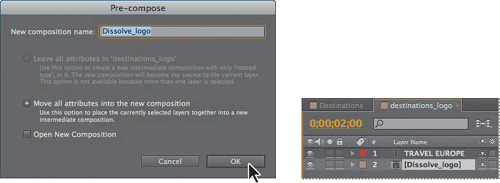 |
The three layers are
replaced in the destinations_logo Timeline panel with a single layer,
Dissolve_logo. This new, precomposed layer contains the three layers
that you selected in step 1. You can apply the dissolve effect to it
without affecting the TRAVEL EUROPE text layer and its Bullet Train
animation.
4. | Make
sure the Dissolve_logo layer is selected in the Timeline panel, and
press the Home key or drag the current-time indicator to go to 0:00.
Tip
To locate the Dissolve – Vapor preset quickly, type vap in the search box in the Effects & Presets panel.
|
5. | In
the Effects & Presets panel, choose Animation Presets >
Transitions – Dissolves, and then drag the Dissolve – Vapor animation
preset onto the Dissolve_logo layer in the Timeline panel or onto the
Composition panel.
|
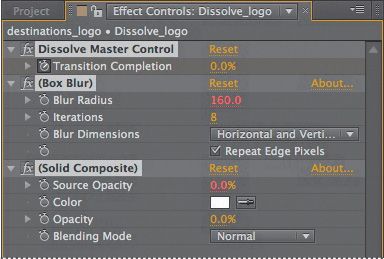
The Dissolve – Vapor
animation preset includes three components—a master dissolve, a box
blur, and a solid composite, all of which appear in the Effect Controls
panel. The default settings are fine for this project.