There are several ways to
select objects in InDesign. The Selection tool selects entire objects,
while the Direct Selection tool selects a point on an object or images
inside objects. With the Selection tool, you can select an object’s
stroke or fill. When you point to an object, InDesign displays the frame
edge (or dashed line for a group) in the object’s layer color to make
it easier to find before you select it (New!),
which is useful in Preview mode or with hidden frame edges. After you
select one or more objects, you can add or subtract objects to/from the
selection. In addition, you can use the Selection tool and drag a
marquee to select parts of the object or drag over a portion of it to
create a selection rectangle. When you work with graphics, you can
double-click the content or graphic frame to select the other (New!) (it no longer switches to the Direct Selection tool) or use the content grabber (New!)
to position the content frame (which replaces the Position tool). If
you don’t want the content grabber to appear, you can hide it.
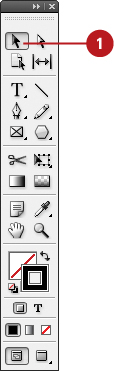
Select an Object with the Selection Tool
 Click the Selection tool on the Tools panel. Click the Selection tool on the Tools panel.
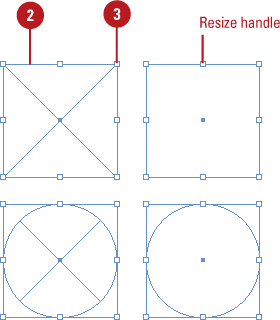
The pointer becomes a black arrow. When you point to a selectable object, a black dot appears on the bottom right.
 Position the arrow on the edge or fill (if present) of the object and then click to select it. Position the arrow on the edge or fill (if present) of the object and then click to select it.
- You can also drag a marquee across all or part of the object to select the entire object.
Square resize handles appear on each corner and midpoint line of the object.
 To add or subtract objects from the selection, hold down the Shift key,
and then click unselected objects to add or click selected objects to
subtract them from the selection.
To add or subtract objects from the selection, hold down the Shift key,
and then click unselected objects to add or click selected objects to
subtract them from the selection.
Timesaver
Click the Edit menu, and then click Select All or press Ctrl+A (Win) or  (Mac) to select everything on the page. (Mac) to select everything on the page.
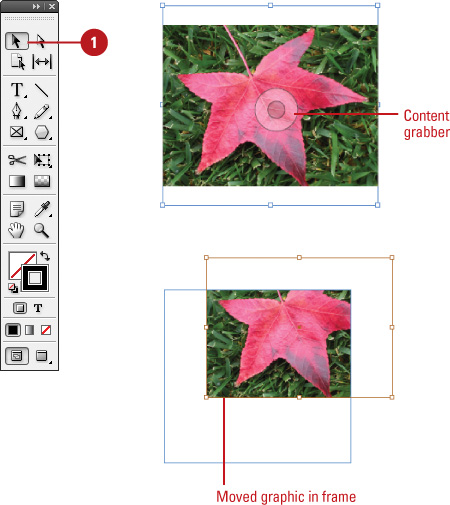
Select a Graphic with the Selection Tool
- Click the Selection tool on the Tools panel.
The pointer becomes a black arrow. When you point to a selectable
graphic, a black dot appears on the bottom right, and a circle appears,
known as the content grabber. For a group, the content grabber appears
over each frame within it.
- To show or hide the content grabber, click the View menu, point to Extras, and then click Show Content Grabber or Hide Content Grabber.
- Use any of the following methods:
- Highlight Frame Edge. Point to an object’s edge to display it with the color of the object’s layer (or a dashed line for a group).
- Select and Move the Graphic within the Frame. Point to the graphic inside the frame, point to the content grabber (a circle), and then drag the graphic with the Hand cursor.
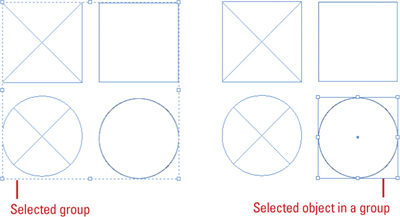
- Select the Frame or Graphic.
Double-click the frame or graphic to select the other. For a group,
double-clicking an item selects it. Double-clicking the item again,
re-selects the group.
Did You Know?
You can delete an object. Select the object that you want to delete, and then press Delete, or click the Edit menu, and then click Clear.
|