Scenario/Problem: You want to create a content type and define what columns are included in the content type.
Solution: A content type is a collection of site columns and additional settings
that can be created for a site. To create a new content type in a site,
open the Site Settings page, and click Content Types in the Galleries section of the page.
This selection opens a page where you can create or modify content
types (see Figure 1).
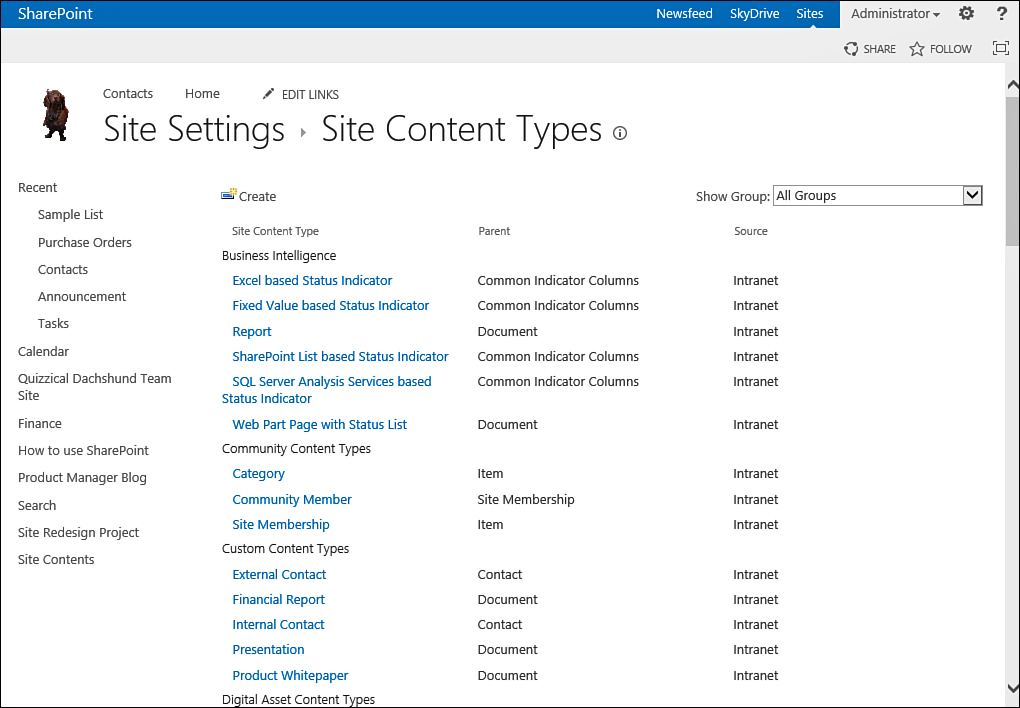
FIGURE 1 The Site Content Types gallery page.
Click the Create button on the toolbar to create a new content type. The page shown in Figure 2
opens. The first setting you need to set for a content type is the name
for the content type, followed by its description. The name and
description appear in the New drop-down in the document library or site
when the user opens it to select a content type.
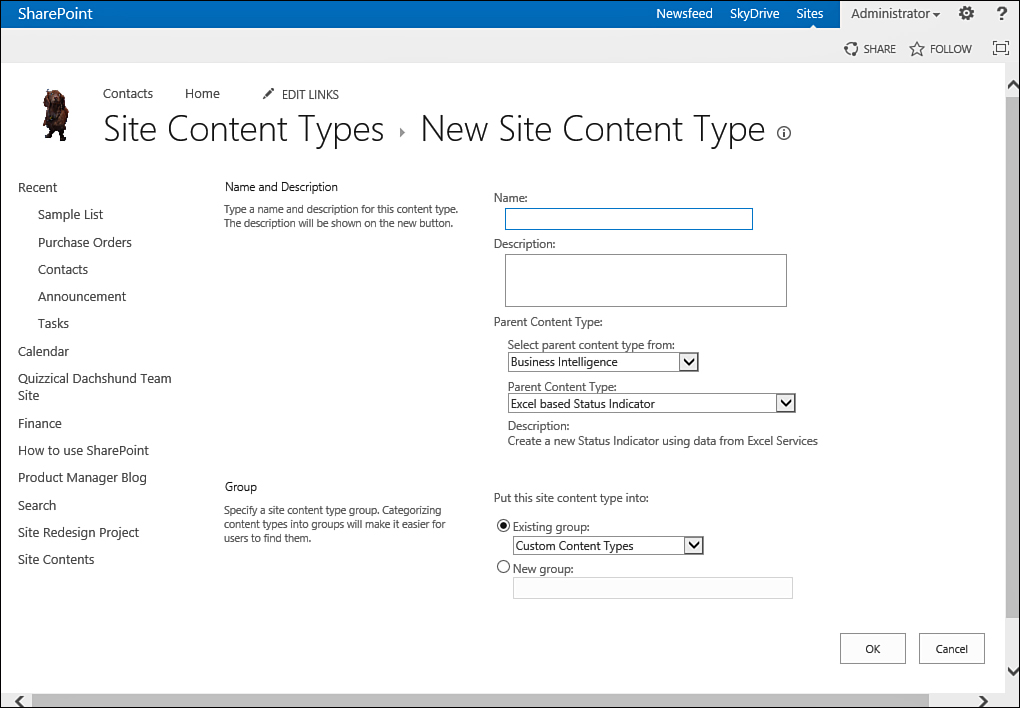
FIGURE 2 Creating a new content type.
Tip
Naming a content type in singular form (for
example, Corporate Financial Report, Board Meeting Presentation) is
recommended. This name appears under the New button for document
libraries and lists when you are creating a new item and signifies to
the user that clicking the option will create a single document.
Next, select the parent content type. This
step is important because most of the time, you do not want to start
the content type from scratch but instead want to rely on an existing
content type. Selecting the parent content type is also important
because changing it can (but does not necessarily) affect the child
content type. For example, suppose you want to create a content type
named External Contact that has exactly the same settings as the
built-in Contact content type, but with additional columns to capture
the contact’s company address and company description (see Figure 3).
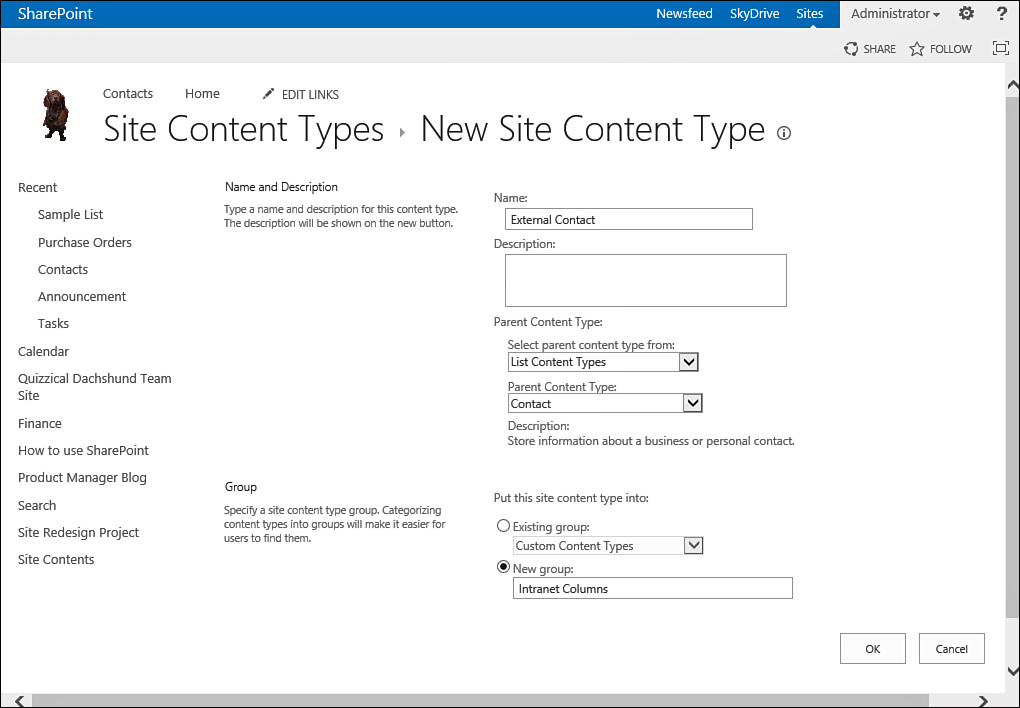
FIGURE 3. Creating a new content type named External Contact that inherits from the Contact content type.
If you specify that the new content type is
the child of the existing Contact content type, you must specify only
the columns you want to add on top of the default Contact columns.
Also, if in the future you decide that all contacts should have an
additional column—for example, Birthday—adding it to the parent content
type Contact can also add it automatically to the child External
Contact.
After you select the content type main
settings, click OK to create the content type. This selection opens the
page where you can define the additional settings for the content type.
For example, you can add, edit, or remove columns; set workflow
settings; and perform other advanced settings (see Figure 4).

FIGURE 4 The settings page for a content type.