Arranging Document Windows
When you open more than one document in InDesign, the default behavior is to display them as tabs in a single document window (see Figure 1). You must click a document tab to bring it to the front of the tabbed group.
Figure 1. Multiple documents tabbed in a single window.

You can reposition the order of documents in the window by clicking and dragging the tabs, or you can drag a tab out of the well and view a document in its own floating window. To tab a floating document, drag its title bar over the tab well until you see a blue horizontal line appear, then release the mouse button.
InDesign also contains Arrange commands that enable you to control how your document windows are displayed.
- To display the forefront tabbed document in a floating window, choose Window, Arrange, Float in Window.
- To display all tabbed documents into floating windows, choose Window, Arrange, Float All in Windows.
- To tab all open document windows, choose Window, Arrange, Consolidate All Windows.
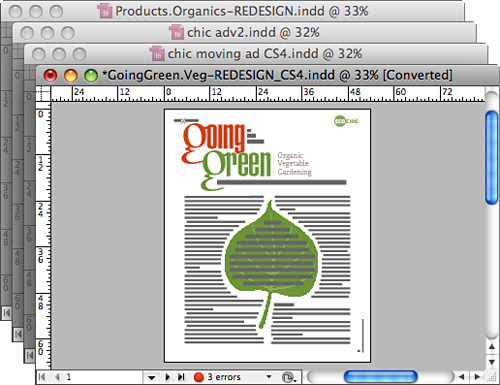
You can display floating windows side-by-side onscreen by choosing Window, Arrange, Tile (see Figure 2). To display floating document windows in front of each other with each document’s title bar visible, choose Window, Arrange, Cascade (see Figure 3).
Figure 2. Multiple documents tiled.
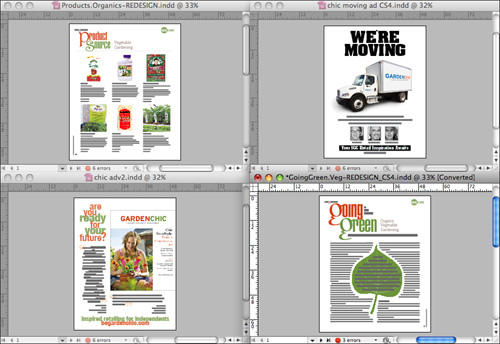
Figure 3. Multiple documents cascading.
If you’d like to view documents as floating windows rather than tabs when you open them, choose InDesign, Preferences, Interface (Mac) or Edit, Preferences, Interface (Win) and disable the Open Documents as Tabs preference.
Changing Screen Modes
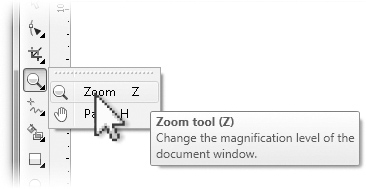
InDesign also features several screen modes in which you can view your layout documents. You can access these screen modes from a drop-down list by clicking the Screen Mode button in the Application Bar or at the bottom of the Tools panel.
-
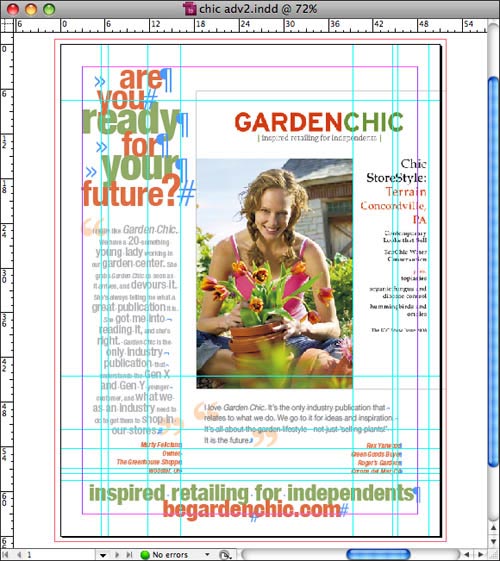
Normal mode is the default, which allows you to see all your guides, frame edges, and any items positioned off the Pasteboard (see Figure 4)
Figure 4. A layout displayed in Normal mode.

-
Preview mode hides all guides and frame edges and fills the entire area surrounding the Pasteboard with gray (see Figure 5)
Figure 5. The same layout displayed in Preview mode.

-
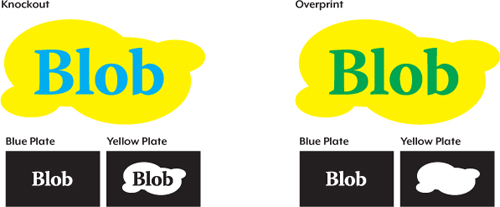
Bleed mode also hides all guides and frame edges, but reveals any areas where color prints (or “bleeds) to the edge of the page, while filling the rest of the area surrounding the Pasteboard with gray.
-
Slug mode previews your document in the same way as Bleed mode, but also allows you to view any additional “slug” areas where you can insert printing instructions or comments.
-
Presentation mode displays the active document in full-screen mode with all application menus, panels, guides, and frame edges hidden. By default, the area surrounding the Pasteboard is filled with gray. Press B to change the surrounding color to black; press W to change it to white. Note that unlike the other screen modes, you cannot edit the document in Presentation mode. Use the arrow keys or the spacebar to move forward or backward though the document. Press Esc to exit presentation mode.
Press W to toggle between Normal screen mode and the last screen mode that you used (except Presentation mode). Press Shift+W to toggle between Normal and Presentation modes.