Transitions between states can be animated.
Catalyst includes a set of pre-built animation effects that can be used
in transitions. After you add an interaction to trigger a state change,
the effected states appear on the Timelines panel. You can increase or
decrease the time each transition takes and choose the effect to be
played.
1. Changing the timing of effects
By default, most effects trigger instantly, which
generally prevents users from seeing animation. Using the Timeline
panel, you can adjust this timing to create smoother effects.
NOTE
Consider what types of animation effects you want
to apply to components when you set up your view states. If you want to
have components animate in or out of a state, you need to be sure to
merely hide that component's layer, rather than deleting the component
altogether.
If necessary, expand the Timeline panel by double-clicking its tab. The Timelines panel is at the bottom of the screen, as shown in Figure 1. If you are still editing a component, you will want to click the name of the application in the navigation bar.
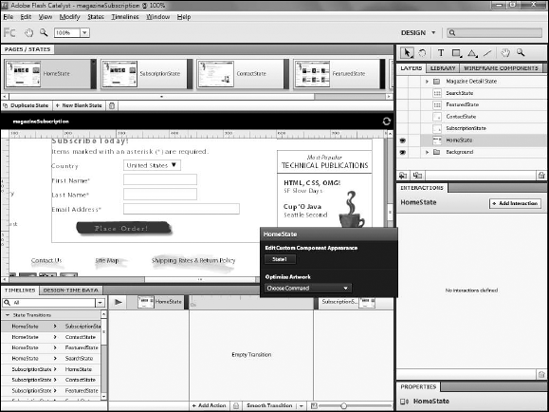
On the Pages/States panel, click SubscriptionState.
On
the Layers panel, click the eyeball icon to show the HomeState's
assets, and the eyeball to hide the SubscriptionState's assets. You want each to slide in on the transition, so you need to show the HomeState's assets to move them off the artboard.
Double-click the Hand tool to zoom out to see the entire application (see Figure 2).
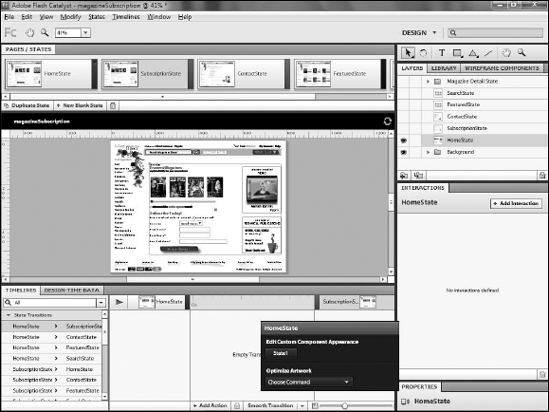
Click the Select tool.
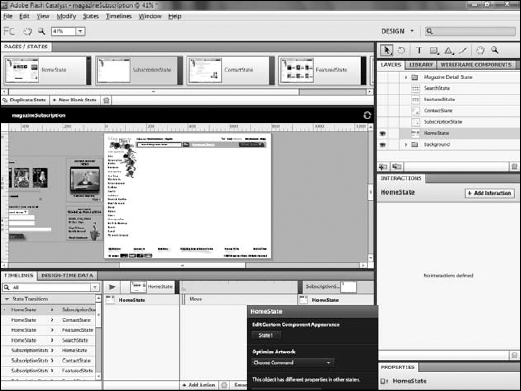
While pressing and holding the Shift key, drag the HomeState's
component so that it is completely off the left edge of the artboard
(see Figure 3)
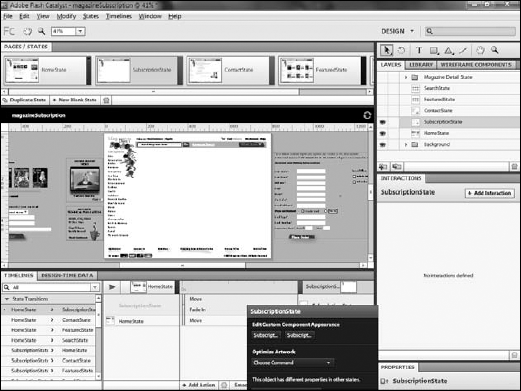
On the Library panel, click the eyeball icon to show the SubscriptionState's assets.
While pressing and holding the Shift key, drag the SubscriptionState's assets off the right edge of the artboard (see Figure 4).
On the right side of the Timeline panel, choose the first transition, HomeState => Subscription State. The timeline updates to show the HomeState on the left, and the SubscriptionState on the right (see Figure 5).
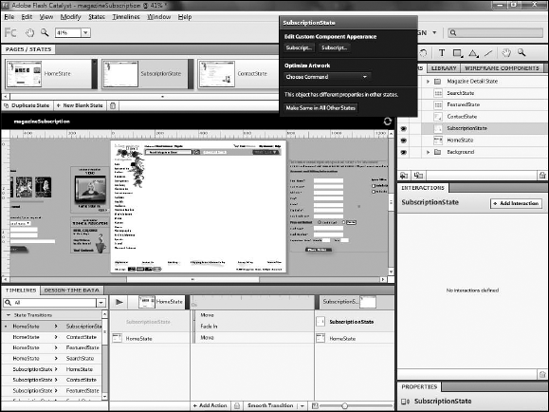
Mouse over the bar representing the HomeState. A small half-circle appears at the edge of the bar.
Drag this half-circle to the right to expand the time over which the component appears (see Figure 6).
NOTE
The timeline is measured in fractions of seconds.
A slider along the bottom of the panel allows you to zoom in or out on
the timeline.
Repeat Step 3 for the SubscriptionState's Move action.
Set it to the same amount of time as the other state.
Set the Fade In action to the same timing (see Figure 7).
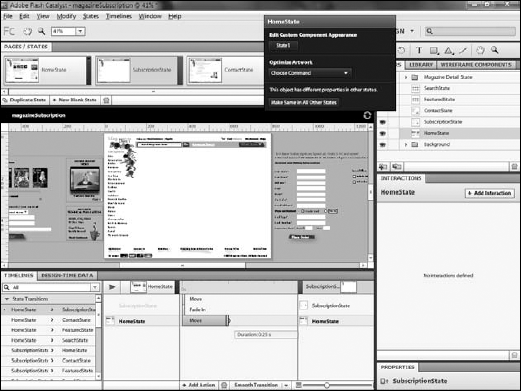
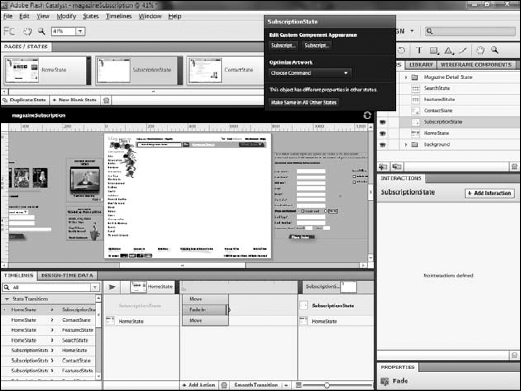
Drag both the FadeIn and Move effects for the Subscription state so that they begin when the HomeState's transition ends (see Figure 8).
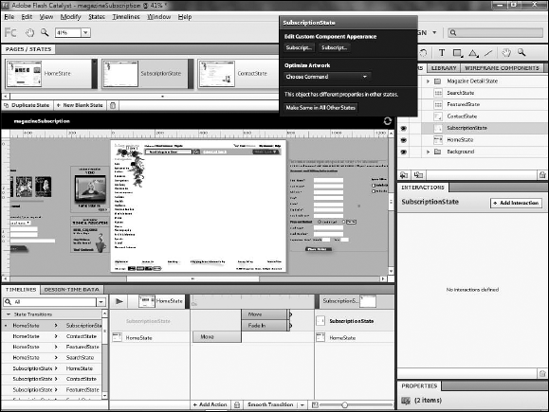
Now that you have established the timing of the
effects, users will see the Home State's assets slide off to the left,
to be replaced by the Subscription State's assets sliding in from the
right while also fading in.
2. Applying other effects
Catalyst automatically adds a Fade In effect to
components being added to a state. If you reposition a component, a Move
action will be applied. You can, however, add additional effects. In
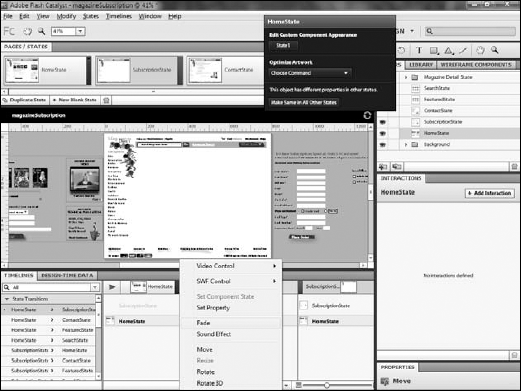
the following steps, a FadeOut effect isadded to the HomeState.
On the Timeline, click HomeState.
Adjust the timing of the new effect as needed (see Figure 10).
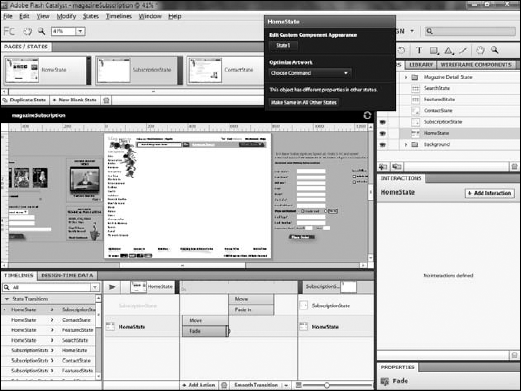
The animation of the Home State now matches that of the Subscription State, as both fade while they move.