Scenario/Problem: You want to group the data shown in a view. Grouping makes getting to the content you want easier.
Solution: SharePoint list views support a feature called grouping that enables you to define a grouping on a column in a list view. For example, grouping contacts by the company to which they belong is a common use of grouping. Grouping documents by the person who created them can be another good idea (see Figure 1).
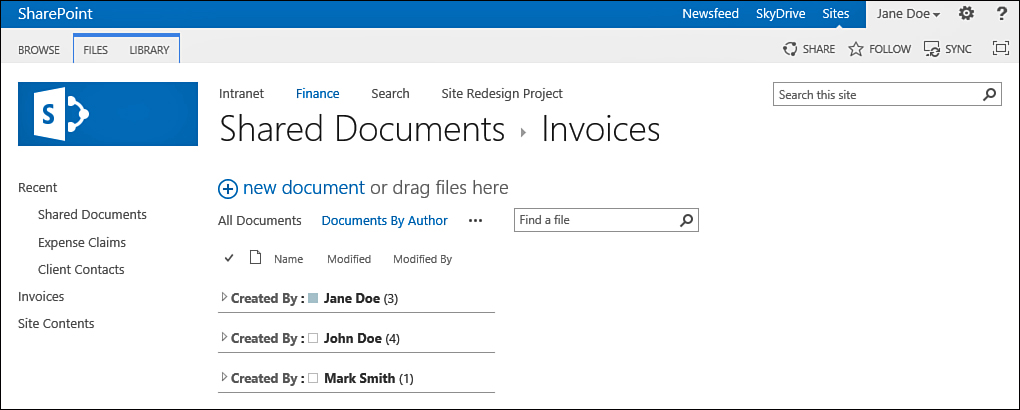
FIGURE 1 A view of a document library grouping files by the Created By column.
Note
Grouping is available only for standard and Gantt view types.
To take advantage of grouping, select the column whose values you want to use as groups. If empty values are in the selected column for some of the items or files in that view, they are placed under a group without a name.
To define the grouping when creating a view, scroll down to the Group By section in the page and expand it by using the plus (+) sign next to the section title (see Figure 2). In addition to choosing the column, you can also select the order in which the groups appear: either ascending or descending.
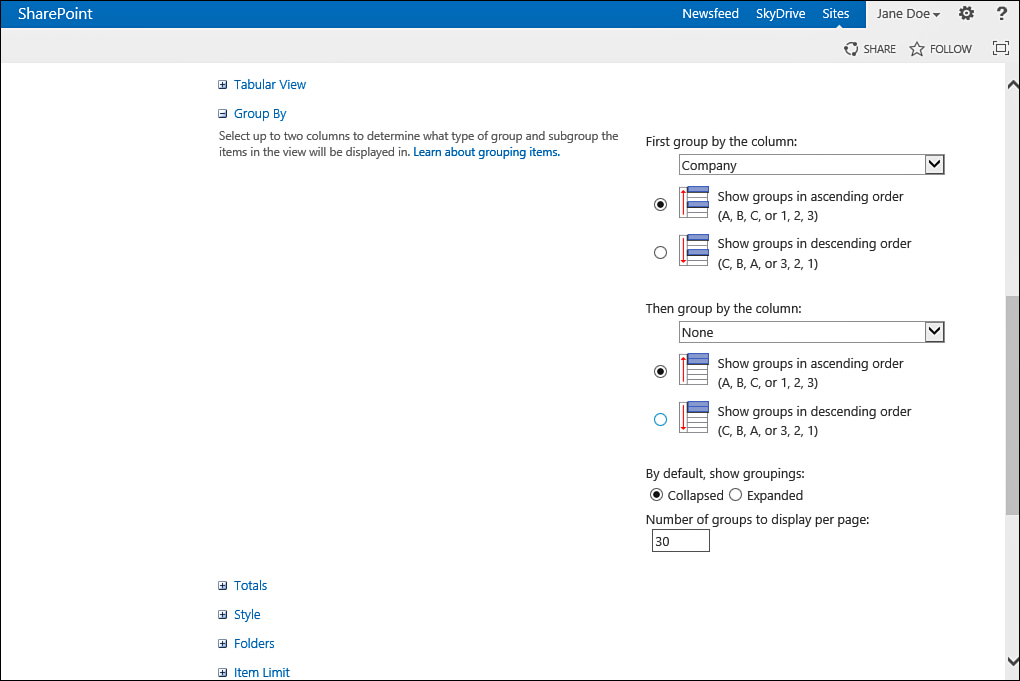
FIGURE 2 The Group By section in the view creation page.
You can specify up to two columns for grouping. The second column’s groups appear under each group only if items are in that group. For example, grouping contacts by company and then by country makes finding people easier if you know their company and country (see Figure 3).
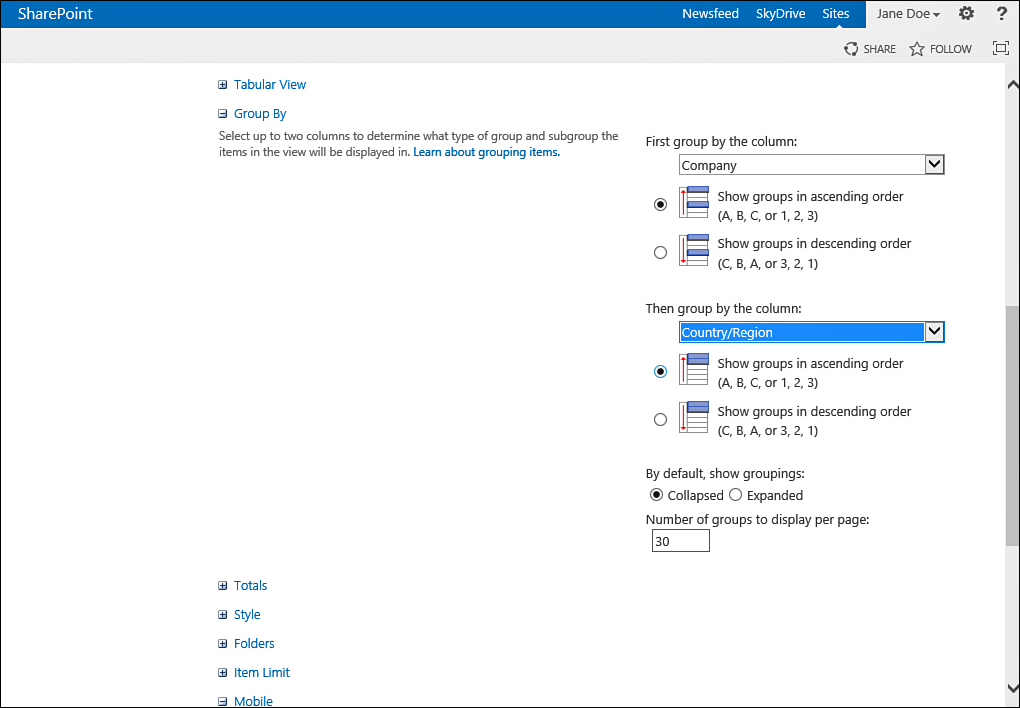
FIGURE 3. Grouping by company and then by country/region.
Tip
When grouping by a column, not displaying that column as part of the view is a good idea because the values appear as a group. For example, if you are grouping by country, you should remove the Country column from the list of columns displayed in the view.
In addition to specifying the columns for grouping and the order of the groups, you can also specify whether the groups show up expanded or collapsed by default. If you choose that columns should be collapsed by default, you can also choose how many groups to display per page. These settings affect both grouping columns.
If you choose that the groups should be expanded by default, the view displays the groups with the items shown as soon as users open the view (see Figure 4).
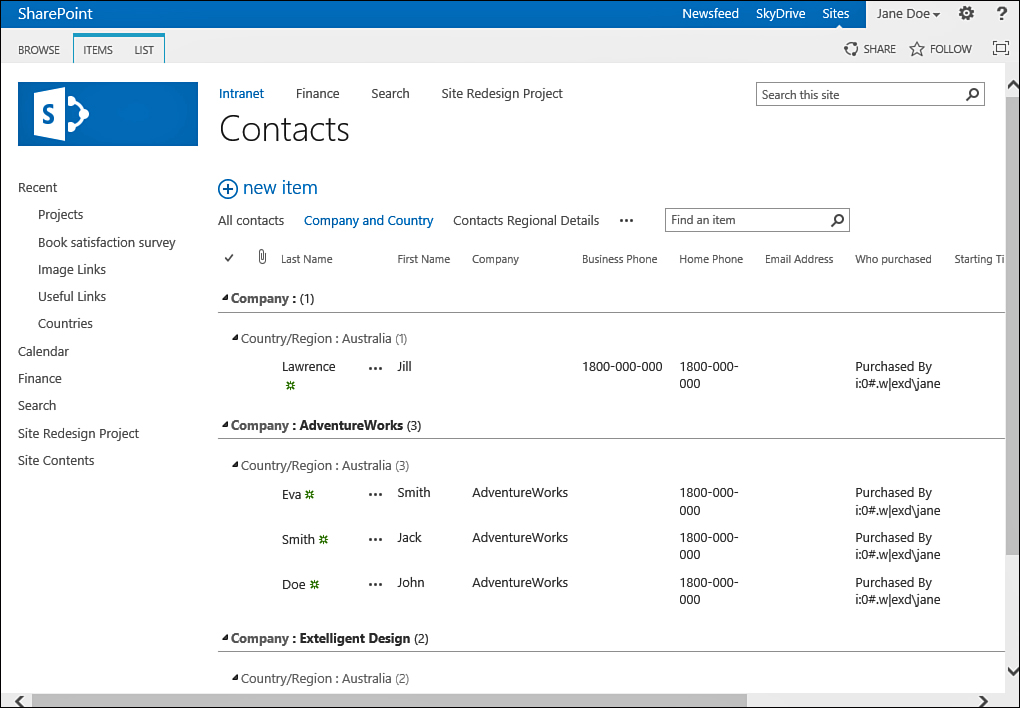
FIGURE 4 A view showing contacts grouped by company and then by country, with the groups expanded by default.
If you select that the groups should be collapsed by default, you can also select how many groups will appear per page. If you choose this option, views with a lot of groups still show the users a manageable list (see Figure 5).
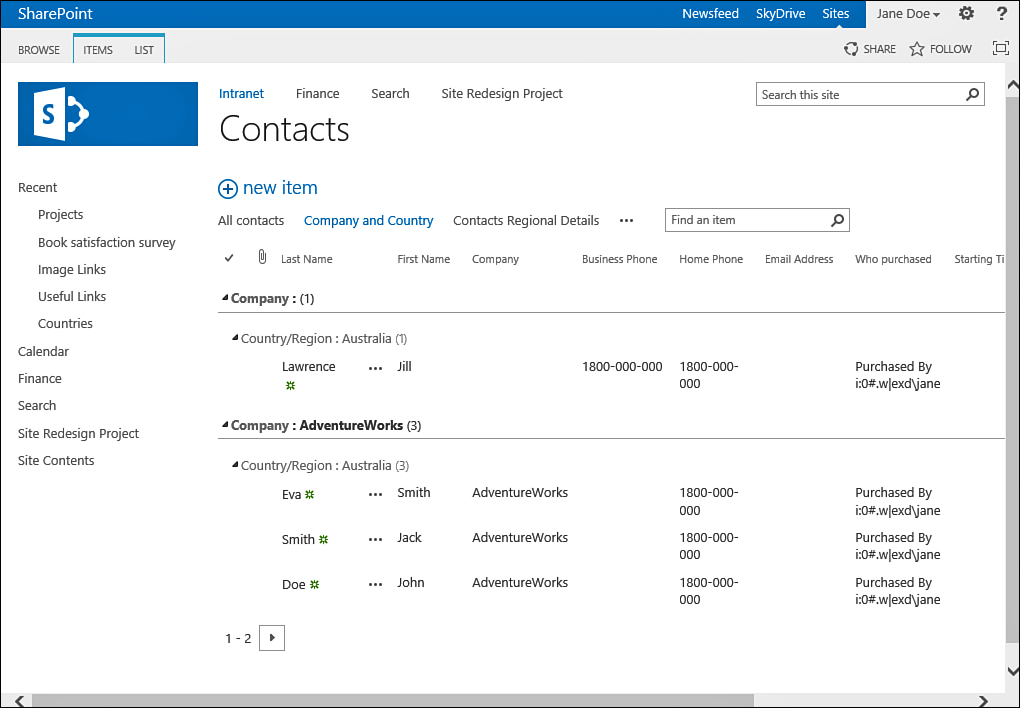
FIGURE 5 A view showing the items grouped, with a limit of two groups per page.
The paging mechanism enables users to move back and forth between the pages by using the arrow at the bottom of the view.