Now that you have verified that everything is ready, you can begin installation.
Installing WebLogic Server
First, you install Oracle WebLogic Server.
1. To install WebLogic Server, open a command window and enter:
cd c:\stageSOA wls1031_win32.exe
2. When the Welcome screen for the install wizard comes up, click on Next.
3. Select Create a new Middleware Home and enter: C:\Oracle\Middleware\home_11gR1.
4. This document assumes that path. If you use a different middleware home then adjust accordingly when C:\Oracle\Middleware\home_11gR1 is referenced throughout this document.
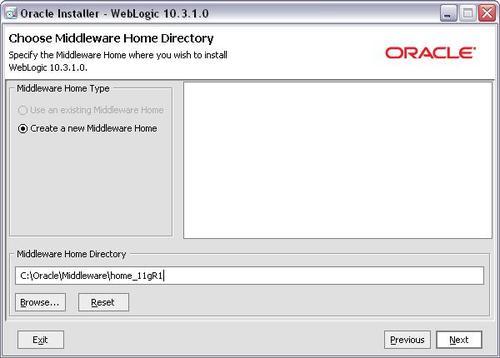
6. Enter email address to register for security alerts or deselect the checkbox and decline— whichever you prefer —and click on Next.
7. Select Typical, and click on Next.
8. Review installation directories.
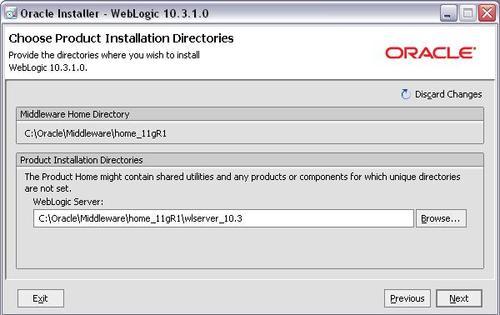
10. Select "All Users" Start Menu folder and click on Next.
11. Review Summary.
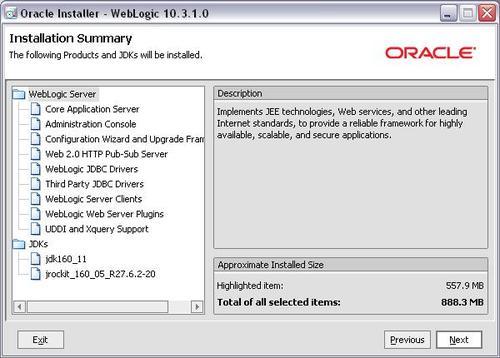
12. Click on Next to start the installation process. Installation takes about three minutes.
13. When the installation is complete, deselect the Run Quickstart checkbox and click on Done.
Dropping the existing schema
If this is the first time you are installing, you do not need to go through this step and you should jump ahead to the Configuring schema
step. Otherwise, if you are reinstalling, continue with these steps to
drop your existing schema first. If you would like to keep your
existing schema, jump ahead to the Configuring schema step and use a new schema prefix when prompted.
1. To drop your existing schema, copy the following into a command window:
cd c:\stageSOA\rcuHome\bin rcu.bat
2. The bat command returns to the prompt immediately and after a few seconds, the Repository Creation Utility opens.
3. On the Welcome screen, click on Next.
4. Select Drop.
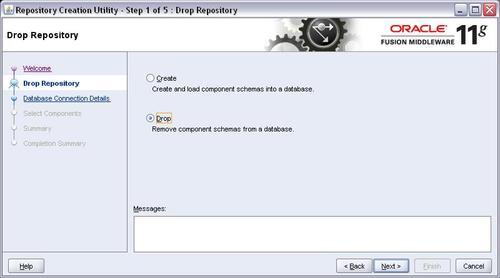
6. Complete the database information.
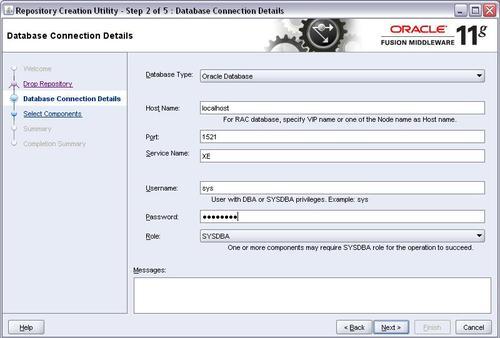
8. The pre-requisites are reviewed. When completed, click on OK. The utility moves to the next page — with a slight delay, just wait for it.
9.
The utility finds the existing schema and offers the drop-down list of
all prefixes. Check that the prefix is correct and review the schema.
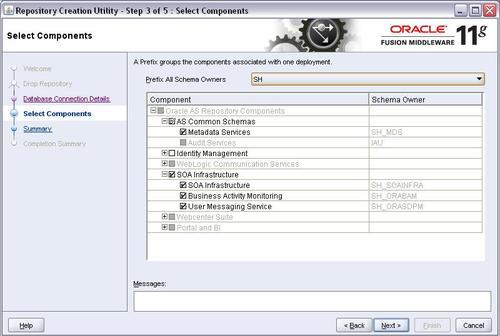
10. In this example, we are dropping the schema with the SH prefix. Click on Next.
11. On the drop schema warning, click on OK.
12. The pre-requisites for this step are reviewed. When completed, click on OK to move to the next page— with a slight delay, just wait for it.
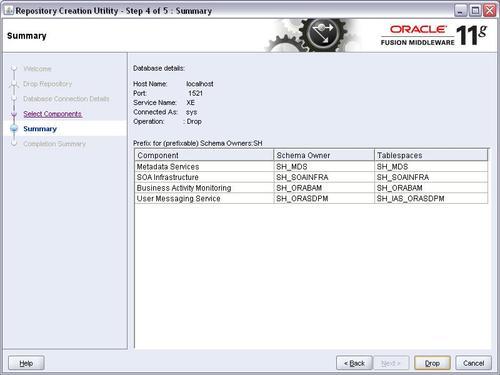
13. Click on Drop to drop the schema. This takes a few minutes.
14. When it is finished, click on Close.