You can easily add new
appointments right on your iPad, and they will be synced (or shared
with) your computer the next time the sync takes place.
1. Adding a New Appointment
Your instinct will most likely be to try to touch the
screen at a particular time to set an appointment; unfortunately, this
is not how setting appointments work.
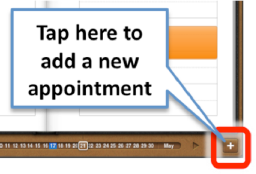
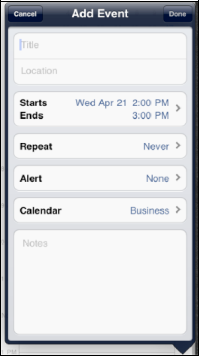
To add a new calendar event from any Calendar view, follow these steps.
First, tap the + icon at the bottom right corner of the screen. The Add Event screen will now show.
Next, touch the box marked Title and Location.
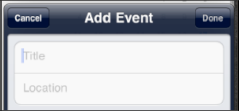
Type
in a title for the event and the location (optional). You might type
"Meet with Martin" as the title and input the location as "Office."
Or, you might choose to type "Lunch with Martin" and then choose a very expensive restaurant in New York City.
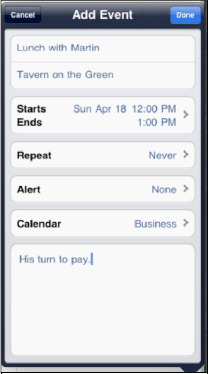
Touch the blue Done button in the upper right corner to return to the Add Event screen.

Touch the Starts or Ends tab to adjust the event timing. To change the start time, touch the Starts
field to highlight it in blue. Then, move the rotating dials at the
bottom to reflect the correct date and start time of the appointment.
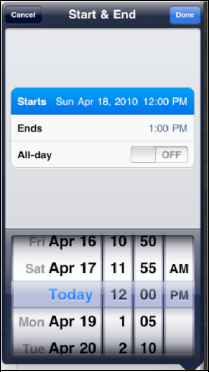
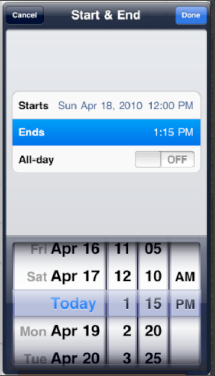
To change the end time, touch the Ends field and use the rotating dials.
Alternatively, you can set an all-day event by touching the switch next to All-day to set it to ON.

NOTE
You will see a tab labeled Invitees before the Repeat tab only if you sync to an Exchange calendar.