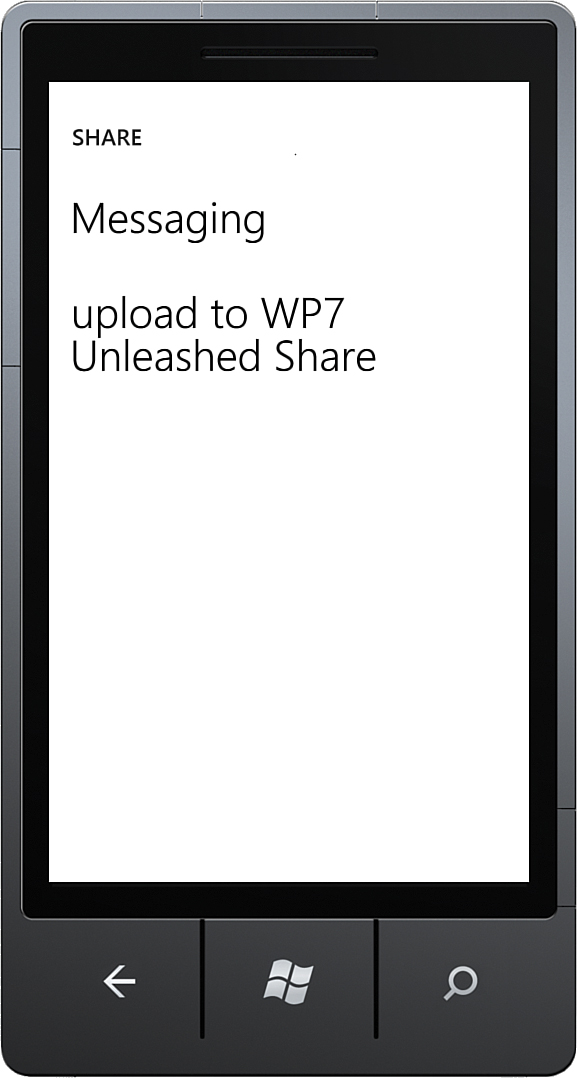
The Share menu of the picture viewer
functions in much the same way as the Extras menu. The Share menu
enables users to select a particular app to transfer an image
somewhere, such as via email or to a third-party service such as
Twitter. When the Share menu is selected, a list of registered Share
applications is presented (see Figure 1).

FIGURE 1 The picture viewer Share menu.
The title displayed in the Share menu is taken from your app’s WMAppManifest.xml file. The screen displays the text upload to,
followed by the App element’s Title attribute. The length of the
displayed title is limited to two lines and is truncated if it exceeds
that number.
Although some services are available
by default, you can extend the share picker with additional apps in a
similar manner as the Extras menu.
1. Adding Your App to the Share Menu
To extend the share menu to include your
photo share application, create a new file called
E0F0E49A-3EB1-4970-B780-45DA41EC7C28.xml in the root directory of your
main project. Rather than typing the name by hand, you may prefer to
copy the XML file to your project from the downloadable sample code.
Note
Using the Visual Studio Properties window,
make sure that the XML file build action is set to Content. Set the
Copy to Output Directory option to Do Not Copy.
The existence of this file in the root of
your XAP file indicates to the phone OS that your app participates as a
Share application.
The awkwardly named XML
file uses a GUID in its name. This appears to be an attempt to avoid
collisions with other filenames. It is an unfortunate choice because it
is unconventional and not in line with the Extras.xml filename.