In this section we will take a look at installing
and configuring various components of Remote Desktop Services. We will
discuss what features each provides and go through the actual setup
process of these services.
1. Installing and configuring Remote Desktop Session Host
The Remote Desktop Session Host is what you might
consider the traditional Remote Desktop Services (or Terminal Services)
role. The Remote Desktop Session Host provides presentation
virtualization by remotely displaying
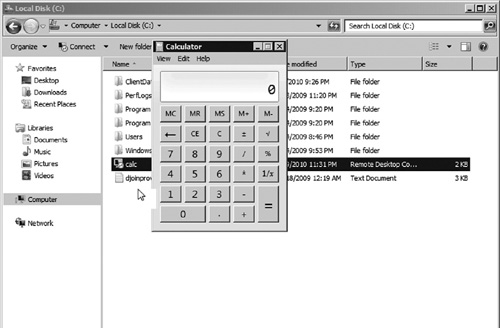
server-hosted applications or desktops to PCs and thin clients. By
using RemoteApp capabilities, users can access a server-hosted
application in a seamless window making the application appear to be
running on the local PC (see Figure 1).
To connect to a Remote Desktop Session Host, clients
use the Remote Desktop Client which comes preinstalled on Windows XP,
Windows Vista, and Windows 7.
To install the Remote Desktop Session Host, perform the following:
1. | Open Server Manager. Then select the Roles node in the left pane.
|
2. | Click the Add Roles link in the middle pane to launch the Add Roles Wizard.
|
3. | Select the Remote Desktop Services role. Then click Next.
|
4. | Click Next on the Remote Desktop Services Introduction page.
|
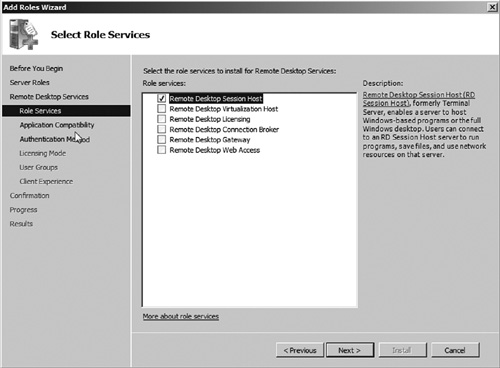
5. | Select the Remote Desktop Session Host role service as seen in Figure 2. Then click Next.
|
6. | Notice
the warning message about application installation. If you have already
installed applications on this server, you may need to reinstall them
after installing Remote Desktop Services. This is because adding the
Remote Desktop Session Host changes the server configuration to support
applications in a multiuser manner. After reading the warning and
verifying that you have not installed any applications, click Next to continue.
|
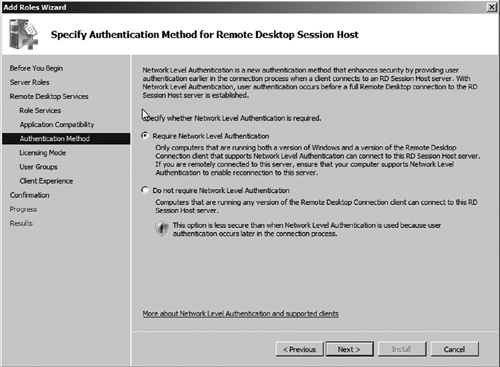
7. | Next you must determine whether you want to enable Network Level Authentication (see Figure 3).
Network authentication enhances security of Remote Desktop Sessions by
performing user authentication prior to completing the full connection
process. Network
Level Authentication requires that the client operating system and the
version of Remote Desktop Client support Network Level Authentication.
Windows XP Service Pack 3, Windows Vista, and Windows 7 all support
Network Level Authentication. In this exercise, we will choose to use
Network Level Authentication. Then click Next.
|
8. | In
the next step, you will need to select your licensing mode for Remote
Desktop Session Host. Just as with the operating system, each
connection to the Remote Desktop Session Host requires a Remote Desktop
Client Access License (CAL). You can choose one of three licensing
options for Remote Desktop Session Host:
- Configure later —Choosing this
option will allow you to skip choosing a license mode at this time and
select the mode you want to use after adding the role.
- Per device —Using
this option, each device such as computers or thin-clients will require
a CAL to connect to the server. You may want to use this option when
you have computers or thin-clients that are shared by multiple users.
This allows you to have an unlimited number of users and buy CALs only
for each device connecting to the Remote Desktop Server.
- Per user
—You use this option, when each user needs access to Remote Desktop
Services. This is a better licensing option when you have a limited
number of users who access Remote Desktop Services. This allows a user
to connect from multiple computers, thin-clients, or other devices
using only a single CAL.
In this exercise choose the Per device option. Then click Next.
|
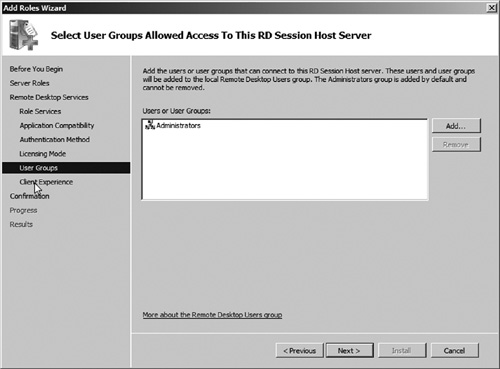
9. | The
next step is to select who should be able to use Remote Desktop Session
Host services on this server. To control access, Windows uses a Remote
Desktop Users local computer group. You can choose to add additional
users or groups to this local group now (see Figure 4), or later. For now let us accept the default group of Administrators. Then click Next.
|
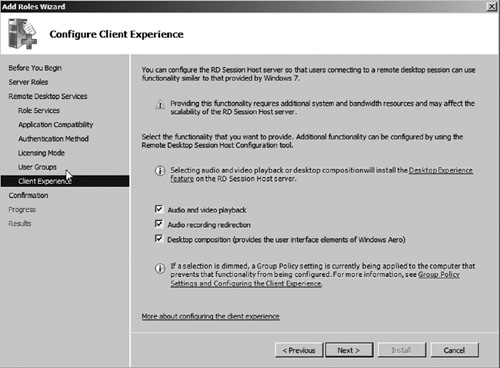
10. | In the next step, if you want to enable enhanced Client Experience settings you can choose to do so (see Figure 5).
These settings improve the user experience by redirecting audio and
video from the server back to the client machine as well as redirecting
audio recording from the client back to the application running on the
server. You can also optionally enable Aero features by enabling the Desktop Composition
option. The Remote Desktop clients will need to be running a Windows
7-based operating system to support these enhanced features. In this
exercise, we will enable all options. Then click Next.
|
11. | Verify settings on the Confirm Installation Settings page, and then click Install.
|
12. | After the installation is completed, you will be prompted to restart the server. Select Yes to reboot. After the server restarts, logon where the installation will be complete. Click the Close button in the Resume Installation Wizard to complete the installation.
|
You will now see the Remote Desktop Services role in Server Manager (see Figure 6). You can use the consoles under this role to manage the Remote Desktop Session Host.
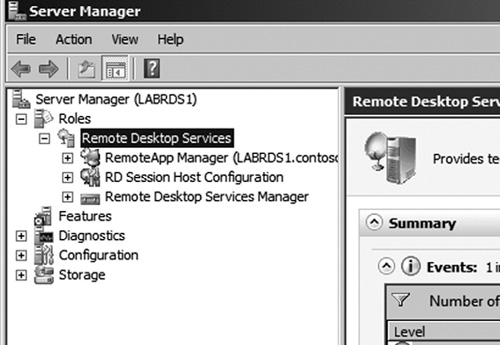
The Remote Session Host has three main configuration consoles. They are