Creating a Drop-Down List
Entering
data in a table can be tedious and repetitive. To make the job easier,
you can create a drop-down list of entries you define. This way you get
consistent, accurate data. To create a drop-down list, create a list of
valid entries in a single column or row without blanks, define a name,
and then use the List option in the Data Validation dialog box. To enter
data using a drop-down list, click the cell with the defined drop-down
list, click the list arrow, and then click the entry you want.
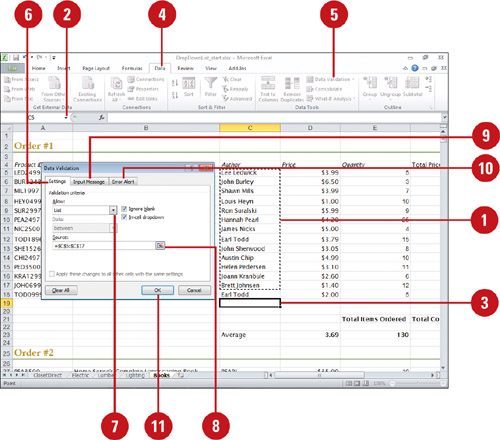
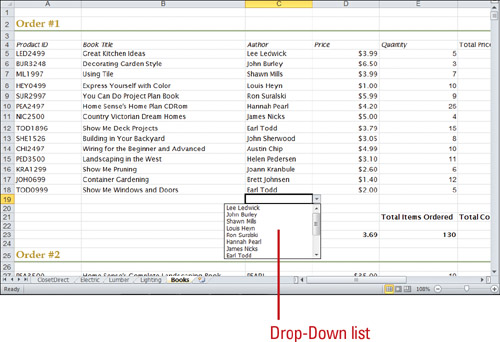
Create a Drop-Down List
 Type entries in a single column or row without blanks in the order you want.
 Select the cell range, click the Name box, type a name, and then press Enter.
 Select the cell where you want the drop-down list.
 Click the Data tab.
 Click the Data Validation button.
 Click the Settings tab.
 Click the Allow list arrow, and then click List.
 Enter values or use the Collapse Dialog button to select a range of valid entries.
 Click the Input Message tab, and then type a title and the input message that should be displayed when invalid entries are made.
 Click the Error Alert tab, and then select an alert style, type a title, and error message.
 Click OK.
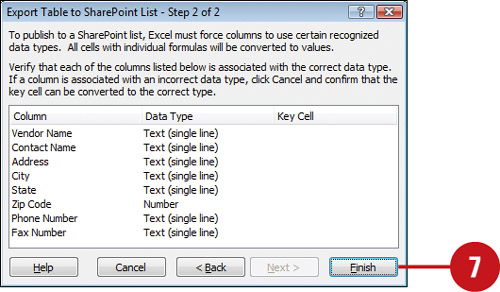
Exporting a Table to a SharePoint List
If
you have access to a Microsoft Office SharePoint Services site, you can
export table data to a SharePoint list, for others to view, edit, and
update. A SharePoint Services site is a server application that uses Web
site templates to create, organize, and share information. To access a
SharePoint Services site, you might need access privileges. See your
network administrator for a user name and password. You can access a
SharePoint Services site from Excel or a Web browser. When others make
changes to the table in the SharePoint list, you can synchronize the
changes to keep your Excel table up-to-date.
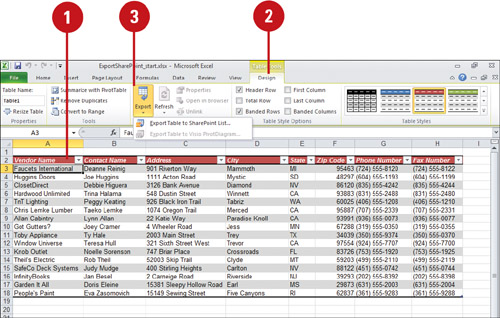
Export a Table to a SharePoint List
- Select a cell in the table.
- Click the Design tab under Table Tools.
- Click the Export button, and then click Export Table to SharePoint List.
- Enter a SharePoint address.
- Type a name and description.
- Click Next.
If asked, enter a user name and password, and then click OK.
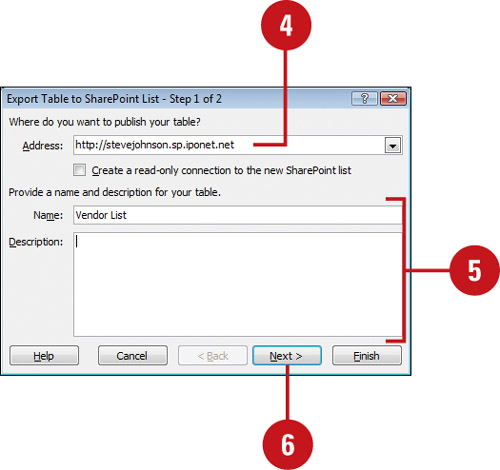
- Click Finish.
- Click OK to the alert.