Windows Home Server’s nightly backups ought
to suit the needs of most people. However, at times you may want even
more assurance that your data is safe:
You just installed the Windows Home Server
Connector on a client PC, and you don’t want to wait until midnight to
get it backed up.
You spent the morning creating, modifying, or downloading a large number of files, and you want them backed up now.
You turned off backups for a computer the previous night, and now you want a backup for the current day.
The previous backup failed for some reason, so you want to try again.
You just installed a major program (such as Microsoft Office), and you want to back it up.
You added a new hard drive full of important files, and you want to get them backed up right away.
You’re getting ready to leave town and would like to back up your notebook computer before your trip.
You’re more paranoid than most.
Whatever the reason, Windows Home Server lets you
make as many backups as you want, as long as it has the free space to
store them.
Here are the steps to follow to launch a backup manually:
1. | Log on to the Windows Home Server Dashboard.
|
2. | Display the Computers and Backups tab.
|
3. | Click the computer that you want to back up.
|
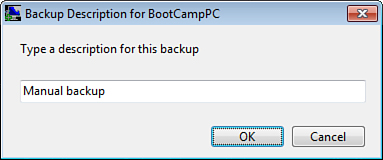
4. | Click Start a Backup for the Computer. Windows Home Server displays the Backup Now dialog box, shown in Figure 1.

Tip
A faster way to launch a manual backup is to open
Launchpad on the client and then click Backup. In the Backup Properties
dialog box that appears, click Start Backup.
|
5. | Type
a description for the backup. Just in case you need to use this backup
later on to restore some files, make your description useful and unique
(for example, Just Installed Microsoft Office or Retrying Failed
Backup).
|
6. | Click Backup Now. Windows Home Server begins backing up the computer.
|
If you’re in the Windows Home Server Dashboard, the
Status column in the Computers and Backup tab displays the progress of
the operation, as shown in Figure 2.
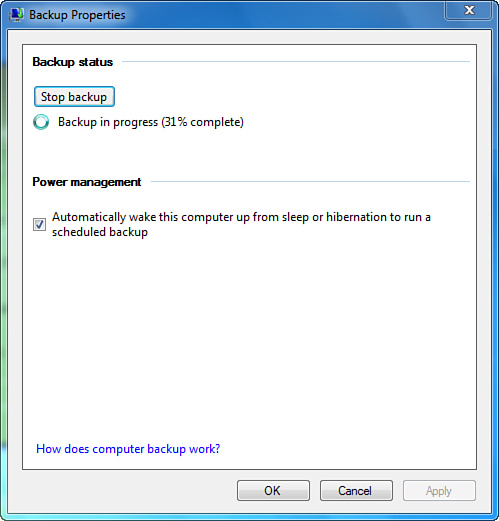
If you initiated the manual backup from the client, click Backup in the
Launchpad to open the Backup Properties dialog box, shown in Figure 3.


Cancelling a Running Backup
You might be busy with the computer and don’t want the backup to run just now. In that case, you can cancel the backup:
On the client, open Launchpad, click Backup to open the Backup Properties dialog box, and then click Stop Backup.
In
the Windows Home Server Dashboard, display the Computers and Backup
tab, click the computer that’s being backed up, and then click Stop
Backup for the Computer.
Backing Up Other Systems to Windows Home Server
Because the Windows Home Server Connector software
only works on Windows 7, Vista, and XP PCs, the automatic backup feature
of Windows Home Server isn’t available for other systems on your
network. If you need to back up an older Windows machine, a Mac, or a
Linux box, you need to do it the old-fashioned way: You need to run the
computer’s built-in (or third-party) backup software.
The good news is that you don’t have to worry about where
you store the backups for these other systems because you’ve got your
Windows Home Server shares ready to do the job. On my network, I created
a Backups subfolder in the Public share:
When configuring backups on your other systems, use this Windows Home Server shared folder as the backup destination.