1. Aligning and Distributing Objects
In
addition to using grids and guides to align objects to a specific
point, you can align a group of objects to each other. The Align panel
buttons make it easy to align two or more objects relative to each other
or to the page. To evenly align several objects to each other across
the document, either horizontally or vertically, select them and then
choose a distribution option. Before you select an align command,
specify how you want Illustrator to align the objects. You can align the
objects in relation to the document or to the selected objects. If you
want to align all the objects to another object, you can select and use a
key object, before you select an alignment option.
Align or Distribute Objects
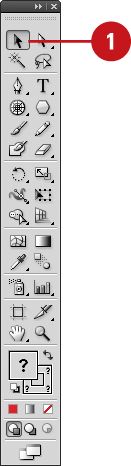
- 1. Select the Selection tool on the Tools panel.
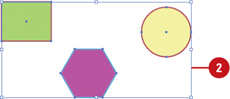
- 2. Select two or more objects to align them or select three or more objects to distribute them.
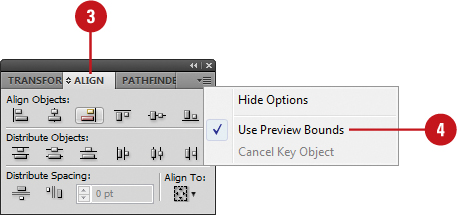
- 3. Select the Align panel or click Align on the Control panel.
- 4. Click the Options menu, and then click Use Preview Bounds. A checked option uses the object’s stroke weight and any applied effects when aligning or distributing.
- 5. If you want to align objects along the edges of the artboard, click the Align To menu on the Align or Control panel, and then click Align to Artboard.
Objects are moved on the artboard based on the alignment or
distribution command to the closest edge (top and bottom, or left and
right).

- 6. If you want to align objects to a key object, click an object to make it the key object (a thick blue outline appears and the Align To Key Object option is selected in the Align and Control panel).
- 7. Use the alignment and distribution buttons on the Align or Control panel.
2. Transforming Objects
The
easiest way to transform an object is to use the bounding box. With the
bounding box, you can quickly scale (resize), reflect (mirror), and
rotate an object. However, you cannot copy an object or move the
reference point. As you drag to transform an object, you can use
keyboard keys to alter the results of a transformation. Experiment with
the different options to create some new results.
Transform an Object with the Bounding Box
- 1. Click the View menu, and then click Show Bounding Box to display it.
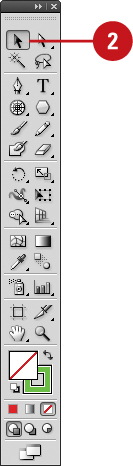
- 2. Select the Selection tool on the Tools panel.
- 3. Select one or more objects to transform.
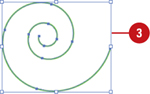
- 4. Use any of the following methods:
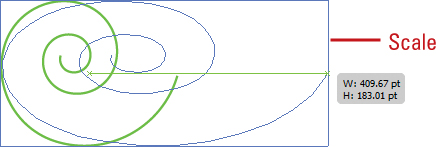
- Scale. Drag a corner handle
to scale along two axes; drag a side handle to scale along one axis;
Shift-drag to scale proportionally; hold down Alt (Win) or Option (Mac),
and then drag to scale from the center. Also hold down Shift to scale
from the center proportionally.
- Reflect. Drag a side handle all the way across the object to the other side.
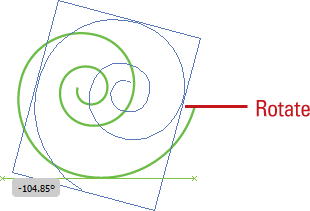
- Rotate. Point slightly outside a corner handle (pointer changes to a double arrow), and then drag in a circular motion.
To rotate an object 180 degrees, drag a corner handle diagonally all the way across the object.
- 5. To transform an object using exact values or percentages, select the Transform panel.