There will be times when a case drops off the customer’s
priority list or the customer resolves an issue internally. Imagine a
situation in which a customer submits a warranty claim for a
refrigerator he recently purchased. The day after the case was logged
with the appliance company’s customer service team, the company issues
a recall of the customer’s refrigerator model, having seen several
similar cases logged against it in previous months. The customer
service team sets up a new case tracking category to manage recall
requests and logs a new case under it for the customer. To prevent the
initial case from remaining in the customer service team’s active case
list, the case is canceled. Canceled cases are deactivated so that all fields on the form are
read-only, but these cases can still be searched and referenced as
necessary. Sometimes the reverse happens—a case that was previously
resolved or canceled is reopened if the issue reoccurs for the
customer. Resolved and canceled cases can be reactivated in Microsoft
Dynamics CRM so that customer service teams can continue working with
them. Software development companies often have cases that require
ongoing customer input; these cases might be canceled if no response
is received from the customer for a long period of time. In this
example, the case could be reopened in Microsoft Dynamics CRM if the
customer contacts the support team at a later date.
In this exercise, you’ll mark a case as Canceled and then reopen
it.
Note:
SET UP Use the Internet
Explorer web browser to navigate to your Microsoft Dynamics CRM
website, if necessary, before beginning this exercise.
In the Service area, click
Cases, and then in the on the
Cases tab of the ribbon, click
New to create a new case.
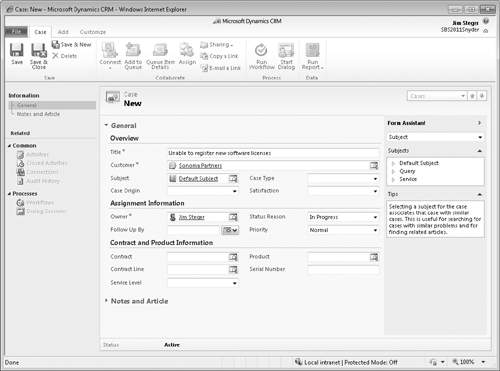
In the New Case form, type or
select values in the required fields, as follows:
| Field | Value |
|---|
| Title | Unable to register
new software licenses |
| Customer | Sonoma
Partners, or any account in your
system |
| Subject | Default
Subject, or any subject in your
system |

Click Save to create the
case.
 In the Actions group on the ribbon’s Case tab, click the Cancel
Case button.
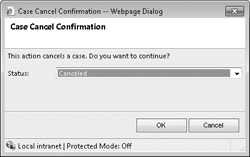
In the Case Cancel
Confirmation dialog box, select the appropriate status reason
for the cancellation, and then click OK to confirm that you want to cancel the
case.

After you click OK, the case will update to Canceled status
and all fields on the case form will be read-only.
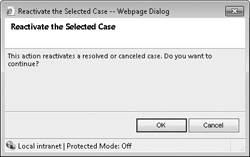
 In the Actions group on the ribbon’s Case tab, click the Reactivate button.
In the Reactivate the Selected
Case dialog box, click OK
to reactivate the case.

This will update the case to Active status, and all the fields in the form will
again be editable.
Note:
Close the case
record.