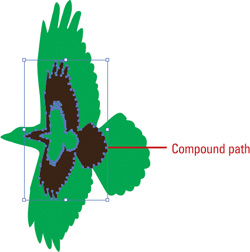
A compound path is a single object made up from two
or more objects. In overlapping areas, a compound path removes the
overlapping space displaying the attributes of the backmost object
behind it. Think of it like a cookie cutter. After you create a compound
path, you can release (restore) it at any time. However, the results
are not exact. If you want to add another object to the compound path,
you need to arrange the object in front or back of the compound object,
select them both, and then reuse the Make Compound Path command.
Create a Compound Path
 Arrange your objects so that the frontmost object will be cut out to reveal the attributes of the backmost object. Arrange your objects so that the frontmost object will be cut out to reveal the attributes of the backmost object.
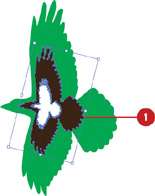
 Select all the objects that you want to include in the compound path. Select all the objects that you want to include in the compound path.
 Click the Object menu, point to Paths, and then click Make Compound Path. Click the Object menu, point to Paths, and then click Make Compound Path.
 To add another object to the compound path, arrange the object in front
or back of the compound object, select them both, and then click the Object menu, point to Paths, and then click Make Compound Path. To add another object to the compound path, arrange the object in front
or back of the compound object, select them both, and then click the Object menu, point to Paths, and then click Make Compound Path.
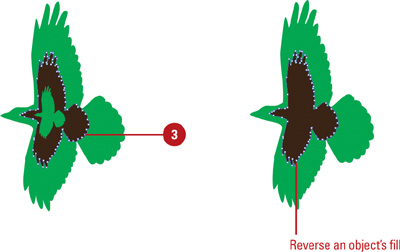
Reverse an Object’s Fill in a Compound Path
 Click in a blank area to deselect the compound path. Click in a blank area to deselect the compound path.
 Select the Direct Selection tool on the Tools panel. Select the Direct Selection tool on the Tools panel.
 Click the edge of the object for which you want to reverse the fill. Click the edge of the object for which you want to reverse the fill.
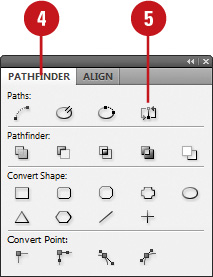
 Select the Pathfinder panel. Select the Pathfinder panel.
- Click the Window menu, point to Object & Layout, and then click Pathfinder.
 Click the Reverse Path button on the panel. Click the Reverse Path button on the panel.
Release a Compound Path
 Select the compound path. Select the compound path.
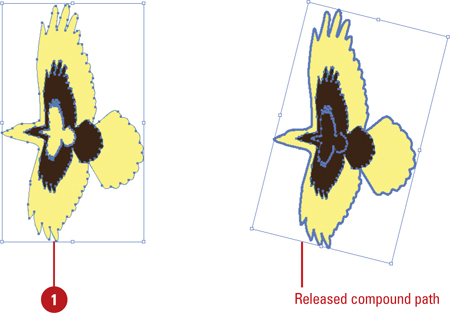
 Click the Object menu, point to Paths, and then click Release Compound Path. Click the Object menu, point to Paths, and then click Release Compound Path.
The single object reverts back to individual objects. All the objects
are selected and painted with the attributes from the compound path, not
their original attributes.
|