1. Arranging Object Stack Order
Multiple
objects on a document appear in a stacking order, like layers of
transparencies. Stacking is the placement of objects one on top of
another. In other words, the first object that you draw is on the bottom
and the last object that you draw is on top. You can change the order
of this stack of objects by using Bring to Front, Send to Back, Bring
Forward, and Send Backward commands on the Arrange submenu from the
Object menu.
Arrange a Stack of Objects
- 1. Select the Selection tool on the Tools panel.

- 2. Select the objects you want to arrange.
- 3. Click the stacking option you want.
- Click the Object menu, point to Arrange, and then click Bring to Front or Bring Forward to move an object to the top of the stack or up one location in the stack.
- Click the Object menu, point to Arrange, and then click Send to Back or Send Backward to move an object to the bottom of the stack or back one location in the stack.
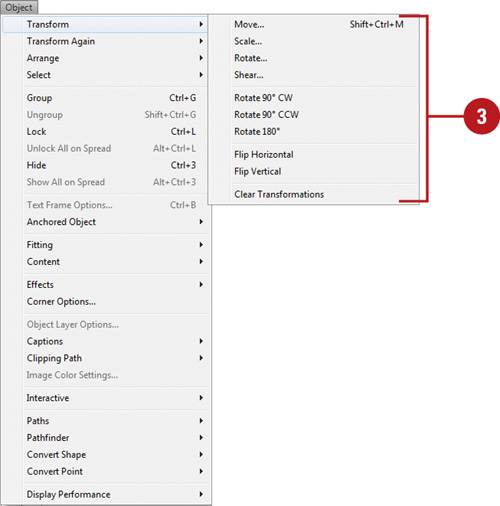
2. Transforming Objects
With
the transformation tools in InDesign, you can quickly move, scale
(resize), shear (distort), and rotate an object. InDesign provides
several ways to transform objects: tools (Rotate, Scale, and Shear) on
the Tools panel, options on the Transform and Control panels, and
commands on the Transform submenu on the Object menu. All
transformations are performed based on a reference point; center is the
default, however, you can change it on the Control or Transform panel.
When you perform a transformation on an object, InDesign remembers it,
which allows you to repeat the last transformation by using commands on
the Transform Again submenu on the Object menu. If you don’t like a
transformation, you can use the Clear Transformation command to remove
it.
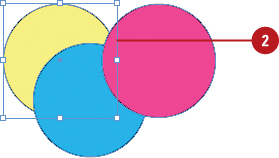
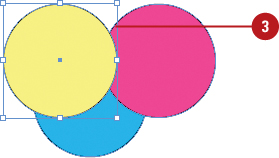
Transform Objects
- 1. Select the Selection tool on the Tools panel.
- 2. Select one or more objects to transform.
- 3. Use any of the following methods:
- Transform Tools. Select a transform tool (Rotate, Scale, and Shear) on the Tools panel, and then drag to apply the transformation.
- Transform Panel. Click the Window menu, point to Object & Layout, and then click Transform. Enter desired values to apply the transformation.
- Transform Menu. Click the Object menu, point to Transform, and then select a transform option.
- Transform Again. Select a different object to apply the same transformation. Click the Object menu, point to Transform Again, and then select a transform again option.
- Reference Point. Select an object, and then click a square reference point on the Control or Transform panel.