3. The Files Panel
The Files panel is another Dreamweaver element you’ll turn to frequently (see Figure 4).
It lists all the files—web pages, graphics, Flash movies, and so
on—that make up your website. It gives you a quick way to open pages you
want to work on (just double-click the file name in the panel). It also
lets you switch among different sites you’re building or maintaining,
and provides some valuable tools for organizing your files. If the Files
panel isn’t open, summon it by choosing Window→Files or by pressing F8
(Shift-⌘-F on Macs).
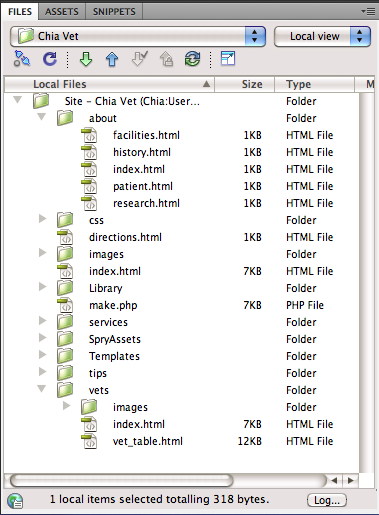
To
use the Files panel effectively, you need to create a local site for
each website you work on—setting up a site is a specific Dreamweaver
task, and one of the most important steps in using Dreamweaver
correctly.
4. The Property Inspector
After
dropping in an image, table, or anything else from the Insert panel,
you can use the Property inspector to fine-tune its appearance and
attributes. Suppose, for example, that your boss has decided she wants
her picture to link to her personal blog. After highlighting her picture
in the document window, you can use the Property inspector to add the
link.
The Property inspector (Figure 5)
is a chameleon. It’s aware of what you’re working on in the document
window—a table, an image, some text—and displays the appropriate set of
properties (that is, options). You’ll use the Property inspector
extensively in Dreamweaver.

For now, though, here are two essential tips to get you started:
In
the Property inspector, double-click any blank gray area to hide or
show the bottom half of the inspector, where Dreamweaver displays a set
of advanced options. (It’s a good idea to leave the inspector fully
expanded, since you may otherwise miss some useful options.)
At its heart, the Property inspector simply displays the attributes of HTML tags. The src (source) attribute of the image tag (<img>), for instance, tells a web browser where to find an image file.
You can most easily make sure you’re setting the properties of the correct object by clicking its tag in the Tag selector.
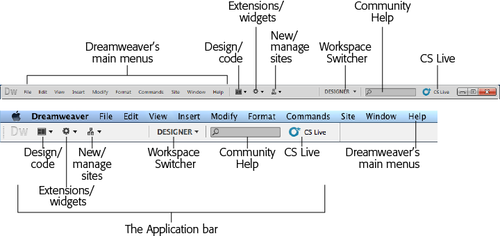
5. The Application Bar
The Application
bar’s main purpose in life is to let you switch between document views
(for example, between Code and Design view), to configure the program’s
windows, and to give you a shortcut for getting help, defining sites,
downloading extensions, and tapping Adobe’s online services (such as
BrowserLab and Acrobat.com). You can find all the options listed here in
the program’s main menus, too. Figure 6 shows its location on Windows PC (top) and on a Mac (bottom).
Here’s what it offers:
The Code/Design View
menu lets you switch between the visual Design view (a rough
approximation of what a page will look like in a web browser) and the
raw HTML. You can also see both the design and code at the same time by
selecting Split view.
Tip:
The Application
bar’s Code/Design view options are mostly duplicated on the Document
toolbar using easier-to-access buttons. However, the Split Code option
(which you won’t find on the Document toolbar) is useful if you love to
hand code. Selecting this option lets you view the code for a page in
two windows, side-by-side. This way, you can work on both the HTML at
the top of a web page, and the HTML at the bottom of the page without
scrolling. Or better yet, you can work on the CSS of a page on one half
of the document window and the HTML for that page on the other half.
The Extensions
menu gives you quick access to Dreamweaver’s Extension Manager and the
Adobe Exchange website. Extensions are add-on features (some are free
and some cost money) that let you do more with Dreamweaver. You can also use the menu to open a Widget Browser to locate and
install prepackaged programs that add JavaScript-driven interactivity to
a page.
The Sites
menu lets you “define” a new site or “manage” the sites you already
have.
The Workspace Switcher
lets you reorganize Dreamweaver’s layout of windows.
The Community Help
box is a search function. But unlike the “Help” box you find in most
programs, this search field lets you search the entire Internet for
useful information related to Dreamweaver. Type a search term in the box
and then hit Enter (Return)—the Adobe Help program launches, loading a
web page related to your search, and offering a list of links to other,
related web pages. This help function is a bit better than just using
Google—you never know what that’ll turn up—since Adobe handpicks all the
sites that turn up in a search. So you won’t be getting “helpful”
advice from the blogger down the street who just bought Dreamweaver and
decided to post his thoughts.
The CS Live menu provides access to online services from Adobe, such as useful web tools like Adobe BrowserLab,
which lets you preview a web page in a variety of browsers and
operating systems. It’s also a gateway to less useful (at least for web
designers) tools such as Adobe Story (for collaborative screenwriting)
and Acrobat.com (can you say “cross-marketing vehicle” three times
fast?) The actual contents of this menu are pulled off the web each time
you use Dreamweaver, so the options you see will vary.
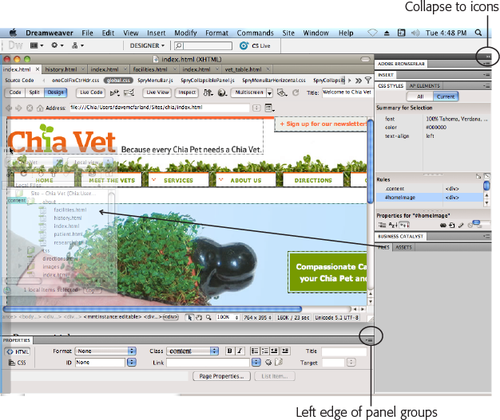
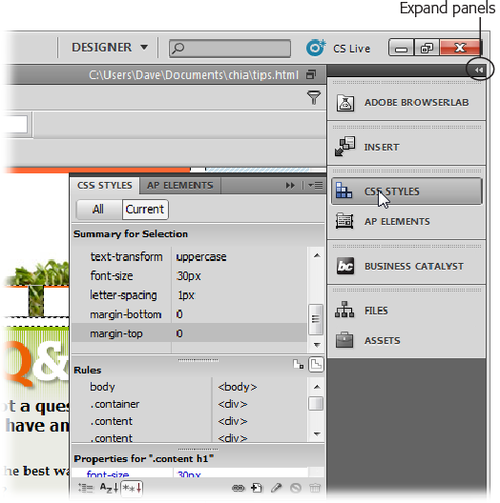
6. Organizing Your Workspace
Dreamweaver’s basic user interface includes the document window, Application
bar, Property inspector, and panel groups. All these windows act like a
unified whole; that is, if you resize one window, the other windows
resize to fit the space. For example, you can drag the left edge of the
panel groups (circled in Figure 7)
to the left to make the panels wider, or to the right to make them
thinner. The other windows that touch the panels (the document window
and the Property inspector) change their widths accordingly. This kind
of joined-at-the-hip interface is common in Windows applications, but
may feel a bit weird for Mac enthusiasts. (If you prefer the “floating
palette” look and feel common to a lot of Mac programs, you can set up
Dreamweaver that way as well.)
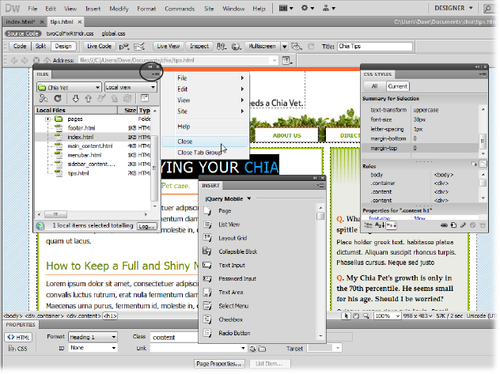
You can control the panel in many ways to customize your workspace:
You can open a particular panel from the Window menu. For example, to open the Files panel, choose Window→Files.
If the panel is closed but its tab is visible (for example, the Insert tab in Figure 7), double-click the tab to open it. Double-click the tab again, and the panel (and any other panels grouped with it) closes.
Drag
the horizontal line between an open panel and another panel to resize a
panel. For example, to make the CSS Styles panel taller, grab the thick
border line between that panel and the Business Catalyst panel and drag
down. The CSS Styles panel gets taller and the open panel below it gets
shorter.
To
completely close a panel so that even its tab no longer appears,
right-click (Control-click) the tab and then choose Close. (Choose Close
Tab Group to hide the tab and any other tabs it’s grouped with.) To get
the panel back, you need to use the Window menu or use the panel’s
keyboard shortcut—for example, the F8 key (Shift-⌘-F on Macs) opens and
closes the Files panel.
If you want to hide all windows except
for documents, choose Window→Hide Panels or press F4—a useful trick
when you want to maximize the amount of screen space dedicated to
showing the web page you’re working on. To bring back all of
Dreamweaver’s administrative windows, press F4 again or choose
Window→Show Panels.
6.1. Floating panels
As
mentioned earlier, you can drag a panel by its tab to another part of
the screen. Dragging it to the edge of the screen docks the panel on
that edge. However, if you drag a panel and drop it when it’s not near a
screen’s edge, then it becomes a floating panel (see Figure 8). Floating
panels are often nuisances, since they hide whatever’s beneath them, so
you often end up having to move them out of the way just to see what
you’re doing. However, they come in handy when you have two monitors. If
that’s the case, you can dedicate your main monitor to the document
window and Property inspector (and maybe your most important panels),
and then drag a bunch of floating panels onto your second screen.
To
“unfloat” a floating panel, simply drag it to the edge of your screen
(if you have more than one monitor, drag the panel to one of the edges
of your main
monitor). If you already have panels at that edge, drag the panel to
either the bottom of the panels (to dock it at the bottom of the column
of panels), between other panel groups (to insert that panel in its own
group between the other panels) or next to another panel’s tab to group
the panels together.
Tip:
Drag
a panel to either side of a docked column of panels to create a second
column. In other words, you can create two side-by-side columns of
panels.
6.2. Iconic panes
As
if you didn’t already have enough ways to organize your panels,
Dreamweaver includes yet another way to display them. By clicking the
“Collapse to Icons” button at the top right of a column of panels, you
can shrink the panels to a group of much smaller icons. To reopen the
controls for a panel you shrunk, just click the icon. For example, in Figure 9,
clicking the CSS Styles icon opens the CSS Styles panel to the left.
Once you finish working with the panel, and click elsewhere on the
screen, the pop-up panel disappears. This so-called iconic view is particularly good if you have a small monitor and need to preserve as much screen real estate as possible.
6.3. Workspace Layouts
Sometimes
too much choice is a bad thing, and even though Dreamweaver’s interface
means you can pretty much organize its windows and panels any way you
like, it also means you can easily accidentally click or drag the wrong
thing and suddenly find panels strewn across the screen or completely
gone.
Fortunately,
Dreamweaver includes a wonderful, timesaving productivity enhancer that
ensures you always have your windows organized the way you want, and
you can quickly return to that setup if you accidentally move your
panels. The Workspace Layouts feature lets you save the position and
size of Dreamweaver’s panels and windows as a custom “layout” that you
can return to by simply selecting the layout’s name from the Workspace
Switcher menu in the Application bar or by choosing Window→Workspace
Layout.
For example, when
you work on a database-driven website, you may like to have the
Application panel group and the Snippets panel open, but keep the CSS
panel tucked away. When you work on design-heavy sites, on the other
hand, you probably want the CSS panel open, but could care less about
the Tag inspector. You can create a different layout for each situation
and then simply switch between them.
Note:
Dreamweaver
CS3 veterans should check out the “Classic” layout, which puts the
Insert panel back up at the top of the screen. Even if you’re new to
Dreamweaver, the Classic layout is a great way to free up space in the
already crowded grouping of panels on the right edge of the screen.
In
addition, Dreamweaver comes preprogrammed with eight workspaces
designed to configure the interface to match the needs of designers,
coders, application developers, and those who like to spread their
windows and panels across two monitors. You should try each one (use the
Workspace
Switcher menu in the Application bar) to see which you like best. You
can then tweak that layout by closing or opening other panels,
rearranging panels, and so on, until you find the perfect layout for
you. Then just save it as a custom layout (as described below) so you
can call it up any time. Here are a few other tips when you’re ready to
lay down a custom layout:
Open the panels you work with most frequently. For example, choose Window→Files to open the Files panel.
Increase
or decrease the height of a panel by dragging up or down the empty
space to the right of a panel or panel-group name (see Figure 10).
You
can move a panel to another area of your screen by dragging its tabs as
described earlier. This trick is especially useful if you have a large
monitor, since you can place one group of panels on the right edge of
the monitor and another group either next to the first one or on the
left side of the monitor.
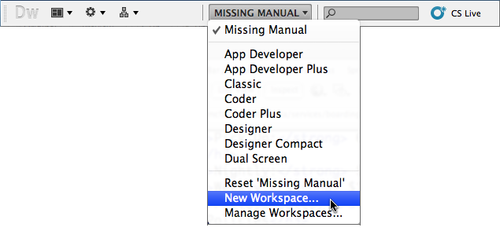
To save your layout, select New Workspace from the Workspace Switcher menu in the Application bar (see Figure 11)
or, alternatively, choose Window→Workspace Layout→New Workspace. The
Save Workspace dialog box appears; type in a name for the layout and
then click OK. (If you type in a name that’s the same as one you already
used, Dreamweaver lets you know and gives you the option to replace the
old layout with the new one. That’s the only way to update a workspace
layout you previously created.) Dreamweaver saves your new layout.
Tip:
The
Workspace Layout feature is also handy if you share your computer with
other people. You can create your own workspace layout (“Bob’s
Workspace,” for example) with all the panels and windows exactly where
you like them. Then, when you go to use the computer and the bozo before
you has rearranged the entire workspace, just select your layout from
the Application bar or the Window→Workspace Layouts menu.
To
switch to a layout you already saved, simply select your workspace from
the Application bar or choose Window→Workspace Layout→Name of Your Layout. After a brief pause, Dreamweaver switches to the selected layout.