Just as the main application can contain
multiple states to represent different aspects of it, components can
likewise contain multiple states. For example, if you have a
subscription or order form that spans multiple pages, you would likely
encapsulate the form in a custom component, and then have the component
contain multiple states to represent the pages of the application.
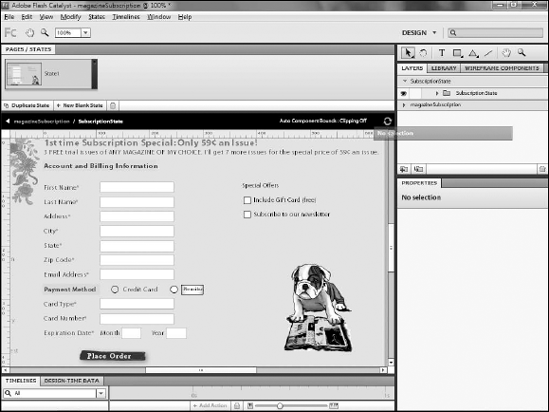
On the Pages/States panel, select the SubscriptionState.
Double-click the SubscriptionState component on the artboard (see Figure 1).

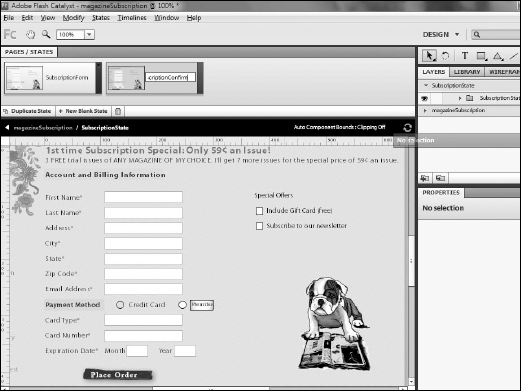
Rename Page1 as SubscriptionForm.
Rename the new state SubscriptionConfirm (see Figure 2).
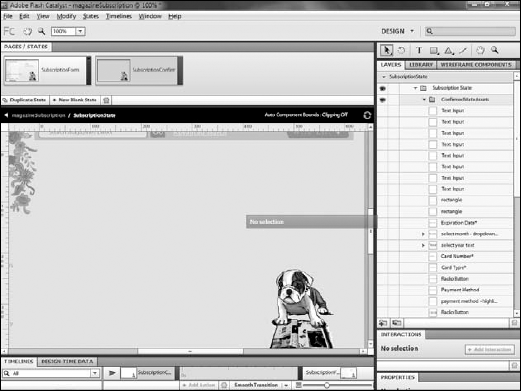
On the Layers panel, hide the layers that contain the form elements.
Create a new sublayer named ConfirmedStateAssets (see Figure 3)


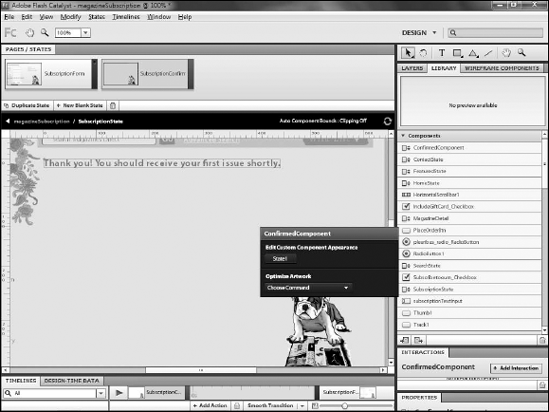
On the Library panel, drag the ConfirmedComponent to the artboard. (See the Figure 4).

Click the main application's name on the navigation bar to exit editing the component.
You have now created a state within a
component. States within components serve the same purpose as states in
the main application, allowing you to display different information to
your users based on their actions.