Masking is a way of selectively hiding and displaying
content on a layer. Masking is a way for you to control the content
that your audience sees. For example, you can make a circular mask and
allow your audience to only see through the circular area, so that you
get a keyhole or spotlight effect. In Flash, you put a mask on one layer
and the content that is masked in a layer below it.
Masks can be animated, and the
content that is masked can also be animated. So, the circular mask can
grow bigger to show more content, or the content can scroll under a mask
like scenery whizzing by a train window.
Define the Mask and Masked layers
You’ll create a rectangular
mask that starts small and grows larger to cover the Stage. The
resulting effect reveals the contents of the Masked layer slowly,
similar to a sliding door opening.
1. | Open the file page2.fla.

A single layer called content contains a movie clip of the second section about a new car.

|
2. | Insert a new layer above the content layer and rename it mask.

|
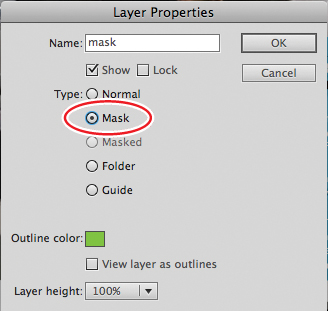
3. | Double-click the icon in front of the layer name.
The Layer Properties dialog box appears.
|
4. | Select Mask and click OK.

The top layer becomes a Mask layer. Anything that is drawn in this layer will act as a mask for a Masked layer below it.

|
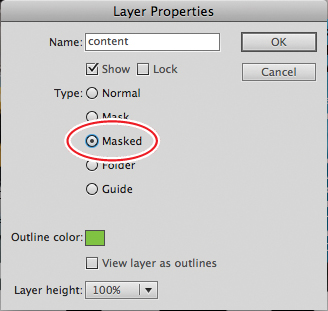
5. | Double-click the icon in front of the bottom layer named content.
The Layer Properties dialog box appears.
|
6. | Select Masked and click OK.

The bottom layer becomes a Masked layer and is indented, indicating that it is affected by the mask above it.

|
Note
You can also simply drag a normal layer under a Mask layer, and Flash will convert it to a Masked layer.