Many of your images will
probably not be sized to the exact dimensions you need. You have several
options at your disposal. To change the size of an image, you can use
the Image Size or Canvas Size command. You can also use the Crop tool or
Free Transform command to make an adjustment. You can use these choices
individually or in combination to achieve the desired results.
1. Image Size
The Image Size command lets you permanently reassign
the total pixel count, as well as resolution, for a particular image.
You can also use this command to upsample or downsample an image. This
is an easy way to size an image to a specific height or width. Let’s put
the command into action:
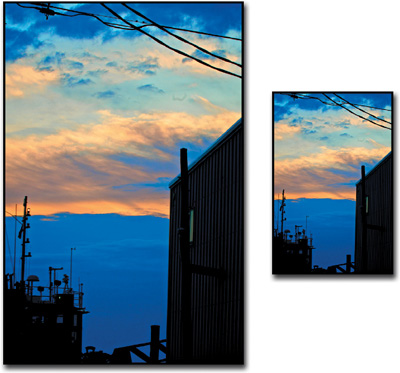
1. | Open the file Ch04_Dawn.tif .
|
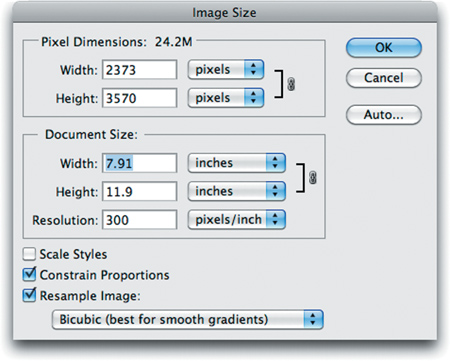
2. | Choose Image > Image Size or press Command+Option+I (Ctrl+Alt+I).
The Image Size dialog box offers several choices. You can choose to
manipulate the pixel dimensions of the image (measured in pixels or
percent). You can also modify the print size, which is the size of the
image when printed. You can modify the print size based on percent,
inches, centimeters, millimeters, points, picas, or columns. The most
common choices are percent, inches, or centimeters, because most users
easily understand these units of measure.

|
3. | Set the Document Size to measure in inches. Specify a new height of 6 inches.
|
4. | Be
sure to select the Resample Image option if you want to change the
pixel dimensions. Choose the method to Resample Image that is most
appropriate for your image. Bicubic is the most common method, but you
may have special circumstances.
Tip: Return of Focus
You can avoid the need for upsampling by scanning or
creating the image at a sufficiently high resolution. If you want to
preview the effects of changing pixel dimensions onscreen or to print
proofs at different resolutions, resample a duplicate of your image.
|
5. | Leave
the Constrain Proportions check box selected, or you will introduce
distortion. You generally want to keep the width and height constrained
to the same ratio so the image resembles its original appearance.
|
6. | Enter a resolution of 300 pixels per inch for professional printing.

|
7. | Click OK.
|
2. Canvas Size
The canvas size is your work area. When you create a
new document, you can specify the size of your canvas. When you scan a
photo or import a digital image, the canvas size is set to the edge of
the image. You may need to change the canvas size to crop or extend the
canvas of your image to work on specific areas of the image. Let’s try
it out:
1. | Open the file Ch04_Nails.tif .
|
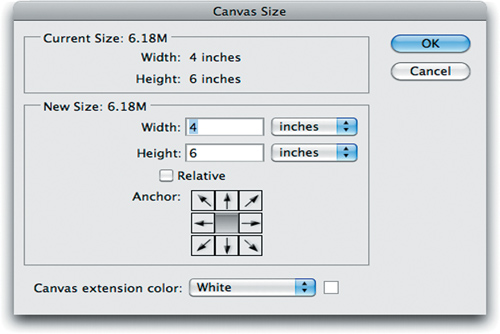
2. | Choose Image > Canvas Size or press Command+Option+C (Ctrl+Alt+C).
In the Canvas Size dialog box you’ll see the dimensions of your current
canvas. You can specify a new canvas size using a variety of
measurements. Pixels is a useful measurement if you’re creating screen
graphics, whereas inches or centimeters is easier to understand for
print work. Using percentage is also good for incremental amounts.

Let’s place a uniform border around the image.
|
3. | Select
the Relative check box. This disregards the numerical values of the
current canvas size and allows you to specify a new amount to be added
to the existing image.
|
4. | Ensure
that the anchor point for the image is set to centered. This will
expand the border in all directions around the center of the current
image.
|
5. | Add a half-inch border on all sides. Type .5 inches into the Width and Height fields.
|
6. | Specify
a Canvas extension color. This is the color that Photoshop places
around the image when you change the canvas size. You can choose to use
the foreground or background colors that are loaded in the toolbox. You
can also use white, black, gray, or other, which can be any color you
specify. In this case, choose white.

|
7. | Click OK. |