You can apply animations to individual objects on
your slide, from clip art and pictures to text placeholders. Animations
include effects that make an object seem to appear on or disappear from
your slide in Slide Show view in some fashion. For example, you might
choose to have a heading appear letter by letter or fly onto your slide.
The Motion Path category of animations allows you to have the object
appear and then move around a path you specify on your slide.
1. Add an Animation Effect to an Object
Click the object to select it.
Click the Animations tab.
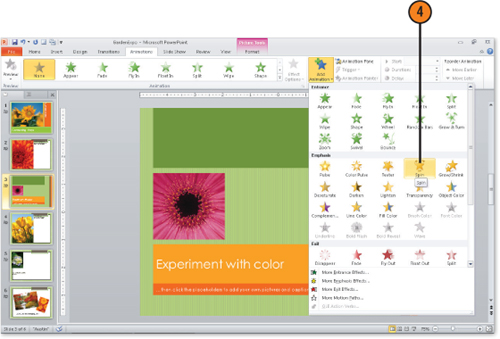
Click Add Animation to display the Animation gallery.
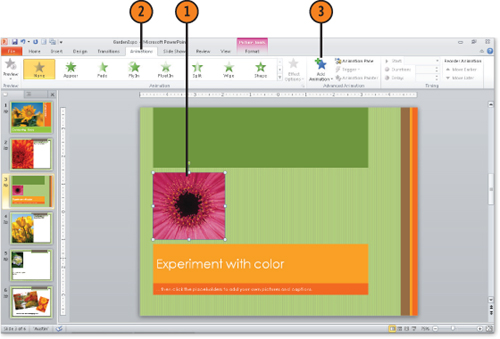
Click an effect from the gallery.
Note:
If you want the same
animation applied to all objects of a certain type—for example, to all
title objects on slides using the Title And Content layout—apply the
custom animation in Slide Master view.
Note:
Don’t overdo animations. If
they play all the time, your audience can become bored with them. Use
them for special emphasis, at the start of a new section of your
presentation, or to drive home a key point.
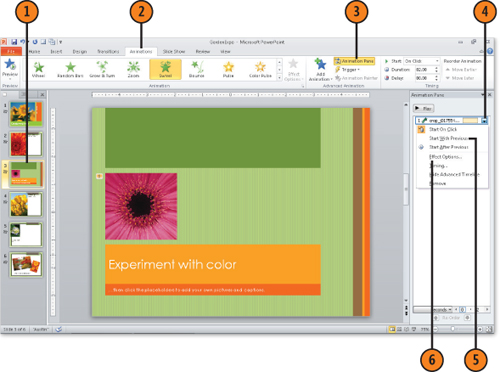
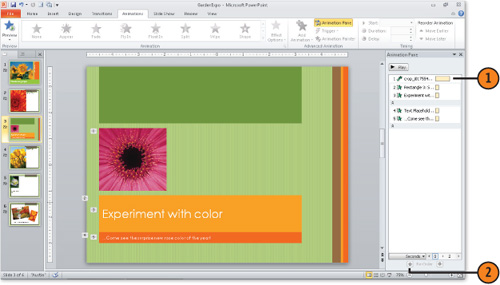
2. Modify Animation Settings
Display a slide that has an object with an animation effect applied to it.
Click the Animations tab.
Click Animation Pane to display the Animation Pane.
Click the arrow at the right side of the animation you want to modify in the list.
Click
any of the first three settings on this menu to specify whether the
effect plays when you click your mouse, along with any previous
animation, or after the previous animation.
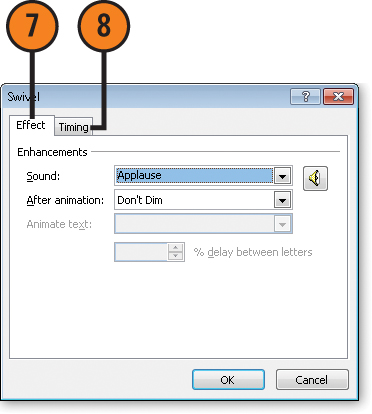
Click the Effect Options command on this menu to open an effect dialog box.
On
the Effect tab of this dialog box, you can make settings depending on
which effect you chose. For example, if your effect shrinks your text,
the Font Size field lets you choose the font size to shrink to. If your
effect causes the object to spin, the Amount field lets you choose by
how many degrees the object should spin.
Click the Timing tab, and choose the duration for the effect and whether it should repeat.
Note:
To remove an animation
effect from an object, click the arrow next to it in the list of effects
in the Animation Pane and click Remove.
Note:
You can click the arrow at the
right of an effect in the list of effects and choose Effect Options
from the menu that appears to make all these settings and more in a
dialog box. If you select the option of starting an animation after
another animation plays, you can use the Timing tab in this dialog box
to specify a delay between the two animations.
3. Reorder Effects
With the Animation Pane displayed (click the Animation Pane button on the Animations tab), click an effect in the list.
Click the up arrow in the Re-Order area at the bottom of the pane to move the effect up in the list.
Click the down arrow to move the effect down in the list.
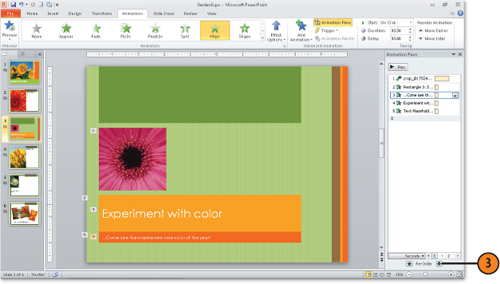
Repeat steps 1, 2, and 3 to reorganize the list of effects in any way you like.
Note:
If you reorganize slides,
remember to check each slide’s Start setting. For example, if you want a
slide to use a certain entrance effect that relates to the contents of
the slide before it, you may want to change the entrance effect to be
relevant to its new predecessor when you move that slide.
Note:
You can apply more than one
animation to any object—so, you might have a heading shrink its font
size, spin around 360 degrees, and then fly off the slide. If you do
this, you can use the method described here to reorder the effects
applied to that object.