Three-slice technique for content containers
A common visual technique for containing web content is to put the content inside some sort of container, often called a pod,
which can expand vertically or horizontally to contain additional
content. The three-slice technique creates a pod that expands in one
dimension while the other dimension remains fixed.
In this exercise—we’re back in Fireworks now—you will
create the slices for vertically flexible pods for the Bare Tree
Society website.
1. | Open the bare_tree.fw.png file from the Lesson13 folder.
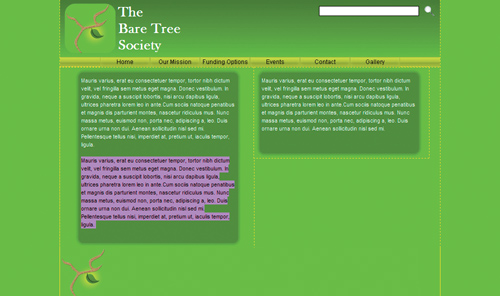
Conveniently, both pods are the same width, so you need only slice up
one pod and use the same exported graphics for both pods in the final
web design.
To create slices that will export only the pod areas and not the text, you will have to hide the text in one pod.
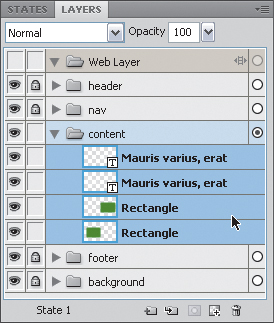
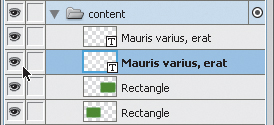
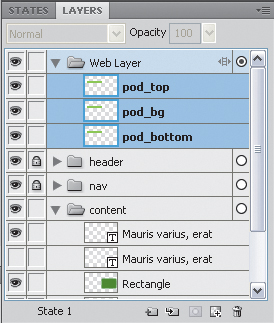
The content layer holds all the elements for the content area of the design: two text blocks and two rounded rectangles.
|
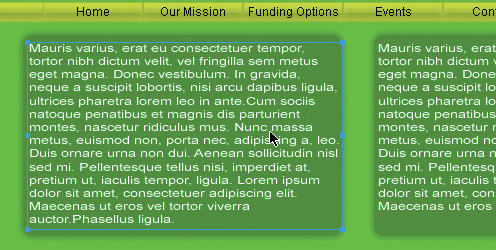
2. | Select the text in the left pod with the Pointer tool.
|
3. | Locate the selected object in the Layers panel, and hide the object by clicking its Show/Hide box (
 ).
).
|
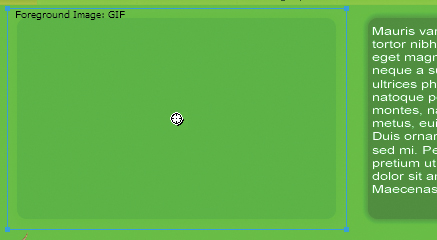
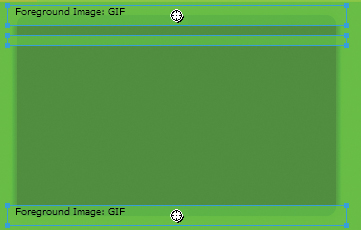
4. | On the canvas, right-click (or Control-click) on the rounded rectangle, and choose Insert Rectangular Slice.
This slice will cover the entire rectangle, including the outer glow.
When you have shapes that use glows or drop shadows, letting Fireworks
create the initial slice can be more accurate.
|
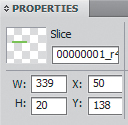
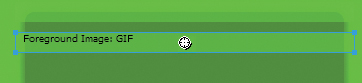
5. | In the Properties panel, change the height of the slice to 20 pixels.

|
6. | Choose Edit > Clone to create an exact copy of the slice.
Tip
If you hold Shift while pressing the arrows, your slice will move ten pixels at a time instead of just one pixel.
|
7. | Use the Down Arrow key to reposition this new slice below the original slice.
|
8. | Change the height to 10
pixels in the Properties panel. This will become the repeating
background image for the pod. Its exact Y position is not too important,
as long as it doesn’t overlap the other slices.
|
9. | Select the top slice and clone it again.
|
10. | Use the arrow keys to reposition the new slice at the bottom of the pod. The Y value for the new slice position will be 338.
|
11. | Select all three slices, and change the Slice Export Settings option to JPEG – Better Quality from within the Properties panel.
|
12. | Name the slices appropriately in the Layers panel: pod_top, pod_bg, and pod_bottom.
|
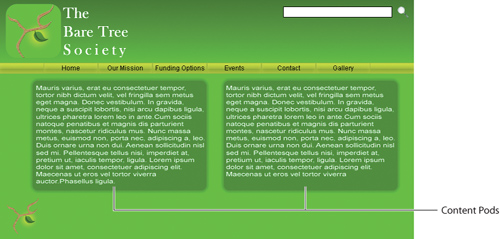
Once
the graphics have been exported, the design can be assembled in
Dreamweaver using a combination of HTML and CSS. There are several
different ways to achieve this result. In this figure, you can see how
adding additional content to a container within Dreamweaver expands the
left container, leaving the right container unaffected.