1. Working with Perspective Objects
The Perspective Selection tool (New!)
allows you to select, move, scale, copy, and transform objects in
perspective. You can also add normal objects, text, and symbols to the
perspective grid. When you move or change a normal object to the
perspective grid, its appearance and scale change to adhere to the grid.
You can select perspective objects in the grid with the Perspective
Selection tool by clicking individual objects or dragging a selection
marquee, just like normal objects.
Modify Perspective Objects
- 1. Click the View menu, point to Perspective Grid, and then click Show Grid.
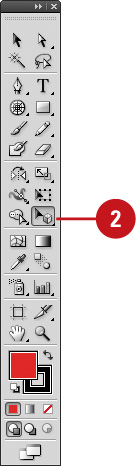
- 2. Click the Perspective Selection tool on the Tools panel.
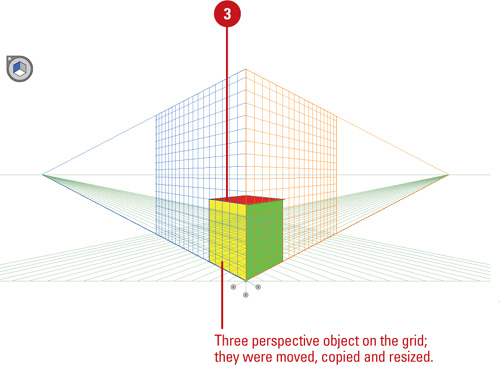
- 3. To work with perspective objects on the grid, do any of the following:
- Move Perspective Objects.
Select the object, and then drag it to another position or use the Arrow
keys. Press tilde (~) to constrain the move to parallel.
- Move or Copy Perspective Objects and Grid Plane. Double-click a grid plane control, click the Move All Objects or Copy All Objects option, click OK, and then drag the grid plane control.
- Copy Perspective Objects. Select the object, and then Option+drag (Mac) or Alt+drag (Win) it to another position.
- Resize Perspective Objects. Select the object, and then drag a resize handle.
- Add Normal Objects. Select the active plane, and then drag the normal object to the plane.
- Add Text and Symbols. Select an existing normal text or symbol, and then drag it on the active plane. To modify the text and symbols, use the Edit Text, Edit Perspective, and Isolate Selected Object buttons on the Control panel.
2. Customizing a Perspective Grid
If you create your own perspective grid, you save it as a preset (New!)
for use later. You can create a perspective grid by using the Define
Grid command to set exacting measurements and options or by manually
adjusting an existing grid, and then saving it as a preset, which you
can edit at any time. When you create or work with an existing
perspective grid, you can set grid options (New!)
to show or hide the active plane widget, change the widget position,
and specify which points you want to use to temporarily hide the active
plane with the Shift key.
Set Perspective Grid Options
- 1. Double-lick the Perspective Grid tool on the Tools panel.
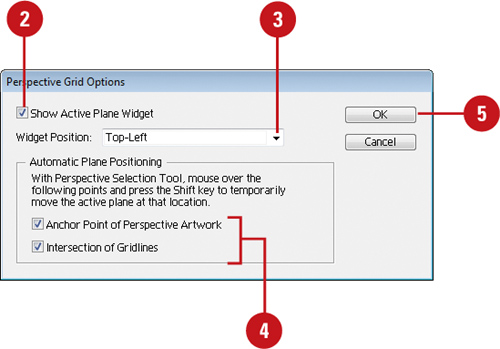
- 2. Select the Show Active Plane Widget check box to display it.
- 3. Click the Widget Position list arrow, and then select a position.
- 4. Select the Anchor Point Of Perspective Artwork or the Intersection Of Gridlines check boxes to specify the points where you want to temporarily hide the active plane with the Shift key.
- 5. Click OK.
Create a Perspective Grid Preset
- 1. Click the View menu, point to Perspective Grid, and then click Define Grid to create a grid (steps 3 thru 6) or manually create one.
- 2. Click the View menu, point to Perspective Grid, and then click Save Grid As Preset.
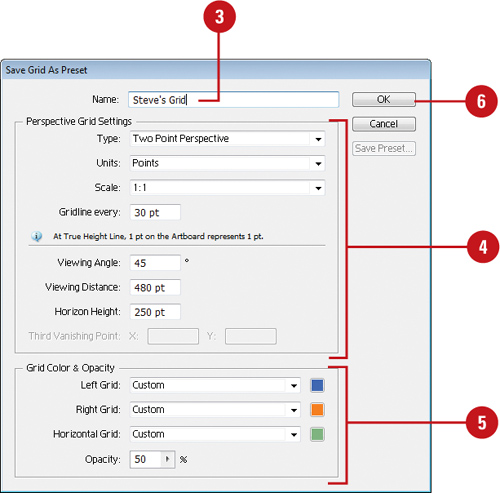
- 3. Type a name for the preset.
- 4. Specify the perspective grid settings you want.
- 5. Specify the grid color & opacity settings you want.
- 6. Click OK.
- 7. To edit a grid preset, click the Edit menu, click Perspective Grid Presets, select a preset, click Edit, make changes, and then click OK.