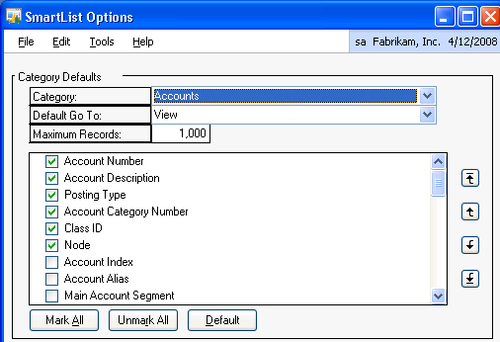
Default SmartLists contain predefined sets of fields.
However, users always want to add additional fields or rearrange
existing columns. Fortunately, Dynamics GP provides this functionality
out of the box.
Users can add fields to
SmartLists, remove fields, or rearrange their order allowing users to
fine tune SmartLists to meet their needs. In this recipe, we'll look at
adding and rearranging fields in SmartLists.
How to do it...
To add a field to a SmartList:
1. Click on the SmartList button on the menu bar at the top or select Microsoft Dynamics GP from the top and click on SmartList.
2. Select Financial, then Account Transactions in the left pane.
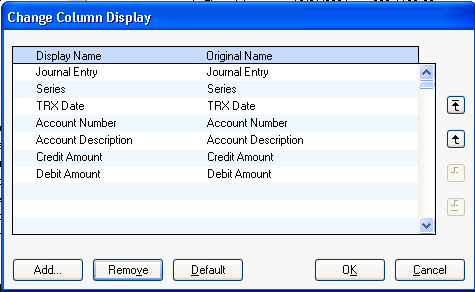
4. Click on Add. This exposes all of the available fields for a SmartList, not just the defaults:
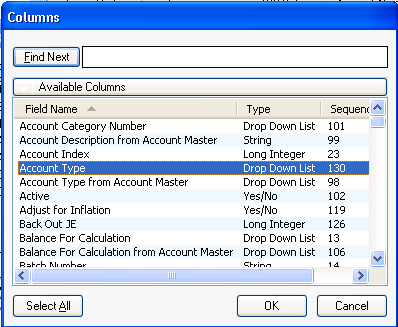
5. Select Account Type and click on OK to add this field to the SmartList:
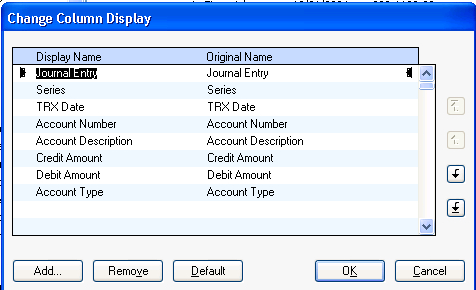
To rearrange fields on a SmartList:
1. Continue on the current screen and select Account type
2. Click on the Up arrow button twice to move Account Type above Credit Amount:
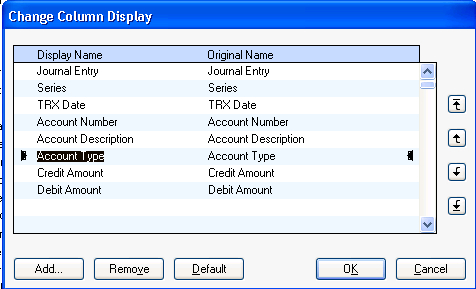
3. Click on Debit Amount and click on the Up arrow button once to move it ahead of Credit Amount:
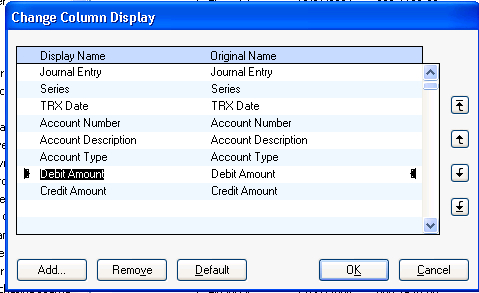
How it works...
The ability to add,
remove, and rearrange fields on a SmartList gives users even more
control over SmartList reporting. When users can satisfy their own
custom reporting needs it significantly reduces the reporting burden for
administrators.
There's more...
Sometimes users need to
remove fields from SmartLists as well. Also, field changes are NOT saved
from one session to another. So saving the SmartList as a Favorite
after the changes are made is important. Finally, it is possible to add,
remove, and rearrange fields on the default SmartLists.
Removing fields
Sometimes a SmartList just has more information than needed. To remove fields and clean up a SmartList click on Columns, select the column to delete, and click on Remove.
Favorites
Field changes to
SmartLists are not saved. Clicking on another SmartList or otherwise
moving off of a SmartList will cause field changes to reset. Saving the
SmartList as a Favorite after the changes is the only way to preserve
field changes. The recipe Speeding up access to information with SmartList Favorites has specifics on saving SmartLists.
Default SmartLists
The default SmartLists can also
be modified to include or exclude columns and adjust the order as well.
This is done by selecting Administration from the Navigation Pane and then selecting SmartList Options under Setup.
In this window, fields are
added or removed by selecting or deselecting the checkbox next to a
column. These can be reordered using the arrows at the right:
