You can use Adobe Bridge to organize,
browse, and locate the assets you need to create content for print, web,
television, DVD, film, and mobile devices. Adobe Bridge keeps native
Adobe files (such as PSD and PDF files) as well as non-Adobe application
files available for easy access. You can drag assets into your layouts,
projects, and compositions as needed; preview your assets; and even add
metadata (file information) to assets to make files easier to locate.
In this exercise, you will jump to Adobe Bridge to import the still image that will serve as the background of your composition.
1. | Choose File > Browse In Bridge. If you receive a message about adding an extension to Adobe Bridge, click OK.
|
Adobe Bridge opens, displaying a collection of panels, menus, and buttons.
Tip
To open Adobe Bridge
directly, choose Adobe Bridge from the Start menu (Windows) or
double-click the Adobe Bridge icon in the Applications /Adobe Bridge
folder (Mac OS).
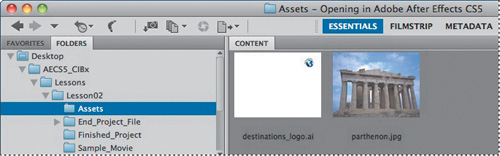
2. | Click the Folders tab in the upper-left corner of Adobe Bridge.
|
3. | In
the Folders panel, navigate to the AECS5_CIB/Lessons/Lesson02/Assets
folder. Click the arrows to open nested folders. You can also
double-click folder thumbnail icons in the Content panel.
Note
We’re using the Essentials workspace, which is the default workspace in Bridge.
|
The Content panel updates
interactively. For example, when you select the Assets folder in the
Folders panel, thumbnail previews of the folder’s contents appear in the
Content panel. Adobe Bridge displays previews of image files such as
those in PSD, TIFF, and JPEG formats, as well as Illustrator vector
files, multipage Adobe PDF files, QuickTime movie files, and more.
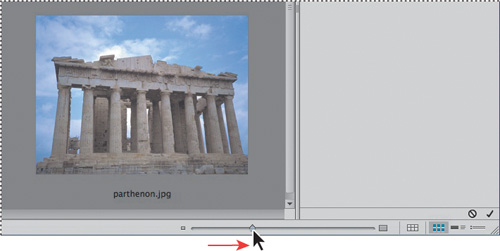
4. | Drag the thumbnail slider at the bottom of the Adobe Bridge window to enlarge the thumbnail previews.
Tip
To prioritize different
information in Adobe Bridge, change the workspace: choose Window >
Workspace, and then select a workspace. See Adobe Bridge Help to learn
about customizing Adobe Bridge.
|
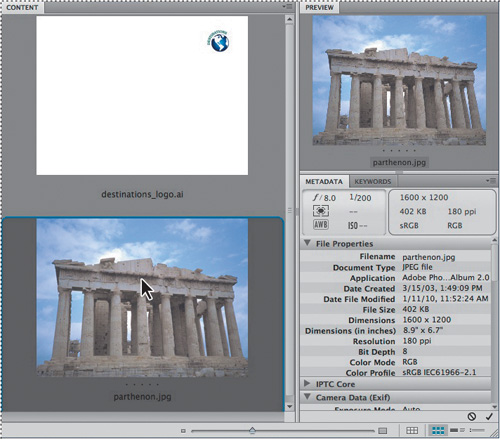
5. | Select
the parthenon.jpg file in the Content panel, and notice that it appears
in the Preview panel as well. Information about the file, including its
creation date, bit depth, and file size, appears in the Metadata panel.
 |
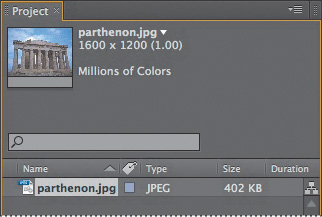
6. | Double-click
the parthenon.jpg thumbnail in the Content panel to place the file in
your After Effects project. Alternatively, you can drag the thumbnail
into the Project panel in After Effects.
|