Catalyst creates FXP files. An FXP file is actually
nothing more than a zipped Flex project, which can be opened directly in
Flash Builder. Therefore, there is nothing special you actually need to
do in order to export your file to Flash Builder; it will automatically
be in a file format supported by Flash Builder.
However, it is a good idea to
make a back-up copy of the project so that it can be opened later by
Catalyst if changes need to be made.
In Catalyst, choose File => Save As.
Navigate to the folder into which you wish to save the back-up copy of the project.
If necessary, rename the project.
Click Save (see Figure 1).

NOTE
If you'd prefer, you can also create a backup copy of the project using Windows Explorer or Finder on the Mac.
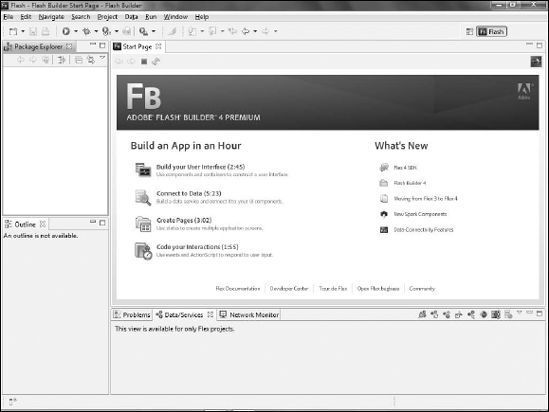
Open Flash Builder. On Windows, choose Start =>
All Programs. If you purchased Flash Builder as a part of a suite,
there will be a folder representing that suite that should contain Flash
Builder. Otherwise, look for an Adobe folder. On a Mac, use the
Applications folder to launch it (see Figure 2).
NOTE
If you do not have a copy of Flash Builder, you can download a free trial version from www.adobe.com/products/flex. The trial is fully-functional, but will eventually time-out and stop working.
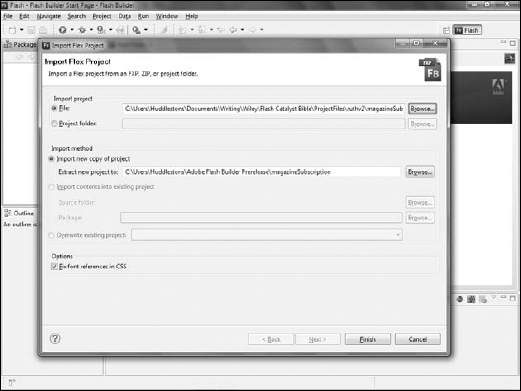
In Flash Builder, choose File => Import Flex Project (FXP), as shown in Figure 3.
Click the Browse button to browser for a file to import.
Navigate to the directory that contains the original FXP project from Catalyst.
On the Import Flex Project dialog box, click Finish (see Figure 4). The project will be imported into Flash Builder.

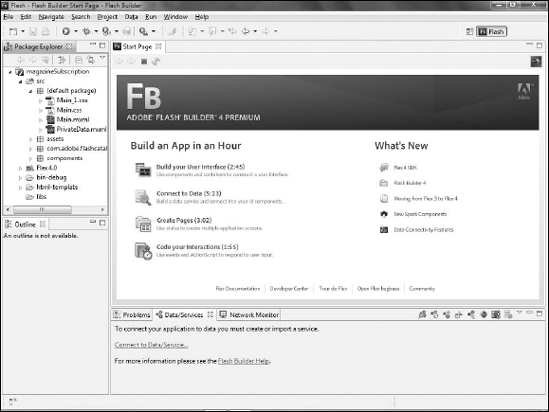
Expand the package in the Package Explorer in Flash Builder to examine the project's files (see Figure 5).
Open Main.mxml from the Package Explorer. This is the primary file created by Catalyst, and represents the starting file for the project.
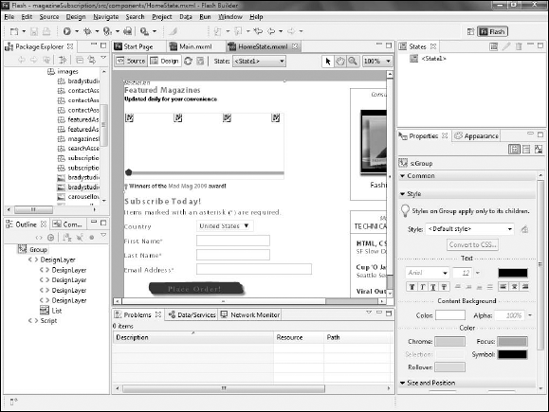
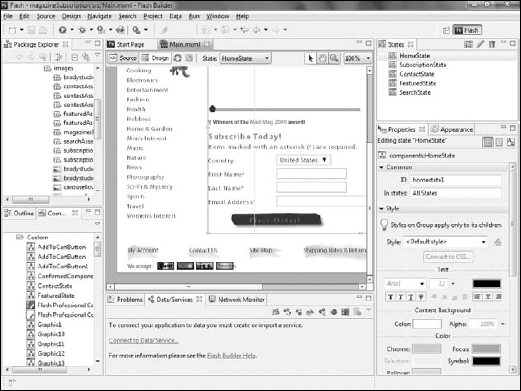
If necessary, click Design to view the project in Design mode. The view of the project in Design mode should closely resemble Catalyst's view (see Figure 6).
Click Source. This switches to Flash Builder's code view, where you can edit the code for the project.
Examine the code that was created by Catalyst (see Figure 7).
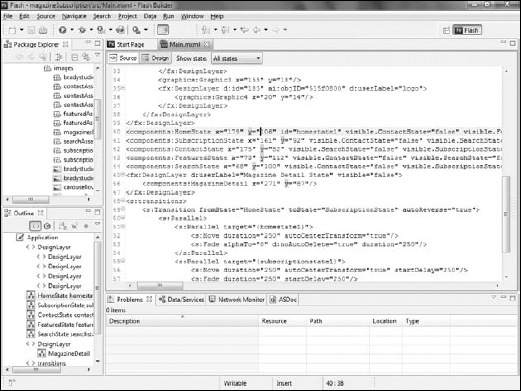
There will likely be
less code in this file than you may have anticipated, as it does not
contain all of the code for the project. Every component is contained
within its own, independent MXML file.
In the Package Explorer, click the arrow to open the CustomComponents folder.
Double-click one of the custom components to open it. In this example, the SubscriptionAssets component has been opened.
Examine the source code of the component (see Figure 8).
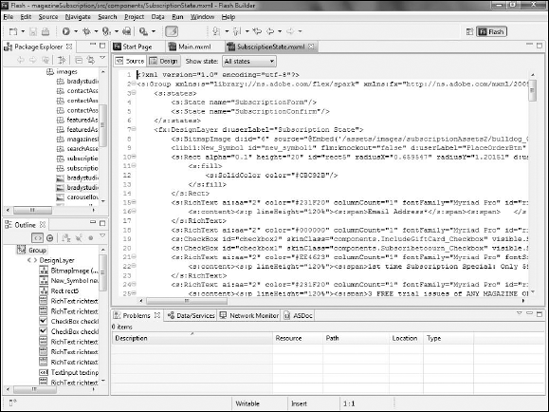
Click Design to switch back to Design mode. Again, the component appears in Flash Builder in a manner very similar to what you saw in Catalyst (see Figure 9).
You have now imported your Catalyst project into Flash Builder and examined some of the elements of the project.
