In this lesson, you will work with masks to create a
banner ad for the promotion of the Double Identity movie, and you’ll
have a chance to brush up on importing images and using the Pen and
Subselection tools along the way.
Before we get into that, we’ll talk about the
differences between the two types of masks, and take a look at the
finished artwork to give you an idea of where you’re going.
1. | Open the movie_banner_final.fw.png file .
In this file, masks have been used on the cars and the actors. In many
cases, the mask fill has been changed to a gradient, to provide a more
realistic fade into the background.
|
2. | Close this file, or keep it open for reference as you progress through the lesson.
|
In a nutshell, masks hide or show parts of an object
or image. At their simplest, masks are a nondestructive way of cropping
objects in your design, without permanently deleting anything. A mask
can be edited or discarded at any time. You can also permanently apply a
mask, flattening it to the image being masked. There are two basic
kinds of mask: bitmap and vector.
Bitmap masks
Bitmap masks hide bitmap image data using a
pixel-based mask. You can create bitmap masks using other bitmap images,
selections, or the Brush (
 ) tool.
To create a selection for a mask, you can use any of
the bitmap selection tools. Decide on the type of edge you want for the
selection (Hard, Anti-alias, or Feather) using the Live Marquee settings
in the Properties panel. Then, just draw your selection. Bitmap
selections can create masks only for other bitmaps.
Tip
You can also mask one bitmap image with another. The
darker tones in a photo used as a mask will hide areas on the image
being masked. Lighter tones reveal parts of the masked image.
Using the Brush tool, you can easily create or edit
the mask live on the canvas, just by painting. Black hides, white
reveals, and shades of gray produce semitransparency. (We’ll remind you
of this important basic concept later in the lesson.) If you set your
brush color to a shade of gray, the pixels you paint over will be
semitransparent.
|
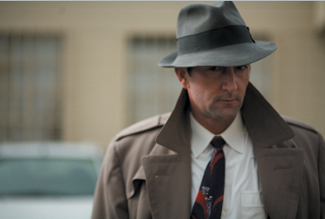
Original image
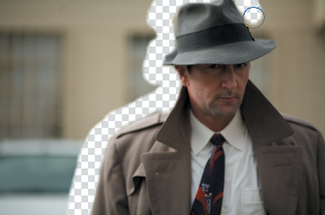
Beginning to paint a bitmap mask using the Brush tool and black for the brush color
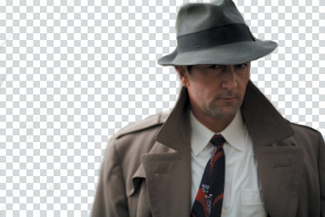
The final masked image
|
Vector masks
Vector
masking is one of the most powerful features in Fireworks. Like bitmap
masks, vector masks are a nondestructive way of cropping, but unlike
bitmap masks, vector masks can be applied to vectors, bitmaps, groups,
or graphic symbols.
Compared to bitmap masks, vector masks tend to have a
higher degree of control and accuracy, because you use a path, not a
brush, to create them. It’s easy to change the fill or stroke of a
vector mask. Generating the same type of effect with a bitmap mask can
be more time consuming.
Vector masks use one of two modes: Path Outline or Grayscale Appearance. You can change the mode in the Properties panel.

In Path Outline mode, the vector mask acts like a cookie cutter, using the shape of the path to act as the mask.
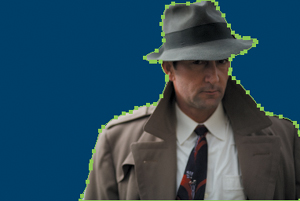
In
Grayscale Appearance mode, any bitmap information in the vector fill
gets converted to a grayscale alpha channel. Grayscale Appearance uses
the pixel values of the vector’s fill and
the vector shape itself to create the mask. If your vector mask has a
range of tones in it—such as a gradient fill—the image will be hidden or
revealed based on those tones. Just like with bitmap masks, black
hides, white reveals, and shades of gray produce semitransparency, as in
this example, where a linear gradient has been used to fill the vector
shape.
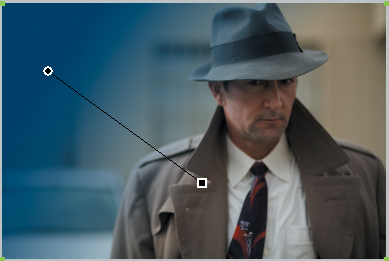
The convenient Auto Vector Mask command works in this way as well. We’ll try that out later in the lesson.
You can easily apply a shape as a mask, whether you
drew a vector shape using a shape tool or used the Pen tool to create a
custom shape.