After you create an object, you can change its
orientation by rotating it. For a freeform rotation, when you want to
rotate the object in other than 90-degree increments, you can use the
Selection or Rotate tool. You can transform the object from its center
or the reference point. With the Selection tool, you can drag a corner
handle (New!) just like in Illustrator to rotate around the center. With the Rotate tool, which is under the Free Transform tool (New!),
you drag the object to rotate around the reference point. As you drag a
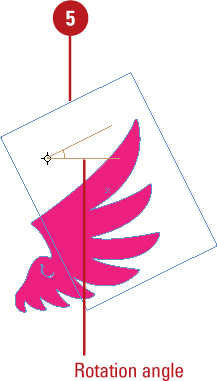
freeform rotation, rotation lines and a tool tip appear from the center
or reference to indicate the rotation angle (New!).
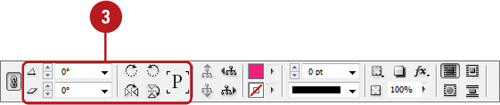
To rotate an object in 90-degree increments or flip it horizontally or
vertically, you can use easy access buttons on the Control panel. If you
want to rotate an object with an exact angle value, you can use the
Control or Transform panel, which is available on the Object &
Layout submenu on the Window menu.
Free Rotate an Object Using the Selection Tool
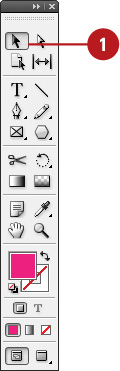
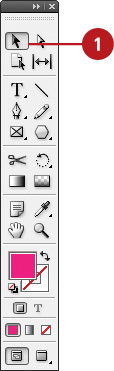
- 1. Select the Selection tool on the Tools panel.
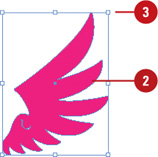
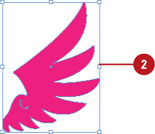
- 2. Select one or more objects to transform.
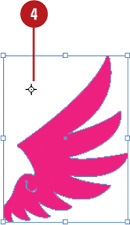
- 3. Position the pointer just outside a corner handle (cursors changes to an arc with arrows) (New!).
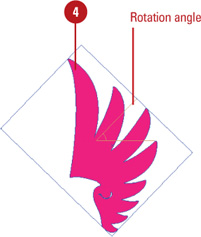
- 4. Drag in a circular motion. As you drag, rotation lines appears indicating the rotation angle.
- To rotate in 45-degree increments, Shift-drag.
Did You Know?
You can can rotate a graphic using the Selection tool.
Select the Selection tool on the Tools panel, select the graphic frame,
position the pointer just outside a corner handle, and then drag to
rotate the object. As you drag, rotation lines appear in the center of
the content grabber indicating the rotation angle (New!).
Free Rotate an Object Using the Rotate Tool
- 1. Select the Selection tool on the Tools panel.
- 2. Select one or more objects to transform.
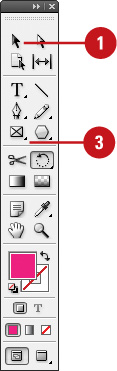
- 3. Select the Rotate tool on the Tools panel.
- 4. To move the reference point, click a new point.
- 5. Drag in a circular motion.
- To rotate in 45-degree increments, Shift-drag.
Rotate or Flip an Object in Increments
- 1. Select the Selection tool on the Tools panel.
- 2. Select one or more objects to transform.
- 3. Use any of the following methods:
- Rotate Value. Enter a Rotation Angle on the Control or Transform panel.
- Rotate 90° Intervals. Click the Rotate 90° Clockwise or Rotate 90° Counter-clockwise button on the Control panel.
- Flip. Click the Flip Horizontal or Flip Vertical button on the Control panel.
|