Label Icons and Data Fields
For many of the interface
controls, an identifying label icon appears next to a related data
field. The icon gives you a visual representation of what the control’s
function is. You can click this icon to select the current value that is
displayed in the accompanying data field (see Figure 4).

ToolTips
These little guys can be
really helpful if you’re new to InDesign. Some of the label icons may be
hard to decipher if you’re new to the interface, in which case it’s
ToolTips to the rescue! Just hover your cursor over any tool, control,
or panel name, and in a few seconds, a little yellow box appears with a
description (see Figure 5).
To determine how long it takes
for a ToolTip to appear when hovering your cursor over an object, choose
InDesign, Preferences, Interface (Mac) or Edit, Preferences, Interface
(Win), and choose an option from the ToolTips drop-down list. Options
include Fast (the default) or Normal. To disable ToolTips, choose None.
Interface Menus
In addition to the menu
lists that are accessible from the menu bar, you can access a series of
menus at various other places within the InDesign interface. The menus
are broken down into four categories: Panel Menus, Footer Menus,
Contextual Menus, and Drop-downs.
Panel Menus
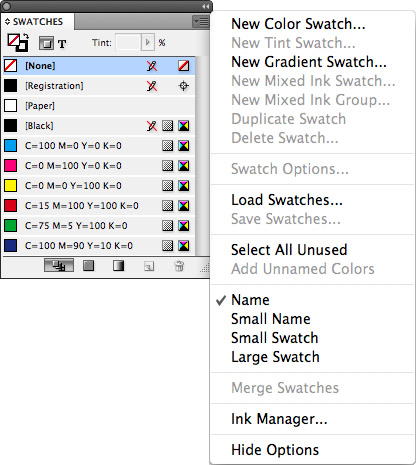
Most of the panels
contain additional options that you can access via the panel’s flyout
menu. To display the flyout menu, click the panel menu icon located in
the upper-right corner of the panel, where you can choose from several
panel-specific commands (see Figure 6).
If you can’t find the
command you’re looking for from the menu bar lists, it’s always a good
idea to check a related panel menu. You might be surprised at what
you’ll find!
|
To display an alphabetical list
of options in the panel menu, hold down Shift-Opt-Cmd (Mac) or
Shift+Alt+Ctrl (Win) when you click the panel menu button.
|
Footer Menus
Footer menus behave
exactly like panel menus; the only exception is that you must access
them from the bottom of a window (such as the Glyphs panel or the
document window) rather than from the top of a panel (see Figure 7).
Contextual Menus
Control-clicking (Mac)
or right-clicking (Win) in the document window, as well as in certain
panels and dialog boxes, gives you quick access to certain item-specific
options (see Figure 8). These options are determined by which tool you have selected and where you click in the interface.
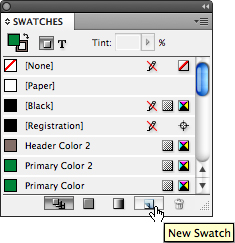
Drop-down Lists
Many of the panels and dialog boxes contain drop-down lists that provide additional options and settings, as shown in Figure 9. Click the blue arrows to access these drop-down lists.
On/Off Controls
Some controls in InDesign
simply need to be turned on or off. There are three simple ways to “hit
the switch” for these controls: by clicking check boxes, option buttons,
and toggle buttons.
Check Boxes
Certain controls in InDesign
are turned on and off by checking boxes. A checked box indicates that
the control is on, and an unchecked box indicates that it is off. To
place a check in an empty box, click in it with your mouse or click once
on its accompanying text-field description (see Figure 10).
Option Buttons
Various other controls in
InDesign are activated by clicking an option button. You encounter these
only when there are two or more choices for a control, in which case
you can choose one, but never more than one at the same time. Clicking
either the empty circle or its accompanying text-field description
activates your selection (see Figure 11).
Toggle Buttons
Clicking a toggle button
performs a simple, specific task. For example, clicking the Bridge icon
shown here in the Application bar launches the Adobe Bridge application
(see Figure 12). After Bridge is launched, clicking the toggle button brings Bridge to the front of your open applications.

Action Buttons
These buttons appear at the
bottom of certain panels. Clicking one of them performs an action that
is specific to the panel you are currently working with (see Figure 13).
Although they are not labeled, hovering over them with your mouse
launches a ToolTip description explaining what the button’s function is.
To repeat the action, click again.
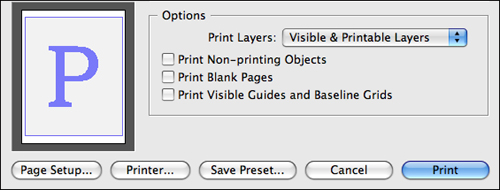
Text Buttons
You can find text buttons in
certain dialog boxes, such as Print, Package, Save, and Export. The
button’s function is labeled with text rather than an icon (see Figure 14).
Click the button to perform its specific action. The blue button (Mac)
or the blue-outlined button (Win) is InDesign’s default choice, which
you can also select by pressing Return (Mac) or Enter (Win).
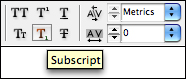
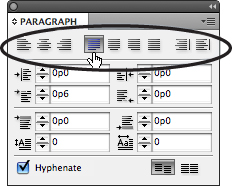
Select Buttons
Select buttons are
always arranged in related groups. Much like the option buttons
described earlier, you can select only one button at a time from the
group. Each button’s function is labeled with a descriptive icon, but if
you’re still not sure what it does, you can always refer to the ToolTip
by hovering over it with your cursor (see Figure 15).
Toggles
Much like Photoshop and Illustrator, InDesign features toggle controls in its Layers panel. As shown in Figure 16,
the two columns to the left of each layer are used for “toggling”
options on or off. The left column toggles the layer’s visibility. The
right column toggles the layer’s lock function.
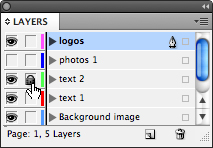
An icon appears in the column
whenever a toggle control is activated; an empty box appears when it is
not. Click in either column to toggle the layer’s visibility and/or lock
function on or off.
|
If your document contains a
large amount of layers and you can’t see them all displayed in the
Layers panel, try selecting Small Panel Rows from the Layers panel menu.
Doing so condenses the list vertically to fit more in the panel
display.
|
Data Fields
Data fields enable you to
enter specific numerical values. Click the label icon or control name to
the left of the data field to highlight the current value and type (see
Figure 17). You can also double-click directly in the data field and enter the preferred value.

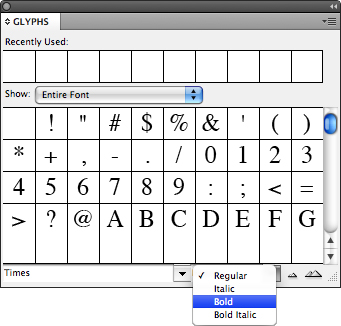
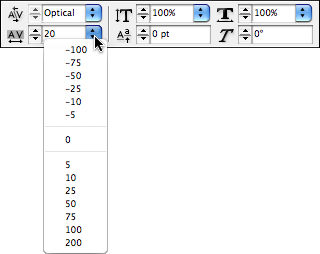
Some data fields are accompanied by a flyout list, which contains preset values to choose from (see Figure 18).
Drop-down Sliders
Some data fields allow you to
adjust a value by using a drop-down slider. To make the drop-down slider
visible, click the arrow to the right of the number. You can then click
and drag the slider arrow to the left or right to adjust the value (see
Figure 19).
Watch the current value that is displayed in the data field change as
you click and drag: lower values are to the left and higher values to
the right. You can also click anywhere on the slider line to place the
arrow at that exact value.
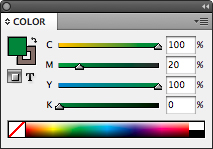
Visible Sliders
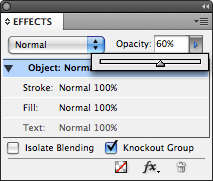
Other data fields have a slider control displayed right next to them rather than hidden in a drop-down (see Figure 20).
These sliders are always visible within the panel. You can use these
sliders to adjust values in the same way as the drop-down sliders.