As good as digital cameras have become these
days, when it comes to exposure, the human eye totally kicks their
butt. That’s why we shoot so many photos where our subject is backlit,
because with our naked eye we can see the subject just fine (our eye
adjusts). But when we open the photo, the subject is basically in
silhouette. Or how about sunsets, where we have to choose which part of
the scene to expose for—the ground or the sky—because our camera can’t
expose for both? Well, here’s how to use Camera Raw to overcome this
exposure limitation:
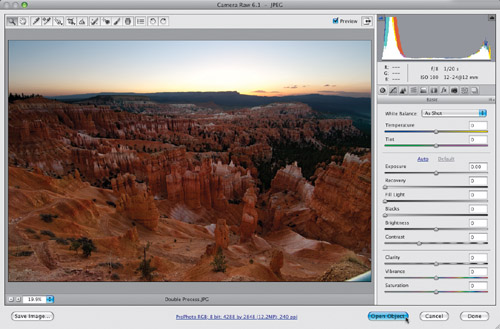
Step One. | Open
the photo you want to double-process. In this example, the camera
properly exposed for the foreground, so the sky is totally blown out. Of
course, or goal is to create something our camera can’t—a photo where
both the inside and outside are exposed properly. To make things easy,
we’re going to open this image as a Smart Object in Photoshop, so
press-and-hold the Shift key, and the Open Image button at the bottom
changes into the Open Object button. Click that button to open this
version of the photo in Photoshop as a Smart Object (you’ll see the
advantage of this in just a minute).
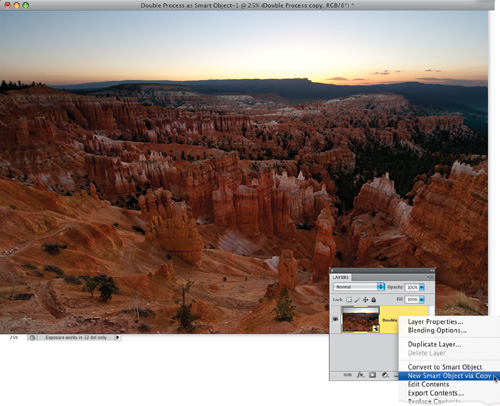
 | Step Two. | Your
image will open in Photoshop as a Smart Object (you’ll see the layer
thumbnail has a little page icon in the bottom-right corner). So, now we
need a second version of this image—one we can expose for the sky. If
you just duplicate the layer, it won’t work, because this duplicate
layer will be tied to the original layer, and any changes you make to
this duplicate will also be applied to the original layer. So, to get
around that, go to the Layers panel, Right-click on the layer, and from
the pop-up menu that appears, choose New Smart Object via Copy. This gives you a duplicate layer, but breaks the link.
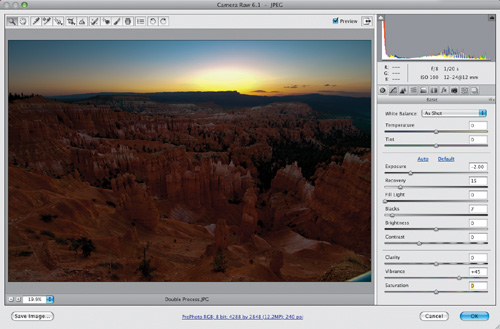
 | Step Three. | Now
double-click directly on this duplicate layer’s thumbnail and it opens
this duplicate in Camera Raw. Here, you’re going to expose for the sky,
without any regard for how the foreground looks (it will turn really
dark, but who cares—you’ve already got a version with it properly
exposed on its own separate layer). So, drag the Exposure slider way
over to the left, until the sky looks properly exposed (I also increased
the Recovery, Blacks, and Vibrance settings). Now, click OK.
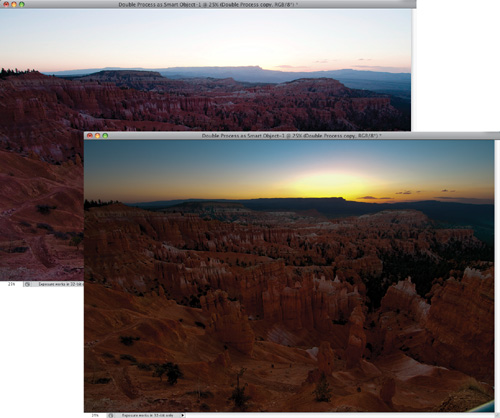
 | Step Four. | You
now have two versions of your photo (as seen here), each on different
layers—the brighter one exposed for the foreground on the bottom layer,
and the darker version on the layer directly on top of it, and they are
perfectly aligned, one on top of the other.
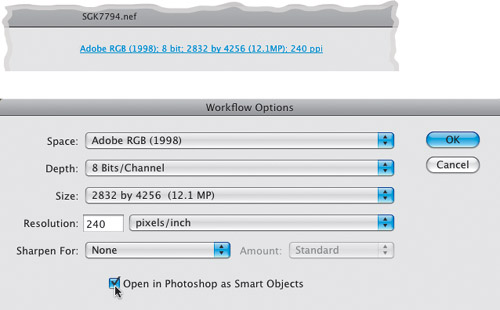
Tip: Always Opening Your Images as Smart Objects
If you always want your RAW-processed images to open
as Smart Objects, click on the workflow options link at the bottom of
the Camera Raw dialog (the blue text below the Preview area), and when
the dialog appears, turn on the Open in Photoshop as Smart Objects
checkbox.
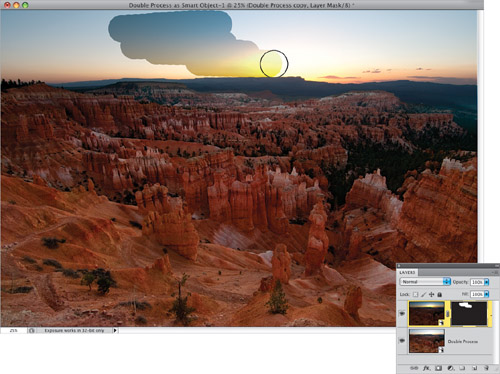
 | Step Five. | Next,
we’ll blend these two images using a layer mask. Go to the Layers
panel, press-and-hold the Option (PC: Alt) key, and click on the Add
Layer Mask icon at the bottom of the panel. This puts a black mask over
the layer with the photo exposed for the sky, covering it so you only
see the lighter image on the background layer (as seen here). Now, press
the letter B to get the Brush tool,
then click on the Brush icon in the Options Bar and choose a
medium-sized, hard-edged brush from the Brush Picker (this helps to keep
you from painting outside the lines). Press the letter D
to set your Foreground color to white, and start painting over the
areas of the photo that you want to be darker (in this case, the sky).
As you paint with white directly on that black mask, the white reveals
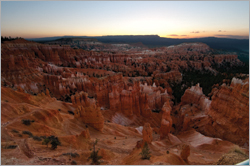
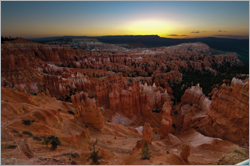
the darker version beneath the mask. Below is a before/after of the
image.
Before
After
|
|