Creating custom shapes
Creating
custom vector shapes opens up a lot of creative options. In this
exercise, you will use the Pen tool to draw a custom vector shape. The
file you will work on (street_scene.fw.png) is all vector artwork, from
simple shapes in the background to complex vector illustration of the
movie’s lead actor. To practice custom shapes and other techniques,
you’ll be updating this file to look like street_scene_complete.fw.png.
To begin, you will create a stylized background to run behind the movie title in this design.
Drawing the shape
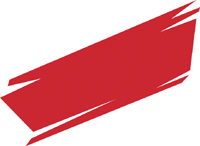
You will do your best to imitate the shape shown in
the following figure. It’s made up of a series of straight anchor point
segments. This is a custom shape, so don’t worry if you don’t create an
exact match. To help you further, you can make the original shape
visible in the Layers panel and use it as a guide.
1. | Open the street_scene.fw.png file .

|
2. | Hide
the detective object by clicking on its eye icon in the Layers panel.
This will make it easier for you to trace the original shape. You can
hide the skyline layer as well, if it is distracting you.
|
3. | Select the Pen tool and specify the layer you’ll draw on.
|
4. | In the Properties panel, set Fill to None. For Stroke, choose Basic > Hard Line. Then set the stroke’s color to #990000 and Texture to 0%.
|
5. | Click
and release the mouse to set each point for the shape. There is no need
to click and drag any of these points as you set them, because they all
need to be straight lines.
|
6. | When
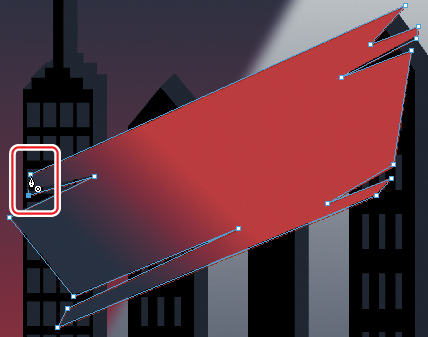
you bring the cursor back to your starting point, notice that the Pen
tool icon changes to the Pen tool with a small circle, indicating you
can close the path by clicking. This closed path is your custom shape.

|
7. | Select the Subselection tool.
|
8. | If
necessary, you can reposition any anchor points in the new object; use
the mouse to reposition anchor points. Note how both paths extending
from the anchor point adjust based on the new location of the anchor
point. Feel free to adjust anchor points until you have the shape you
want.
|
9. | If you were using the original image as a guide, hide it now in the Layers panel.
|
10. | Save the file.
|