Save Tab
The Save tab is where you define what kind of file you want your project to save as and where you want to save it (see Figure 8).
You can also turn on the Auto Save feature to automatically save your
project as you are working. We all know how a power outage can cause
you to lose all your unsaved data; this feature is a great option to
avoid that situation.
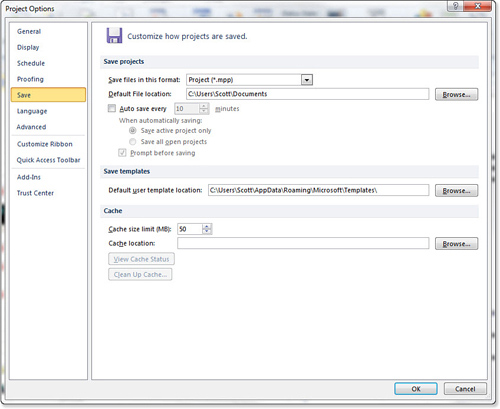
The Cache section refers to an instance of
Project Professional that is linked to Project Server. The Cache stores
a local copy of project files, allowing Project Server to download only
the differences between the published file and the copy in the local
Cache. The default of 50MB is plenty, unless you are opening a lot of
large project files. Increase the size limit as your available hard
drive space allows.
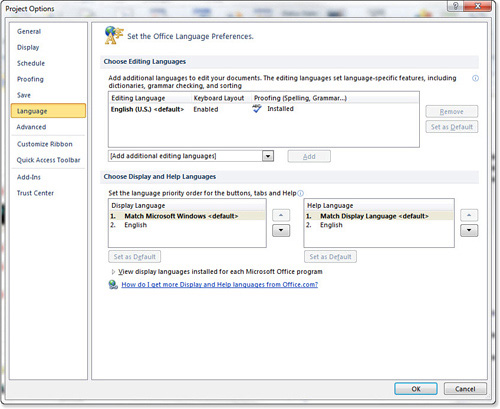
Language Tab
As the window describes itself, the Language tab (see Figure 9)
enables you to add additional languages to edit your documents. In
cases where you are working in a language that is different from your
local installation of windows (for example, if you’ve brought your own
laptop to a client site, and the client’s primary language is different
from yours), you can set a different language priority order for
Project.
Advanced Tab
The Advanced tab (see Figure 10)
is a grab-bag of remaining option sets that are used by a minority of
managers. However, it’s likely that you will at some point need to make
a change on this tab.
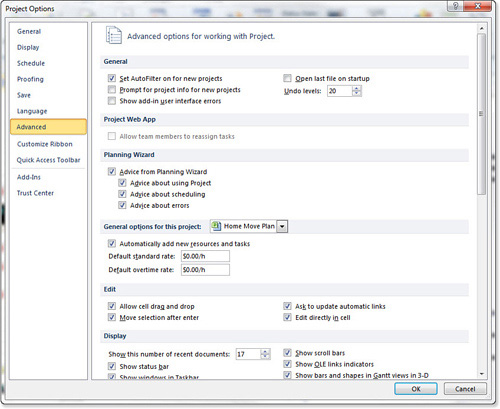
The options in the General section are as follows:
Set AutoFilter on for New Projects—
This refers to a small arrow that appears next to columns in views when
this option is selected. Clicking this arrow brings up a sorting and
grouping control.
Prompt for Project Info New Projects—
This applies only to projects that are associated with a project server
instance. When a new project is created, this opens a window allowing
the user to enter data in project-level fields (managers can enter this
data at any time, regardless).
Open Last File on Startup— If you are working with a single project file every day, this saves you the hassle of opening first Project and then the file.
Undo Levels—
Although Undo is technically unlimited, it is practically limited by
the amount of RAM your computer has. Managers that perform heavy future
modeling (“what if-ing”) might want to increase this number.
The Project Web Access section also only applies to projects that are associated with an instance of Project Server.
The Planning Wizard section should be
self-explanatory. Note, however, that there is some overlap with the
Scheduling section on the Schedule tab in the Project Options screen.
The General Options for this project section enables
you to set standard rates, but, more interestingly, it enables you to
toggle Automatically Add New Resources and Tasks on and off. This
feature is useful insofar as it prevents you from creating the same
resource repeatedly with slight variations in name.
The Edit section should be self-explanatory, with
the exception of the Ask to Update Automatic Links option. Project will
ask before updating automatic links (if there are any) when a project
is first opened. Automatic links can be made to Excel documents, and so
on, just like any other Office application.
The Options in the Display section are as follows:
Show This Number of Recent Documents controls how many recent documents are tracked in the Open file dialog.
Show
Status Bar refers to the bar running along the bottom of your Project
window, where things such as the New Task Mode control and the Zoom
control are displayed.
Show Windows in
Task Bar refers to your Windows task bar and controls whether the task
bar will display multiple windows for Project if you have multiple
Project files open.
Use Internal IDs
enables Project to ignore local names in favor of internal machine
names. This is better left set to On in most circumstances, but there
might be an instance where you need to control how Project matches
things such as Views that you move with the Organizer, particularly if
you don’t want to have items with duplicate names but different
specifications.
Automatically Add New
Views is very much a matter of preference. If you manage your projects
in a consistent manner, it makes sense to turn this on. If each project
you manage is totally unique, turn it off.
Show Scroll Bars is self-explanatory.
Show OLE Links Indicators is self-explanatory. OLE links are links from tasks to other Office applications.
Show
Bars and Shapes is self-explanatory. You might want to turn this off if
you are using a computer with a particularly weak graphics card.
The
options in the Display options for this project section are mostly
self-explanatory with the exception of the Show Project Summary task
option. The Project Summary task is a zero-level task with the same
name as the project file. It displays summary data for the entire
project. Although this is off by default, most experienced Project
users prefer to have it on.
The Earned Value Options for This Project Section options are as follows:
Default Task Earned Value Method—
There are more than two Earned value methods specified in the ANSI
Standard. % Complete—the default—isn’t one of them. Physical % complete
is specified, however.
Baseline for Earned Value Calculation—
This option enables you to use any of the baselines for calculating EV.
This can be useful in a variety of scenarios, including situations
where the project manager wants to control what appears on his s-curves.
The Calculation Options for This Project section options are as follows:
Move End of Completed Parts— This option causes Project to automatically “fix” completion dates that are in the future.
Move Start of Remaining Parts— This option reschedules un-started tasks with a start date in the past forward to the status date.
Edits to Total Task % Complete—
By default, Project will spread actuals across the entire planned
duration of a task. This results in actuals being recorded for future
dates. Check this option to prevent creation of future-date actuals.
Calculate Multiple Critical Paths—
This will not identify secondary and tertiary critical paths, which beg
definition regardless. This will, however, calculate the critical paths
for disconnected networks running through the same file.
Tasks Are Critical—
Use this option to provide a little leeway in critical path
calculation. On a longer project with larger duration tasks, the
default of 0 days might not make sense.