8.4 Configure the Remote Desktop Connection Broker, Desktop Session Host, and Web Access
Now that all components are installed, we are ready
to configure them to complete the VDI setup. Again we assume that you
have already set up one or more virtual machines that will be dedicated
to users. Remember that the label name within Hyper-V needs to be a
fully qualified domain name (see Figure 34). Additionally, the VM must have Remote Desktop turned on.

To configure server components, first logon to the Remote Desktop Connection Broker and perform the following:
1. | Open Server Manager.
|
2. | Expand the nodes Roles | Remote Desktop Services | Remote Desktop Connection Manager | RD Virtualization Host Servers.
|
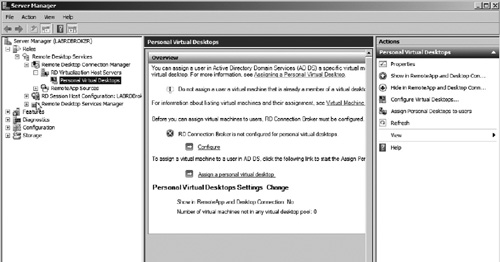
3. | Select the node Personal Virtual Desktops (see Figure 35).
|
4. | Click the Configure link in the middle pane to launch the Configure Virtual Desktops Wizard which will take you through setting up the broker to support virtual desktops.
|
5. | Click Next to begin the wizard.
|
6. | Add the hostname of the Hyper-V server you set up as the Virtualization Host Server. Then click Next.
|
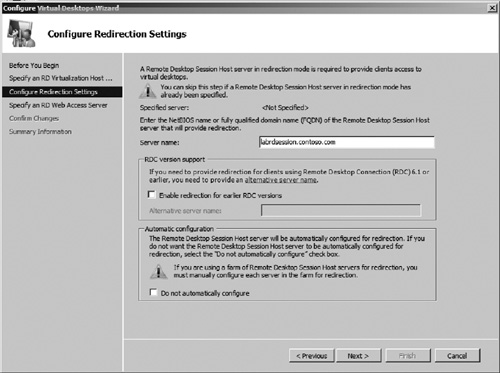
7. | Enter the fully qualified domain name of the Remote Desktop Session Host server (see Figure 36).
If you need to support remote desktop clients earlier than 6.1, you
will need to specify an alternative FQDN for the same session host.
This can be accomplished by creating a new host (A) DNS record, and
pointing it to the same Remote Desktop Session Host server. This FQDN
is used purely to provide an alternative name that older clients will
use to connect. Notice the option at the bottom of the page to not
autoconfigure the session host. In most cases, you will want to leave
this option unchecked, which will allow the wizard to automatically
configure the session host server for redirection. After entering the
FQDN of the Remote Desktop Session Host, click Next.
The wizard will attempt to connect to the session host. If successful,
it will configure the session host for redirect support.
|
8. | You
now must specify the FQDN of the Remote Desktop Web Host server. In our
exercise, this is the same server as the Remote Desktop Session Host.
Enter the FQDN of the Remote Desktop Web Host, and click Next.
|
9. | Verify your configuration on the confirmation page. Then click Apply.
|
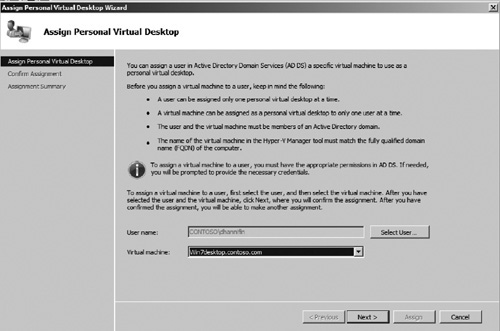
10. | Click Finish to close the Configure Virtual Desktops Wizard. Notice that the option to Assign Personal Virtual Desktop is select. This will launch the Assign Personal Virtual Desktop Wizard.
Using this wizard, we will assign a user to his desktop. Every time a
user logs onto a Personal Virtual Desktop session, they will access the
assigned VM.
|
11. | Select the user and the VM that you want to assign the user to (see Figure 37), and then click Next.
|
12. | Click Assign to complete the Assign Personal Virtual Desktop Wizard.
|
13. | Verify that the assignment was successful, and then deselect the option to Assign Another Virtual Machine to Another User. If selected, this would allow you to assign more users to move VMs. Click Finish to complete the assignment.
|
Now that you have assigned a user to a VM, you need
to configure the Remote Desktop Web Host to use the broker server. To
configure the host, perform the following:
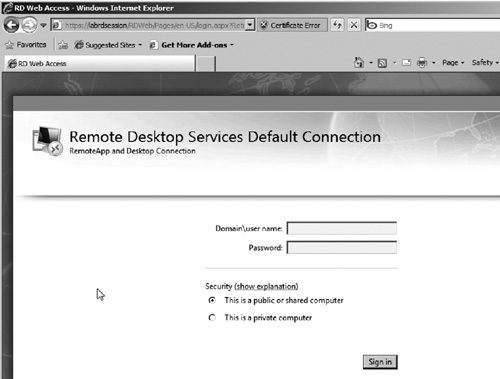
1. | Logon to the RemoteApp and Desktop Connection Web site by accessing the URL https://<RemoteDesktopWebHostServerName>/RDWeb (see Figure 38).
|
2. | Ignore any certificate warnings. For a production deployment, you will want to assign a trusted certificate to the RD Web site.
|
3. | Enter credentials with administrative access to the site and click the Sign-in button.
|
4. | Click the Configuration tab.
|
5. | On the Configuration page, change the Select Source Server to Use option to An RD Connection Broker Server. Then enter the FQDN of the connection broker. Click OK to save the configuration changes. After the settings are saved, click Sign-out.
|
Test connectivity to Virtual Machine
Now that the VDI
configuration is complete, we are ready to test our configuration. To
test the configuration, simply logon to the RemoteApp and Desktop
Connection Web site as the user you previously assigned to the VM.
After logging on, click the My Desktop icon as seen in Figure 39.
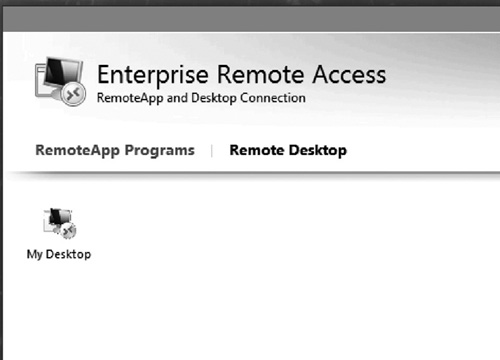
You will now be connected to the virtual
machine via Remote Desktop. Every time the user logs onto Remote
Desktop Web Host and clicks on the My Desktop link, he will be logged onto his assigned VM.