The installation of Exchange 2010 does
require an account with some specific permissions. Installation must be
performed with an account that has membership in the following groups:
During the installation, the Active Directory schema
will be extended with attributes necessary for Exchange 2010, which is
why the Schema Administrators group membership is required.
At this point, we're ready to install Exchange
Server 2010. We can use the GUI to install Exchange, or we can use the
command line. Each approach has its advantages. First, let's look at
the GUI-based installation.
1. GUI-Based Installation
Insert the Exchange 2010 DVD in your server's
DVD-ROM drive. If the DVD doesn't automatically start the setup
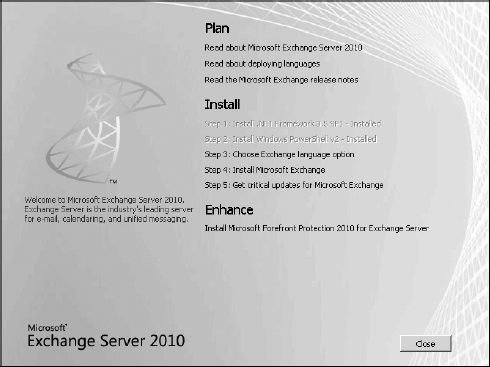
program, navigate to the Exchange DVD and run setup.exe in the root folder. You will be presented with the start screen shown in Figure 1.
As you can see, previously installed components are grayed out. This should include Steps 1 and 2.
On the start screen, click Step 3: Choose Exchange
Language Option. The language options will appear below this. Choose
Install Only Languages From The DVD. Choosing this option will install
only English (US) language support. You can install language bundles at
a later time to provide support for additional languages if needed.
Once Step 3 is complete, click Step 4: Install
Microsoft Exchange. Setup will then copy the setup files locally to the
computer on which you are installing Exchange Server 2010. Once the
files are copied and the setup program initializes, you'll see the
Introduction screen. Click Next.
On the License Agreement screen, read the license agreement, select I Accept The Terms In The License Agreement, and click Next.
On the Error Reporting page, select No. This is a
test server and the whole purpose is to get used to Exchange. During
testing, you may attempt some tasks that will yield errors or
unexpected results. If this were a production server, then you could
answer differently. Click Next.
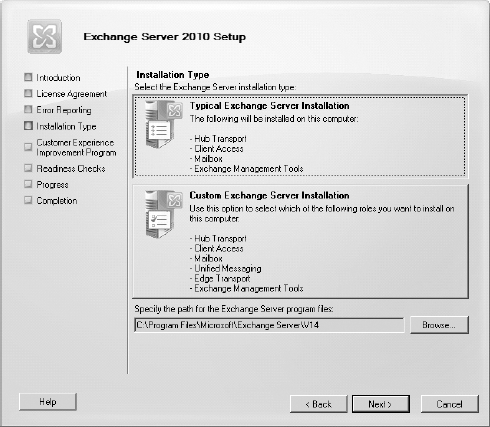
On the Installation Type page, click Typical Exchange Server Installation, as shown in Figure 2.
Typical includes the Hub Transport, Client Access, and Mailbox roles,
and also includes the Exchange Management Tools. These are the minimal
roles required in an Exchange organization.
If you want to change the path for the installation,
click Browse, specify the appropriate folder, and then click OK. Click
Next.
Since this is the first Exchange Server 2010 server
in your organization, you are presented with the Exchange Organization
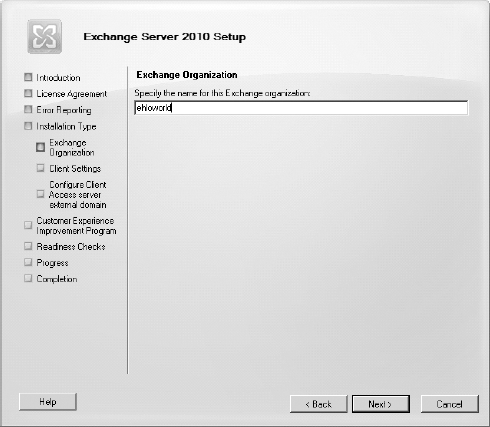
screen. Type a name for your Exchange organization (see Figure 3). This can be any name, such as your company name. The Exchange organization name can contain only the following characters:
The organization name can't be more than 64
characters long. The organization name also can't be blank. When you've
finished typing the name, click Next.
If you will have legacy versions of Outlook, such as
anything prior to Outlook 2007, or any non-Exchange Web Services
version of Entourage that will be connecting to this Exchange
organization, click Yes at the Client Settings screen. This will cause
the installation to create a public folder database for use with
Free/Busy (calendar) information. If you will only be using Outlook
versions from 2007 and later, choose No. This can be changed later if
your needs change. Click Next.
If the Client Access Server role being installed is
intended to be an Internet-facing server, check the box The Client
Access Server Roles Will Be Internet-Facing. Enter the domain name you
will use for external client access (for example, mail.ehloworld.com). Then click Next.
Since the purpose of this article is to set up a
quick Exchange Server 2010 box for testing and evaluation, there is no
need to join the Customer Experience Improvement Program. On the
Customer Experience Improvement page, choose I Don't Wish To Join The
Program At This Time, and then click Next.
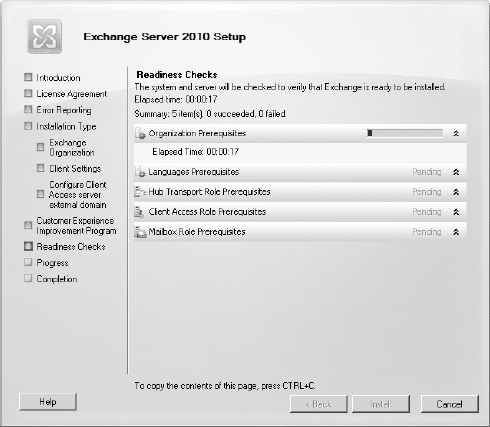
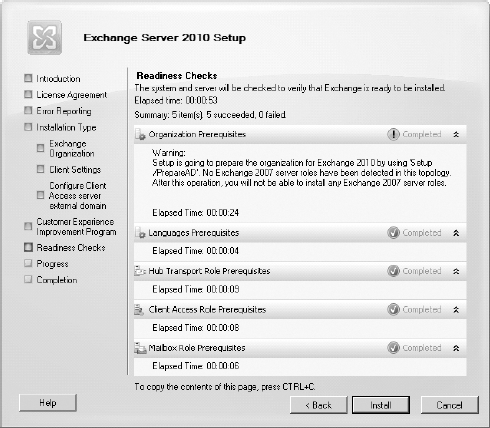
On the Readiness Checks screen, the setup routine
will inspect the system to verify that Exchange can be successfully
installed. This is based on the settings you've chosen, the rights of
the user account, and the operating system prerequisites, as shown in Figure 4.
The Organization Prerequisites section will display a warning (as shown in Figure 5) that reads as follows:
This is expected; it's simply a notice that legacy
versions of Exchange can't be installed after Exchange Server 2010 is
installed into an organization.
View the status of the remaining items to determine
if the organization and server role prerequisite checks completed
successfully. If they have not completed successfully, you must resolve
any reported errors before you can install Exchange Server 2010. For
most, there is no need to exit Setup while attempting to resolve them.
After resolving an error, click Retry to rerun the prerequisite checks.
If all the other readiness checks have completed
successfully, click Install to install Exchange Server 2010. The Setup
program will display the Progress screen, which will show you each step
of the process, as well as the outcome.
On the Completion page, shown in Figure 6,
click View Setup Log. Take a few minutes to look through this log file
and notice any issues. When finished, close the log file.
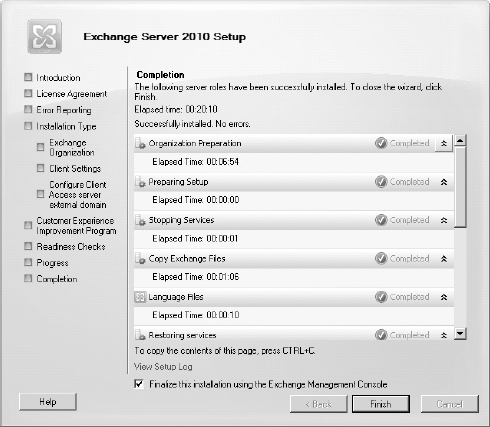
Ensure that the Finalize This Installation Using The
Exchange Management Console check box is not selected, and then click
Finish.
Return to the Setup program and click Close. When prompted to confirm exiting, as shown in Figure 7, click Yes and install any critical updates.
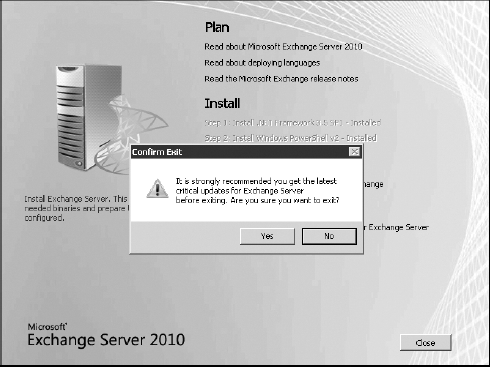
Even if you are not prompted, reboot the server to complete installation of Exchange Server 2010.
2. Unattended Installation
As mentioned earlier, you can also install Exchange
2010 from the command line. The setup routine allows you to specify all
necessary parameters in one line, and thus avoid having to click on
things through a GUI. To achieve the same end result as in the previous
steps but through a command line, open a command prompt and navigate to
the DVD drive. From there, use the following format:
Setup.com /r:"c,h,m" /on:"<organization name>"
/ExternalCASServerDomain:"<CAS Server domain>"
Here's an example:
Setup.com /r:"c,h,m" /on:"First Organization"
/ExternalCASServerDomain:"mail.ehloworld.com"
When the setup routine finishes, reboot the
server as prompted. Once these steps are completed, continue with the
rest of the configuration, as explained in the next section.