| Scenario/Problem: | You want to modify the system-generated DIP. |
The first step in modifying a DIP is using the form
template to create a new form to modify the DIP. To modify the DIP of a
document library, follow these steps:
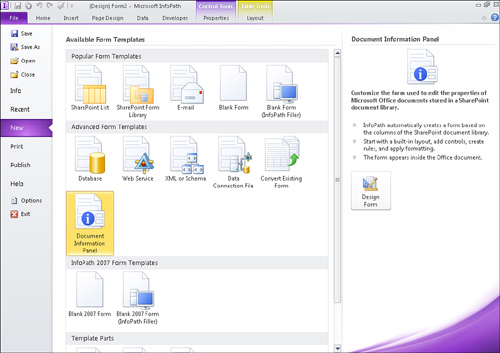
1. | From the File, New page, select the Document Information Panel template, as shown in Figure 1, to import an existing DIP for modification.

|
2. | Click the Design Form button. The Data Source Wizard appears.
|
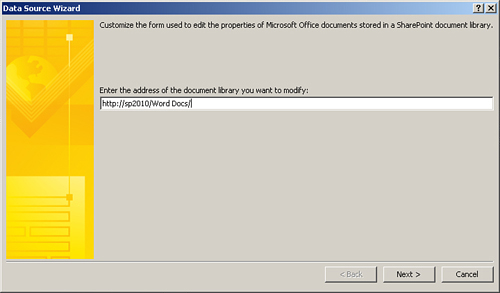
3. | Enter the address of the document library for which you want to modify the DIP, as shown in Figure 2. Click Next.

|
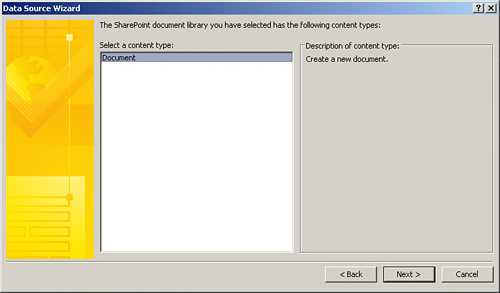
4. | Select the content type in the library, as shown in Figure 3, to modify the DIP of that document type. Click Next.

|
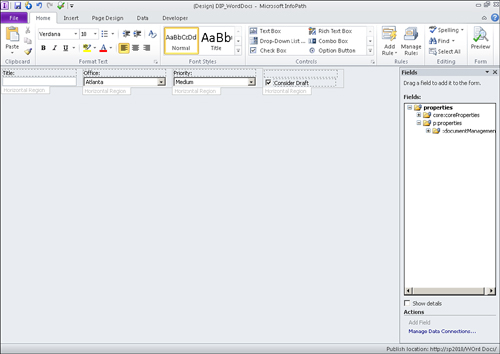
5. | Click
Finish. The system-generated DIP for the document library content type
you selected is loaded into the designer, as shown in Figure 4.

|
6. | Modify the DIP inside the designer as needed.
|
7. | Click
File, Info, and then click the Quick Publish button to publish your
changes to the document library. You need to save a local copy of the
form before InfoPath allows you to publish the form.
|
Publishing the new template updates the document content type in the document library.
Tip
Add data connections to your DIP to populate drop-downs with dynamic data.
Adding a new document through the associated Office application renders your updated template as the document information panel.