Now that you’ve optimized the thumbnail images,
you’re ready to import them into Fireworks, and, if necessary, easily
make them visually consistent.
Importing the images
The main thing, of course, is to get your newly optimized images into your design in Fireworks.
1. | Make sure the Snap To Guides option is selected by choosing View > Guides > Snap To Guides.
|
2. | Make sure the main sublayer is selected in the Layers panel.
|
3. | Choose File > Import, and browse to the thumbnail directory.
|
4. | Select the file thmb_wallpaper_2424.jpg, and click Open.
|
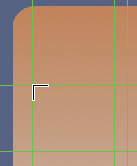
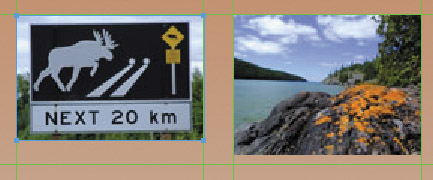
5. | Click an insertion point where the first two guides (the green lines) intersect.
|
6. | Choose File > Import again; you should still be in the thumbnail directory.
|
7. | Select the file thmb_wallpaper_2581.jpg, and click Open.
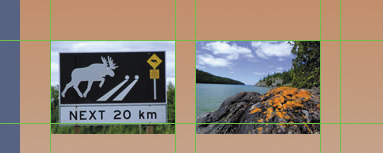
These first two images don’t fit the guide dimensions. You will correct that problem a bit later in the exercise.
|
8. | Place
your import cursor where the third vertical guide intersects with the
top guide so the thumbnails are moving across the document toward the
right.
|
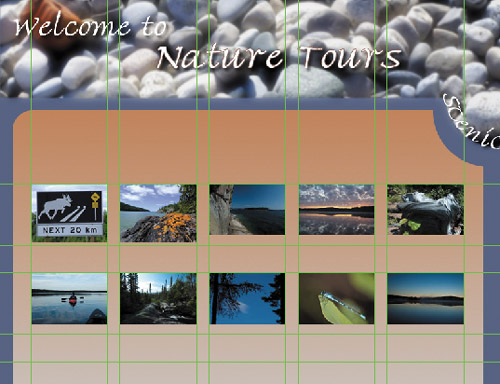
9. | Continue
with this process, in numerical order, until all ten images have been
imported. Each image should snap to the intersection of two guides.
When all the images are imported, the layout should look like the following figure.
 |
Cropping individual bitmaps in a design
Everything
lines up nicely, except those first two images. They were shot with a
different camera, and their dimensions differ from the other images. You
will crop these two images right on the canvas.
1. | Zoom in to 150%.
|
2. | Pan
around the canvas by holding down the spacebar and dragging the mouse
until you see the first image you imported, at the upper left. Then
select this image with the Pointer tool.
|
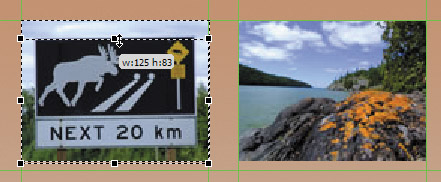
3. | Choose Edit > Crop Selected Bitmap. A cropping marquee appears around the object.
|
4. | Use the Pointer tool to drag the top crop mark down until the tooltip reads w:125, h:83.
|
5. | Release the mouse. This current crop cuts into the top of the sign. You will adjust that now.
|
6. | Press the Up Arrow key four times to reposition the crop.
|
7. | Press Enter or Return to commit to the crop.
|
8. | Drag the image up until it snaps to the top guide.
|
9. | Repeat steps 3–5 for the second image. The crop dimensions should again be w:125, h:83.
|
10. | Reposition the crop as you see fit.
|
11. | Press
Enter or Return, and use the Pointer tool or the arrow keys to line the
image up with the top and left guides as necessary.
|
12. | Save the file as nature_tours_working.png. |