Improving workflow also means knowing how to speed up your work without cutting corners on quality.
Exporting a specific area
The client for Nature
Tours is wondering about changing the font for the banner, and has asked
to have a look at just the website banner. Without changing the layout
at all, you can export a specific area of the page.
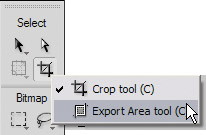
1. | Choose the Export Area tool (hidden beneath the Crop tool) in the Tools panel.
|
2. | Draw a crop that includes the entire width and height of the banner.
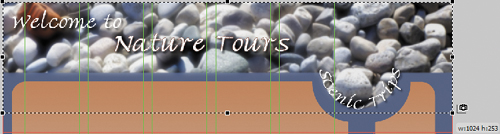 |
3. | Double-click inside the crop.
The cropped area will appear in the Image Preview dialog box.
|
4. | Set
the format to JPEG and the Quality to 70%, if those settings are not
already present. In the Image Preview dialog box, you can move around
your document by clicking on the preview and dragging your cursor,
allowing you to inspect the impact of your formatting choices.
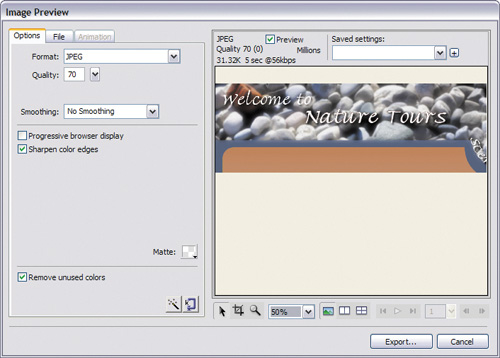 |
5. | Click the Export button. The Export dialog box appears.
|
6. | Browse to the Lesson12 folder, and change the filename to nature_banner.
|
7. | In the Type menu (Windows) or Export menu (Mac) near the bottom of the dialog box, choose Images Only.
|
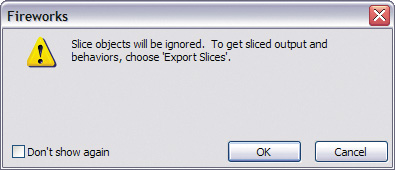
8. | Make
sure Slices is set to None. An alert box may appear telling you that
slices will be ignored. If it does, click OK to continue.
At this time, you want to export only the area you cropped. All other settings can remain as they are.
|
9. | Click Save (Windows) or Export (Mac). Fireworks exports the cropped area as a JPEG file. You’ll take a look at it in Bridge.
|
10. | Back in Fireworks, choose File > Browse In Bridge. Locate the Lesson12 folder.
You’ll see that the area you cropped—the web banner—has been exported as
a separate JPEG file, which can easily be e-mailed to the client for
feedback.
|
|
Fireworks remembers the
last default export options you selected, and applies those settings to
new documents as you create them. You can reset the export options for
all pages very easily in a design:
- Shift-click in the Pages panel to select the pages you wish to change.
- Select a new export option from either the Properties panel or the Optimize panel.
- All nonsliced areas of each selected page will now export based on the new image settings you define.
|
Changing rectangle corners independently
You
used the Chamfer Auto Shape as a design element in the watch_promo.png
file. There are three rectangular Auto Shapes in the Vector tools
section of the Tools panel: Bevel, Chamfer, and Rounded Rectangle.
Here’s a little secret: all three shapes offer the exact same corner
options, but which corner is used as the default is based on the shape
you choose to add. You can also customize the individual corners of any
of the three shapes.
The client has asked to see a
revision to the wallpaper page design. He likes the shapes that act as
containers for the thumbnails and navigation, and wants to see something
similar to contain footer information. You will be changing layout
elements this time, so you’ll create a duplicate page first.
1. | Drag the current page to the Add/Duplicate page icon at the bottom of the Pages panel.
|
2. | Rename the new page footer_concept.
|
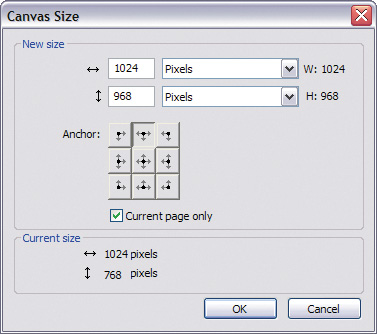
3. | Choose Modify > Canvas > Canvas Size.
|
4. | Change the height to 968.
|
5. | Select the top middle anchor in the anchor grid.
|
6. | Make sure Current Page Only is selected, and click OK.
|
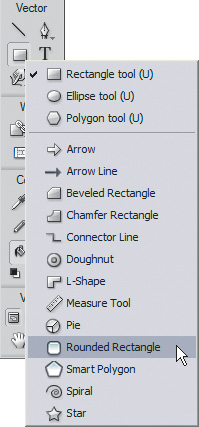
7. | Select the Rounded Rectangle Auto Shape from the Tools panel.
|
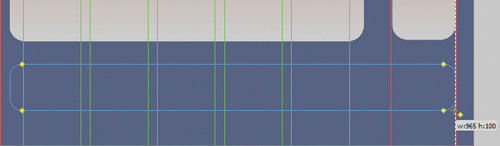
8. | Starting
at X: 20 and Y: 790, draw a rectangle that is 963 pixels wide and 100
pixels high. The Smart Guides will help you align the new shape at the
left and right sides, to match the combined width of the two shapes
above.
 |
9. | Select the Pointer tool.
|
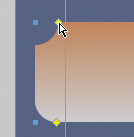
10. | Hold down Alt (Windows) or Option (Mac), and click on the top-right yellow diamond. Only the right corner changes to a chamfer.
|
11. | Do the same with the top-left yellow diamond.
Tip
To quickly fill a shape with
the attributes of another shape, select the shape that has the desired
attributes and press Ctrl+C (Windows) or Command+C (Mac), and then
select the new shape and choose Edit > Paste Attributes.
|
12. | Save the file.
|
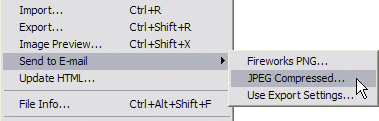
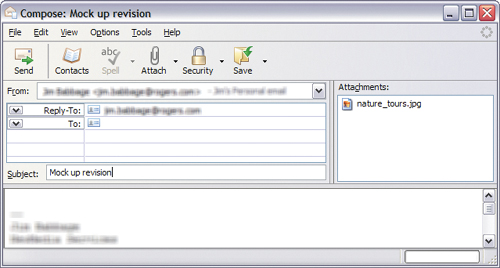
13. | Choose
File > Send To E-mail > JPEG Compressed. Your e-mail client will
open, with the image already attached and ready to be sent.
 |