1. Updating Templates
Anytime you save a change
to an existing template — whether or not any documents have been created
from it — Dreamweaver asks if you'd like to update all the documents in
the local site attached to the template. You can also update the
current page or the entire site at any time, just as you can update
Library elements. Updating documents based on a template can save you an
enormous amount of time — especially when numerous changes are
involved.
To update a single page, open the page and choose Modify => Templates =>
Update Current Page or select the same command from the context menu of
the Assets panel. Either way, the update is instantly applied.
To update a series of pages or an entire site, follow these steps:
Choose Modify => Templates => Update Pages. The Update Pages dialog box, shown in Figure 1, appears.
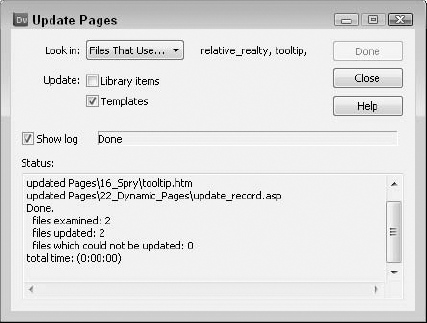
To
update all the documents using all the templates for an entire site,
choose Entire Site from the Look In option; then select the name of the
site from the accompanying drop-down list.
To
update pages using a particular template, choose Files That Use from
the Look In option and then select the name of the template.
To view a report of the progress of the update, make sure that the Show Log option is enabled.
Click Start to begin the update process.
2. Removing Template Markup
Mistakes are made, clients
change their minds, bosses change directions — for whatever reason,
you'll find that you need to remove template markup from time to time.
Luckily, Dreamweaver has made it as easy to delete the template
indicators as it is to insert them. With a little know-how, you can
remove template markup from an editable attribute for an entire site.
2.1. Deleting template markup individually
Quite often I find I need to
convert an editable region to a locked area. You can accomplish this
change in one of two ways — you can delete the surrounding template tags
in the code or you can use a Dreamweaver command, Remove Template
Markup. Personally, I find the command approach to be much faster and
more efficient. Individual template markup can only be removed from the
template itself.
To remove any surrounding template code via the command, place your cursor within the template region and choose Modify => Templates => Remove Template Markup. Alternatively, right-click (Control+click) and choose Templates => Remove Template Markup.
The Remove Template
Markup command works only on the template markup immediately enclosing
the cursor position. If, for example, you need to remove an editable
optional region and convert the content to being locked, you issue the
Remove Template Markup command twice: once to remove the editable region
and again to remove the optional region.
|
Using the Remove Template
Markup command to remove an optional region does not delete the
corresponding TemplateParam statement in the <head> tag. If no other optional region uses the same TemplateParam statement, you must remove the code manually.
|
|
2.2. Removing template markup from an entire page
Template-derived
documents don't need to stay template-derived documents forever. All you
need do is to detach the document from its template, and all template
markup in the page is removed. To detach a document from the template
choose Modify => Templates => Detach from Template.
NOTE
If, for any reason, you
need to remove all of the markup from a template itself, the fastest way
is to create a document from that template and then issue the Detach
from Template command.
2.3. Exporting a site without template markup
Not all sites are
template-based. Dreamweaver gives you the power to strip all the
template markup from template-based documents in an entire site. This
command is particularly useful when migrating previously template-based
documents to a site that does not use templates. Just to hedge your
bets, Dreamweaver optionally exports the data from your template-based
documents into XML files so that, if necessary, the data can be applied
to a new template.
The Export without Markup
command handles more than just the templates, however. An entire copy of
your site is copied to a new folder, sans template markup. Even the
Template folder itself, with all the site's templates intact, is copied.
Best of all, this is not necessarily a one-time feature. If repeated,
you have the option to extract only the modified files.
To export a site without template markup, follow these steps:
Choose Modify => Templates => Export without Markup. The Export Site Without Template Markup dialog box, shown in Figure 3, appears.
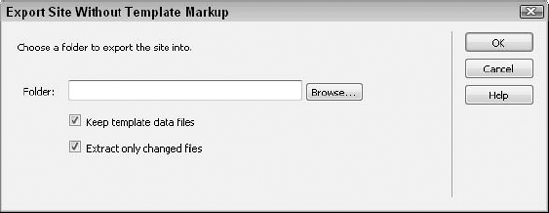
Enter
the path to the folder to hold the exported site or click the Browse
button to locate the folder. Because the entire site is exported, the
folder you choose may not be contained in the current site.
If you want to maintain the data from the template-based documents, choose the Keep Template Data Files option.
NOTE
Dreamweaver stores the data in a standard XML file format.
If
you have previously exported the site with this command and want to
update your export, choose the Extract Only Changed Files option.
Click OK when you're finished.
After the operation is
completed, you'll probably want to define a new site to manage the
exported files — Dreamweaver does not do this task for you
automatically.