1. | Choose
File > Browse In Bridge. If you have not done anything with Bridge
since the last exercise, Bridge displays the Lesson12 folder. If you
have been exploring Bridge, use the Folders panel to locate the Lesson12
folder.
|
2. | In the Content panel, double-click on the fullsize folder. A series of ten images loads into the Content panel.
 |
3. | Select any single image, and Bridge displays a large preview as before.
Note
If you don’t see the file
properties, choose Edit > Preferences (Windows) or Bridge >
Preferences (Mac), click Thumbnails, and then select Show Tooltips at
the bottom of the dialog box.
|
4. | Place
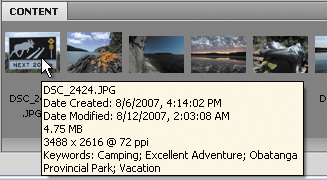
your cursor over the thumbnail view of the first image. After a short
delay, file properties appear. The dimensions of this file are great for
making a print, but far too large for a web page.
Tip
You can change the size of the content thumbnails by dragging the slider at the bottom of the application.

Batch processing can take care of sizing, optimization, and even naming the needed files.
|
5. | Click on the first thumbnail, and then Shift-click the last thumbnail to select all ten files.
 |
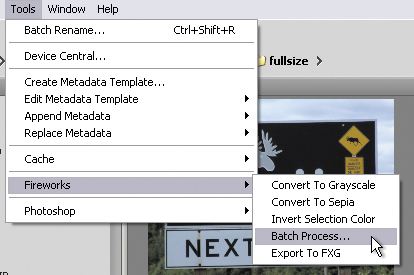
6. | Choose Tools > Fireworks > Batch Process.
Tip
Batch Process is a
native Fireworks command, so you don’t need Bridge installed in order to
use it. You can access the Batch Process Wizard in Fireworks by
selecting File > Batch Process.
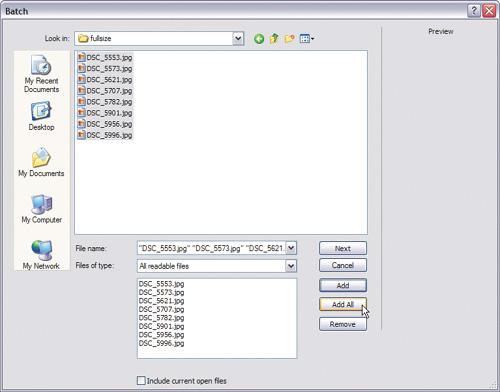 |
7. | Click Next.
|
8. | From
the left column, select Scale, and then click the Add button to move
Scale to the right column. Do the same for Rename and Export.
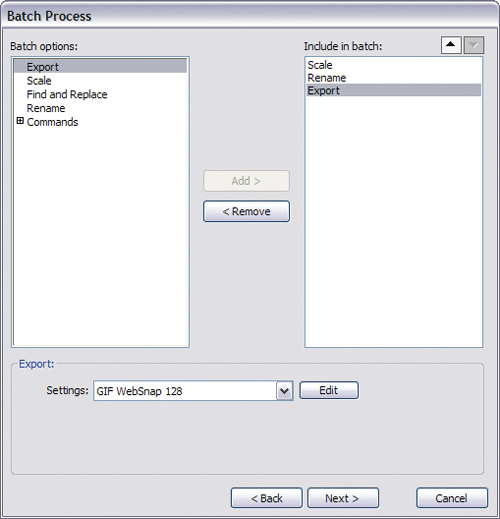
These are the batch-processing commands you will run on the images, in
the order they appear in the list. Each command in the list has editable
properties. You will customize them for this project.
|
9. | Select
the Scale command from the right column, and then choose Scale To Fit
Area from the Scale options list at the bottom of the dialog box.
|
10. | Set the Max Width and Max Height to 125 pixels.

|
11. | Select
the Rename command from the right column, and then select the Replace
option from the list at the bottom of the dialog box.
|
12. | In the first field (Replace), type DSC.
|
13. | In the With field, type wallpaper.
|
14. | Select the Add Prefix option, and type thmb_ in the text field.

Tip
If this is a series of steps
you think you will repeat again, you can save the operations as a script
by clicking the Save Script button. You can then access this custom
command any time from the Commands menu.
|
15. | Select the Export command from the right column.
|
16. | Choose JPEG – Better Quality from the Settings drop-down list, and then click Next.

|
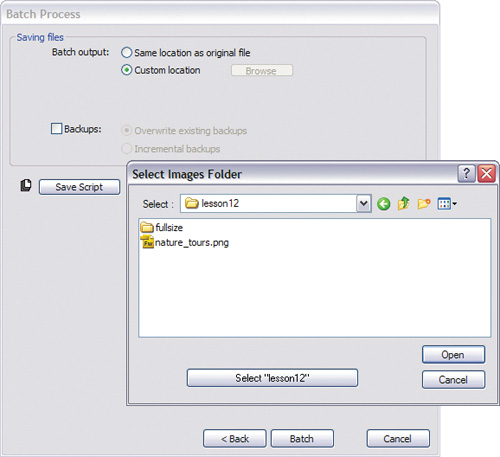
17. | Choose the Custom Location radio button, and browse to the Lesson12 folder.
 |
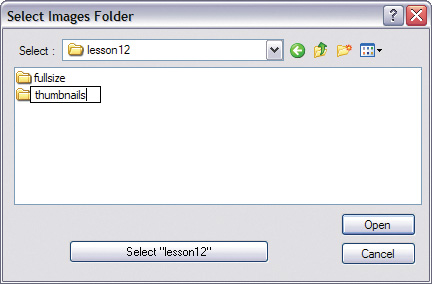
18. | Create a new folder called thumbnails, and open that new folder, if necessary.
|
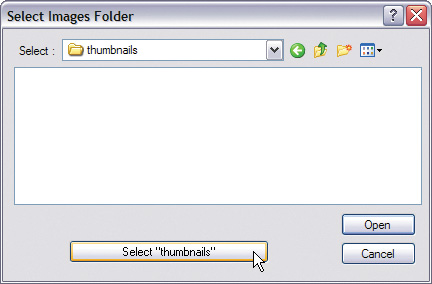
19. | Click Select Thumbnails (Windows) or Choose (Mac).
|
20. | Click the Batch button.
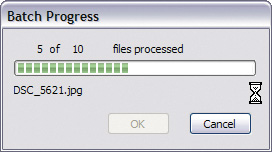
Fireworks displays a progress box as it processes the images.
|