Understanding SmartArt Graphics
SmartArt takes the power and flexibility of
PowerPoint shapes one step further. SmartArt enables you to combine
shapes and text to create informative lists, matrices, pyramids, and
more. Then, using PowerPoint’s many shape and text formatting options,
you can create a custom graphic that both conveys your message and gives
your presentation the “wow” factor.
For example, you can create a detailed organization chart with SmartArt (see Figure 1). Or you can create a graphic that explains a step-by-step process (see Figure 2).

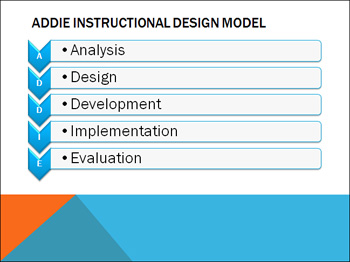
Table 1 lists PowerPoint SmartArt types, each offering a variety of layouts to choose from.
Table 1. PowerPoint SmartArt Types
| Choose This SmartArt Type | To Display |
|---|
| List | Nonsequential data |
| Process | Steps in a process or a sequential timeline |
| Cycle | An ongoing process |
| Hierarchy | Hierarchical data such as an organizational chart |
| Relationship | Connected data |
| Matrix | Parts in relation to a whole |
| Pyramid | Proportions from small to large |
| Picture | A graphical representation of data |
Inserting Smart Art Graphics
The fastest way to add a SmartArt graphic to your
presentation is to apply a slide layout that contains the content
palette.
Inserting a SmartArt Graphic
To insert a SmartArt graphic, follow these steps:
1. | On
the Home tab, click the down arrow below the New Slide button, and then
choose an appropriate layout from the gallery that appears. For
example, you could choose the Title and Content layout, the Two Content
layout, or the Content with Caption layout.
|
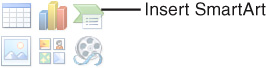
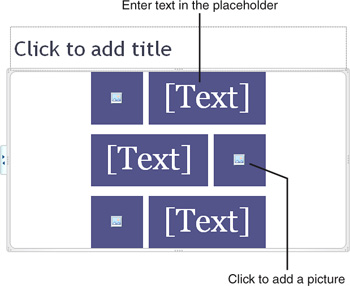
2. | On your new slide, click the Insert SmartArt Graphic button on the content palette, as shown in Figure 3. The Choose a SmartArt Graphic dialog box opens (see Figure 4).
|
3. | In
the Choose a SmartArt Graphic dialog box, select the button for the
SmartArt layout types you want to view. Or select the All button to
scroll through a list of all options.
|
If you’re new to SmartArt, it’s often difficult to
determine which graphic best suits your needs. When you click each
graphic icon in the Choose a SmartArt Graphic dialog box, the right side
of the screen displays a detailed example of the selected SmartArt
graphic and describes its use in the box below. Reviewing all your
options at least once gives you a clearer idea of what’s available and
can provide some inspiration as well.
|
|
4. | Select the icon for the graphic type you want to insert, and click the OK button. The graphic appears on your slide (see Figure 5).
|
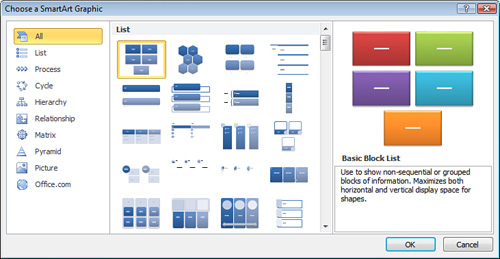
Each SmartArt graphic includes text placeholders
where you can enter the appropriate text. To enter text, click the
[Text] placeholder and start typing. If you enter more text than the
shape can hold, PowerPoint resizes the text.
If you choose a graphic that includes pictures, click the picture placeholder to open the Insert Picture dialog box.