1. Creating the Main Document
YOU NEED TWO THINGS
to create a personalized mailing with a mail merge: a letter, which is
called the main document and contains the information that doesn’t
change, and codes, called merge fields,
that act as placeholders for the variable information. This variable
information is usually a list of names and addresses, called the data source,
and contains the information that does change for each letter. When you
merge the two, the result is an individualized form letter, called the merge document.
For the main document, you can use a letter that
you’ve previously created, or you can create a letter from scratch. Type
your letter without filling in any of the information that will vary
from recipient to recipient, such as addresses, meeting dates, and such.
The following steps show you how to begin the mail merge process:
Open or type the letter you want as the main document.
Choose
Mailings > Start Mail Merge > Start Mail Merge > Letters. If
you were not already in Print Layout view, Word switches to Print Layout
view (see Figure 1).

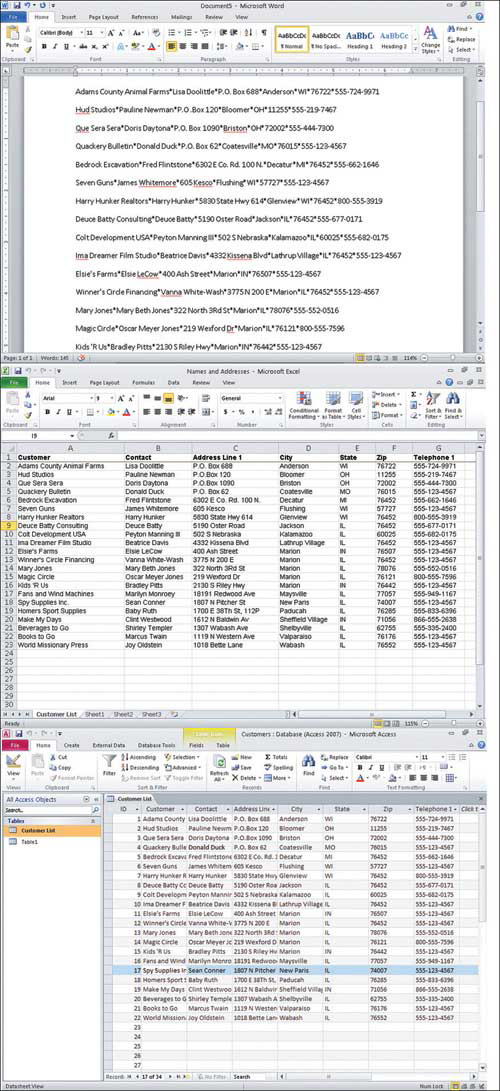
2. Specifying Data for Your Mail Merge
ONCE YOU CREATE
your main document, you need to link the document to a file that
contains your data. The data source could be in the form of a
comma-separated value Word document, or it could be in an Excel
worksheet or an Access database. See Figure 2 for an example of each document type—Excel, Access, and Word.
Two terms commonly used with merge data files are
fields and records. A field is an individual piece of information about
someone or something, such as a zip code, first name, or product
description. A record is the complete picture of information with all
the fields put together.
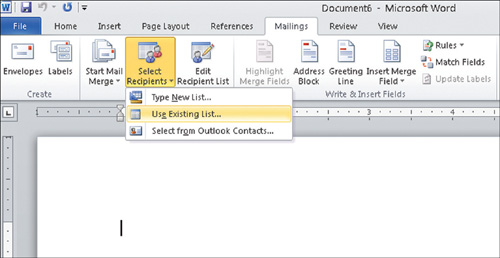
Selecting a Data Source
For the data source, you can select from a
preexisting list or you can create a new one using Word. If you want to
choose from an existing file, choose Mailings > Start Mail Merge >
Select Recipients > Use Existing List (see Figure 3). The Select Data Source dialog box opens. Locate your data file and choose Open.
If
you have not already created a data source, you can create it with
Word. Following are the steps for creating a data source in Word:
Choose
Mailings > Start Mail Merge > Select Recipients > Type New
List. The New Address List dialog box appears. Word tries to anticipate
your needs by providing the most commonly used data fields. (You’ll soon
see how you can add extra fields.)
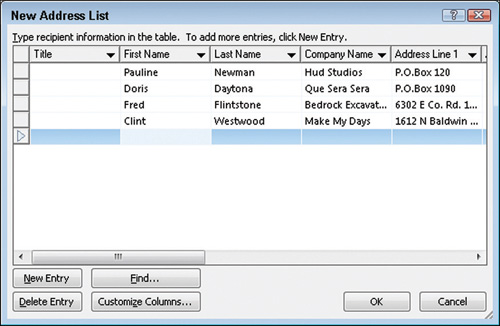
Enter the data for the first recipient. You do not need to enter data into every field, as you see in Figure 4.
Tip
Use the Tab key to move from one field to the next, or press Shift+Tab to return to a previous field.
Click
the New Entry button, which creates a blank line for the next
recipient. Optionally, as you press Tab after the last field, Word
automatically adds a line for the next recipient.
Repeat steps 2 and 3 for each additional recipient.
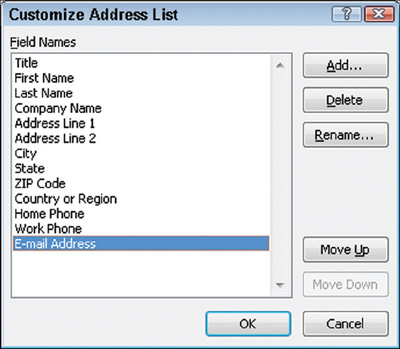
Although Word includes commonly used data fields, you
may need to add your own fields or remove the predefined fields you
don’t want. Click the Customize Columns button in the New Address List
dialog box. The Customize Address List dialog box appears, like the one
shown in Figure 5. Make any desired changes and then click OK.
Here are the options available in the Customize Address List dialog box:
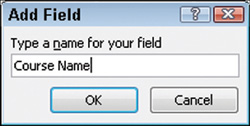
Add: To add additional fields, click the Add button. As shown in Figure 6, Word prompts you for a name for the new field. Type the name and click OK.
Delete:
To delete an unwanted field, click a field name and then click the
Delete button. A confirmation message appears. Click Yes to confirm the
deletion.
Rename:
To rename a field, click the field name and then click the Rename
button. Enter the new name in the resulting dialog box and click OK.
Move up:
To move a field farther up in the list, click the field name and click
the Move Up button until the field is located where you want it.
Move down:
To move a field farther down in the list, click the field name and
click the Move Down button until the field is located where you want it.
Tip
If you want to delete a record, click anywhere in the
record and click the Delete Entry button. Click Yes to the resulting
confirmation message.
When you have all your entries in the New Address
List dialog box, click the OK button. Word prompts you to save your
address list. By default, Word attempts to save the file in the
Documents > My Data Sources folder. Select a different folder if
desired. Enter a file name and then click Save.
Tip
Word saves the data file as an MDB file, which is an Access database file.
Selecting Recipients
You
may have a number of names in your data file, but perhaps you don’t
want to send the merged letter to everyone in the file. By default, Word
assumes you want everyone in the data file, but you can pick and choose
which recipients you want to use. Just follow these steps:
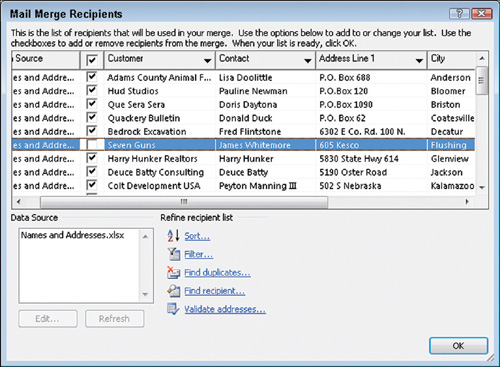
Choose
Mailings > Start Mail Merge > Edit Recipient List. You see a Mail
Merge Recipients list similar to the one displayed in Figure 7.
Tip
Click any column heading to sort the records by the selected column.
Click
the check box to the left of the name for any recipient to whom you
don’t want to send the form letter. The checkmark will be removed.
Tip
To edit recipient information, click the data source
name, then click the Edit button. The Edit Data Source dialog box
appears, from which you can make any desired changes.
After determining that the desired recipients are checked, click the OK button.