Create a New Wiki Page
When you choose to create a new wiki page (using the Add a Page option in the site settings menu, as shown earlier in Figure 1), an Add a Page dialog appears, asking for the name for the new page as shown in Figure 6.
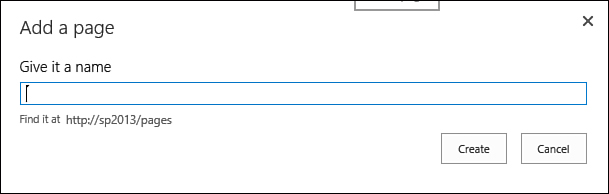
FIGURE 6 The Add a Page dialog.
After you type the name for the new page,
click the Create button. The name for the page is important because it
is used for both the name of the file (which the users type in the
address bar of their browsers to open the page) and as the title of the
page (which the users see in the navigation bar and in the top of their
browsers). You should select a short but meaningful name for the page.
You can rename it later, but that can cause links to the page to break.
The page is immediately created and opens in editing mode.
Create a New Web Part Page
When you choose the Web Part Page option via
the New Document button in a Site pages library, you are redirected to
the New Web Part Page dialog. In this page you must choose a name for
the file that will be created for the page. You also choose the layout
template for the web part zones on the page and the document library to
put the page in, as shown in Figure 7.
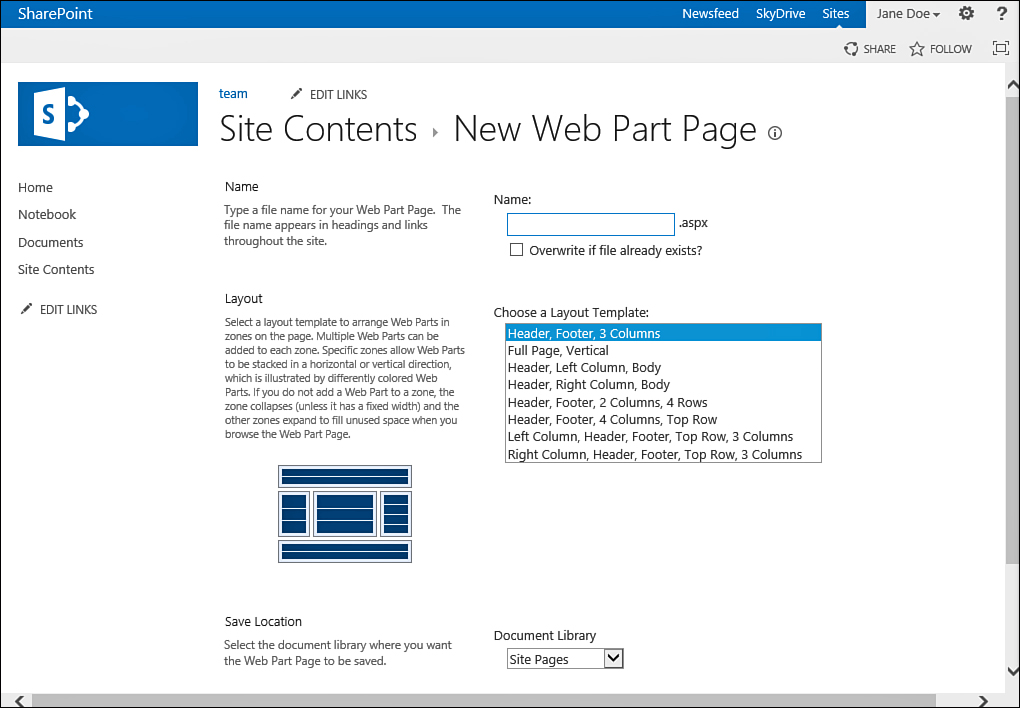
FIGURE 7 You use the New Web Part Page dialog for creating a new web part page.
The different web part zone layout templates
are shown in the page under the Choose a Layout Template. Each option
in the list box describes the page that will be created in the form of
where the web part zones will be located. For example, the layout
template called Full Page, Vertical has only one web part zone, spread
across the entire page, and any web part that is added to it is
vertical, spreading the entire width of the page. Other web parts can
be either above it or below it. If you click on the different layout
templates, the image on the left changes to show a wireframe of the web
part zones layout, as shown in Figure 7.
Tip
Choose the layout template carefully because
changing the layout of a web part page after it is created is not
possible (unlike with a publishing page). If you create a page with the wrong layout, you have to
delete it and create it again with the correct layout.
If any document libraries are in the site,
you can choose them from the Document Library option at the bottom of
the page. By default, all pages in a site go to either the Site Pages
library or the Pages library, if one exists. If you want to create the
page in a different library, you can choose it from the box.
After you pick the title, layout template,
and document library, click Create. The new page is created in the
document library and opens in editing mode.
Create a New Publishing Page
In a site that supports publishing pages, the Add a Page option in the site actions menu (refer to Figure 1)
will create a publishing page in the site’s Pages library. However, if
it doesn’t, you can still create one by going to the Pages library and
using the New Document button in the Files ribbon as shown in Figure 2.
The process of creating the page is slightly different when you choose
the Add a Page option from the menu, however, in that you are not asked
what page layout you want for your page, and a default page layout is
used. This is useful for site managers who want to make it easier for
users to always create the same kind of page, while leaving a more
flexible option to create different types of pages by using the New
Document menu option.
If you choose to create
a publishing page by using the Add a Page option in the site actions
menu, you are prompted for a page name only (refer to Figure 6), and the page is created with the default layout. You can change the layout of the page later. The name you choose for the page is used to
generate the page’s filename (which is displayed to the user in the
address bar of the browser). You can change this name later, but
changing it breaks users’ favorite lists and links to the page, so it
is not recommended. The name is also used to set the page’s title,
which can be changed later with no issues.
You might want to choose the page layout
before creating the page, set its description, and set the filename and
the title separately. You can do this by going to the site’s pages
library and using the New Document button in the Files ribbon as
explained before (refer to Figure 2).
After clicking the New Document button itself, or choosing a specific
page content type from the menu that opens under that button, you are
redirected to the Create Page dialog where you can enter the new page’s
title, description, and URL name (the name for the file, as just
explained), as well as the page layout for the page, as shown in Figure 8.
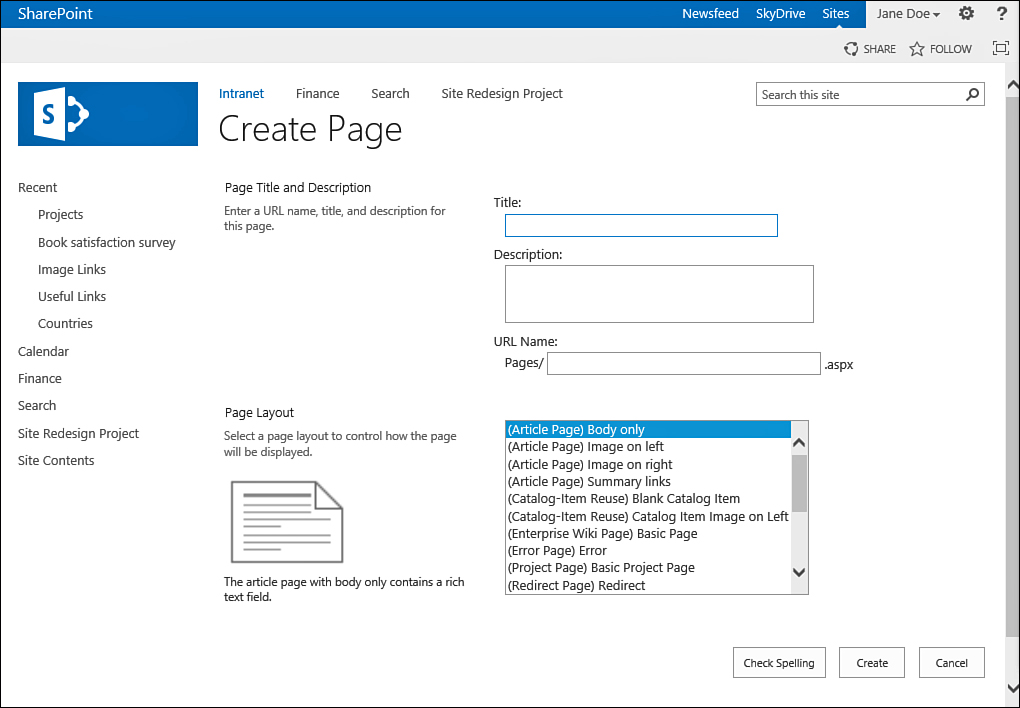
FIGURE 8 The Create Page dialog for creating a publishing page.
Because page layouts can be created by
developers or removed by administrators. You should review the
options available and choose the one that’s closest to what you want to
achieve with your page. You can always change the layout of a
publishing page at a later stage. Also remember that a page is just a file in a document
library, and you can always delete the page if you choose the wrong
layout—just as you would delete any other file in a document library.
After you select a title, a URL
name, and a page layout, click the Create button to create the page and
open it in editing mode.