Use a Picture Using an Address
To use a picture that exists on the Web (that
is, was already uploaded to the site or on another website), you open
the Picture drop-down menu (refer to Figure 6)
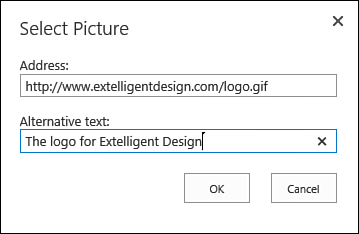
and select the From Address option. The Select Picture dialog opens,
which allows you to specify the picture’s address and the alternative
text that will be displayed if the picture is not available or if the
user’s browser doesn’t support images (see Figure 8).

FIGURE 8 Adding a picture from a known address.
Use a Picture from SharePoint Server
The last option for inserting a picture is to
select one that already exists in SharePoint. (You can use this option
only with SharePoint Server, not with SPF.) You can use the From
Address option to achieve the same result if you already know the
address of the image file, but typing the address is usually a lot
harder than browsing to the image file and selecting it, which is what
this option allows.
To see the dialog for browsing to an image in the current site, open the Picture drop-down menu (refer to Figure 6)
and choose the From SharePoint option. This option might be missing
from the site if the site does not have all the publishing features enabled.
This means that sites that are not running on SharePoint Server—that
is, SPF sites—do not have this option at all, and sites that are
running on SharePoint Server might still have this option disabled if
the publishing features are not enabled on the site.
Note
If the From SharePoint option is available in
the site you are using, it is also the default behavior for the Picture
button. It allows you to simply click the button instead of opening the
drop-down menu.
Clicking the From SharePoint option opens the
Select an Asset dialog, which allows you to browse for a picture that
was uploaded to the site. This dialog is the same as the one for adding
a hyperlink from SharePoint but is meant to be used to find images.
In the Select an Asset dialog you can select
the picture by clicking it once and clicking OK, or you can navigate
through the sites to find the picture you want. The links on the left
side go to the picture library in the current site and to the library
in the root site. If the picture you are looking for is in a different
location, click the Up button to see all the contents of the site. You
can then navigate through the site and subsites and look in different
picture libraries (or document libraries) to select the picture you
want. To select a picture, either double-click it or click it once and
then click OK.
Add and Edit a Table
To add a table in a text control, place the
cursor where you want the table to be added, and then switch to the
Insert subribbon in the Editing Tools ribbon and click the Table
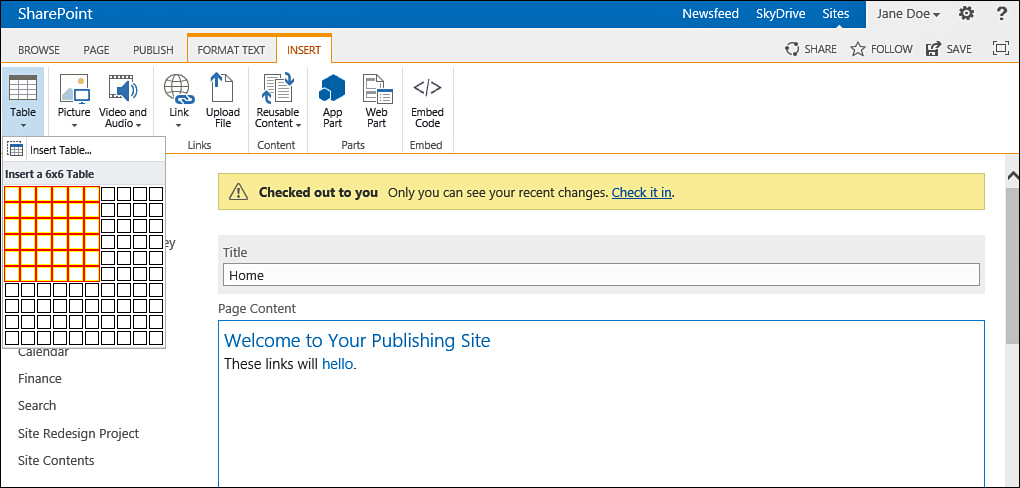
button. Clicking this button opens a submenu that allows you to quickly
add a table by choosing how many rows and how many columns will be in
the table by clicking on the squares (see Figure 9).
Above this quick option is the Insert Table option, which opens a
dialog that allows you to specify the number of rows and columns using
numbers instead.

FIGURE 9 The Insert Table button menu.
After the table has been
added, you edit it by clicking inside it, and then the Table Tools
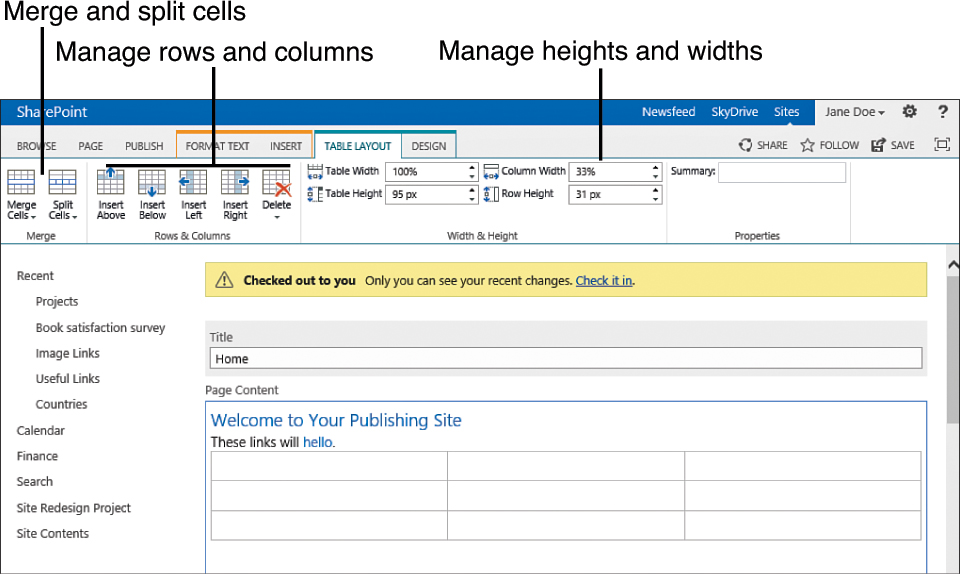
ribbon shows up, with two tabs. The Layout ribbon (see Figure 10)
allows you to customize the table’s layout (inserting/removing rows and
columns, specifying width and height for the table and for each row and
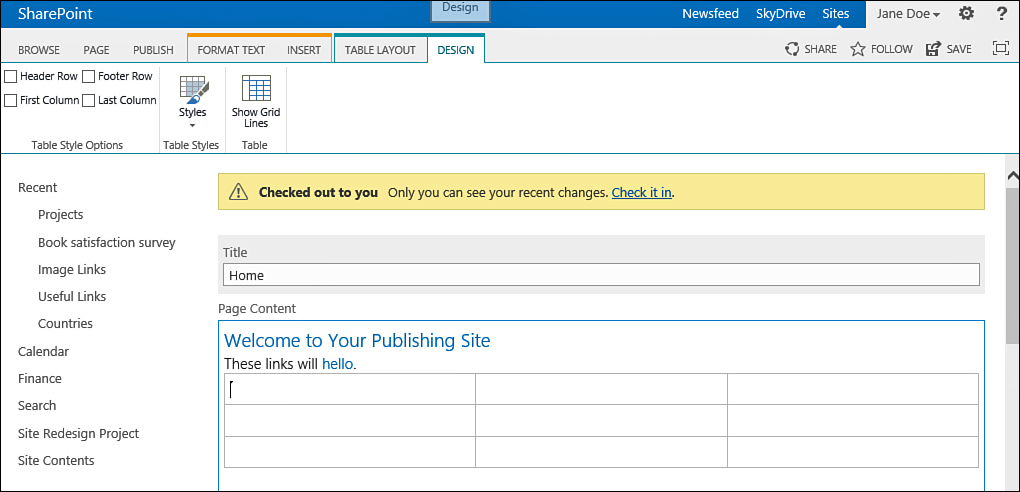
column, and so on), and the Design tab (see Figure 11) allows you to choose styles for the table and specify settings for the current row and column.

FIGURE 10 The Table Layout tab in the Table Tools ribbon.

FIGURE 11 The Design tab in the Table Tools ribbon.