Scenario/Problem:
Because many items are in a list or library, you do not want the view
to display them all in one page. Displaying them all can cause the page
to take a long time to load and makes finding what they are looking for
harder for users.
Solution:
You can specify an item limit on a view. An item limit on a view
enables you to either specify the maximum number of items that are
displayed in the view or specify the maximum number of items that are
displayed in each page in a view.
For example, suppose you have an
announcements list that is used a lot. With at least three
announcements made every day, after a year, the list will contain more
than 1,000 announcements. Displaying all the announcements in one page
makes focusing on the current announcements difficult for users.
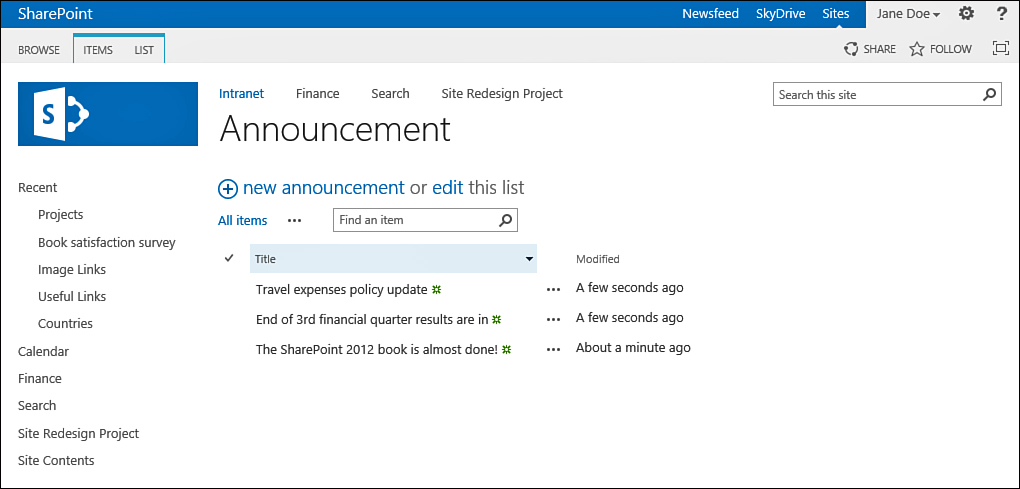
A common solution to this problem is to
create a view with an item limit that displays, for example, only the
last three announcements (see Figure 1).
To do this, you need to make sure the view sorts the announcements by
their creation dates (or modified dates) and then set the item limit to
3.

FIGURE 1 An announcement list showing only the last three announcements.
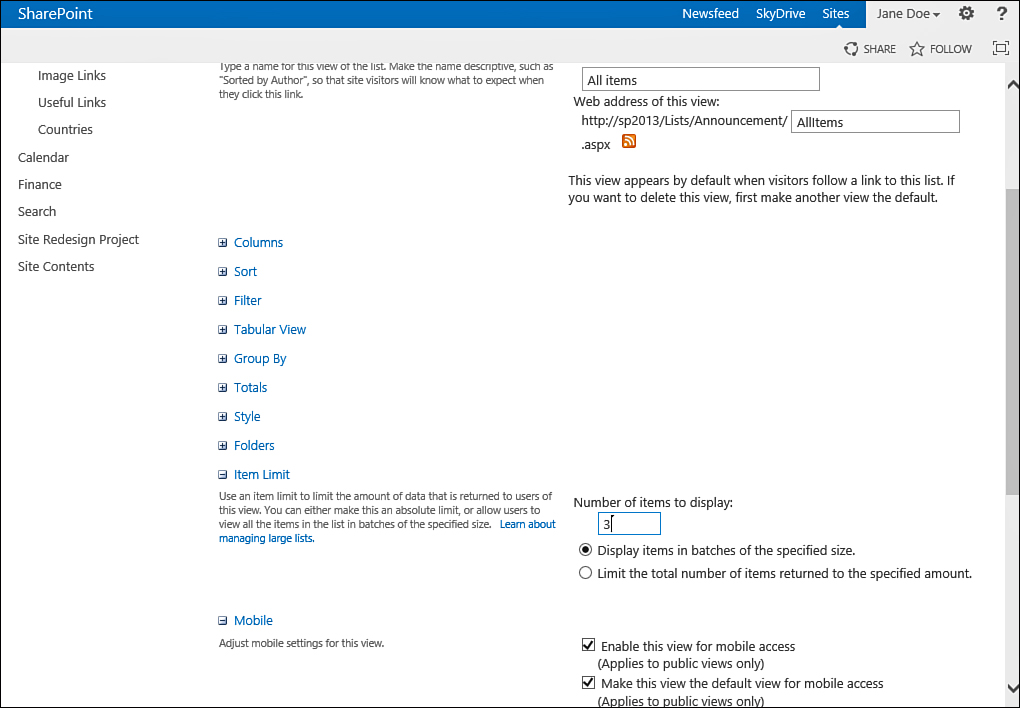
To specify an item limit for a view, scroll
to the Item Limit section in the view creation page and expand it by
using the plus sign next to the section title. You then have the option
of specifying how many items should be displayed and whether the view
should limit itself to that number or display the items in groups of
that number (see Figure 2).

FIGURE 2 Specifying the item limit on a view.
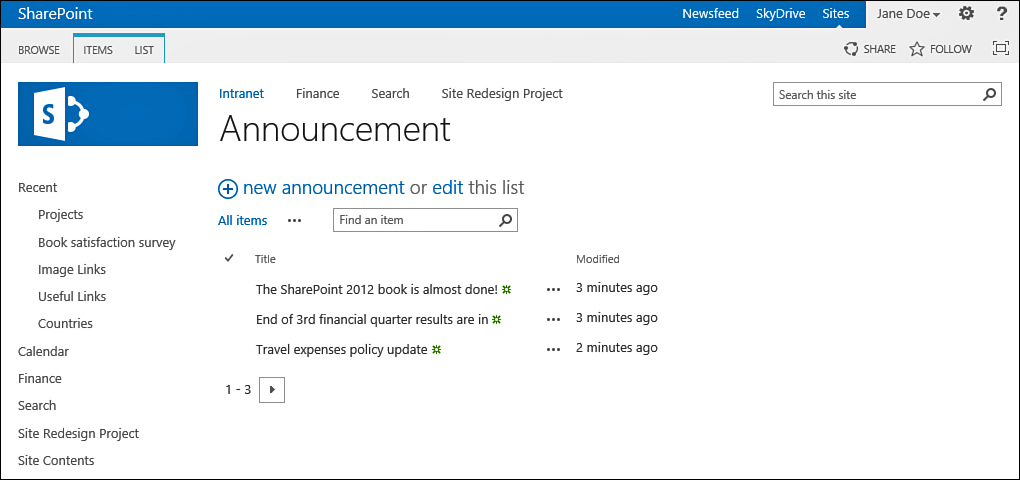
If you want to let users see the old
announcements, you can choose the Display Items in Batches of the
Specified Size option. This makes the view show the items in pages and
allows the users to go back and forth between the pages, showing at one
time only the number you specified (see Figure 3).

FIGURE 3 An announcement list showing the announcements in groups of three.