IT tutorials
 
Graphics
 

Adobe Flash Catalyst CS5 : Importing Your Project into Flash Builder - Beginning the Import Process

11/28/2011 5:58:21 PM
- Free product key for windows 10
- Free Product Key for Microsoft office 365
- Malwarebytes Premium 3.7.1 Serial Keys (LifeTime) 2019
Catalyst creates FXP files. An FXP file is actually nothing more than a zipped Flex project, which can be opened directly in Flash Builder. Therefore, there is nothing special you actually need to do in order to export your file to Flash Builder; it will automatically be in a file format supported by Flash Builder.

However, it is a good idea to make a back-up copy of the project so that it can be opened later by Catalyst if changes need to be made.


  1. In Catalyst, choose File => Save As.

  2. Navigate to the folder into which you wish to save the back-up copy of the project.

  3. If necessary, rename the project.

  4. Click Save (see Figure 1).

    Figure 1. Saving a back-up copy of the project

    NOTE

    If you'd prefer, you can also create a backup copy of the project using Windows Explorer or Finder on the Mac.

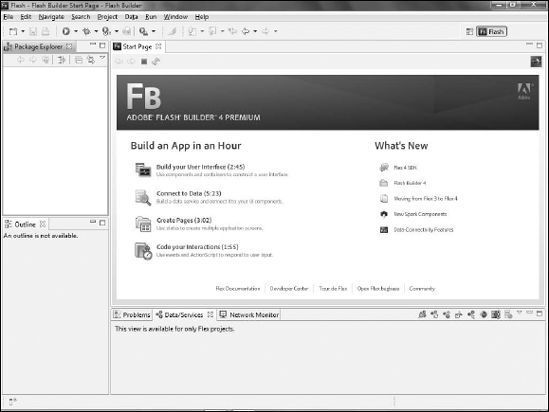
  5. Open Flash Builder. On Windows, choose Start => All Programs. If you purchased Flash Builder as a part of a suite, there will be a folder representing that suite that should contain Flash Builder. Otherwise, look for an Adobe folder. On a Mac, use the Applications folder to launch it (see Figure 2).

    Figure 2. Flash Builder immediately after launch

    NOTE

    If you do not have a copy of Flash Builder, you can download a free trial version from www.adobe.com/products/flex. The trial is fully-functional, but will eventually time-out and stop working.

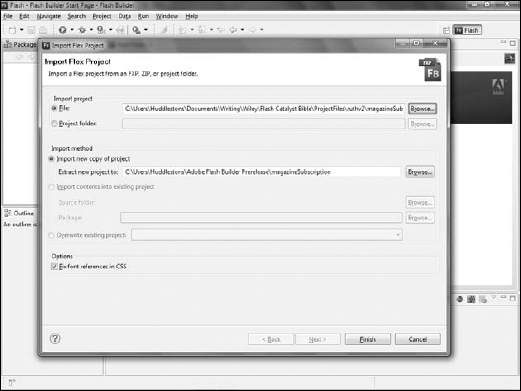
  6. In Flash Builder, choose File => Import Flex Project (FXP), as shown in Figure 3.

  7. Click the Browse button to browser for a file to import.

  8. Navigate to the directory that contains the original FXP project from Catalyst.

  9. Click Import.

  10. On the Import Flex Project dialog box, click Finish (see Figure 4). The project will be imported into Flash Builder.

    Figure 3. Selecting the Import Flex Project menu command
    Figure 4. The Import Flex Project dialog box in Flash Builder
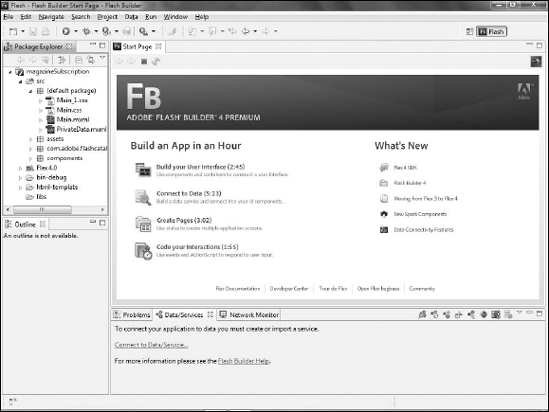
  11. Expand the package in the Package Explorer in Flash Builder to examine the project's files (see Figure 5).

    Figure 5. Examining the project's files in the Package Explorer in Flash Builder
  12. Open Main.mxml from the Package Explorer. This is the primary file created by Catalyst, and represents the starting file for the project.

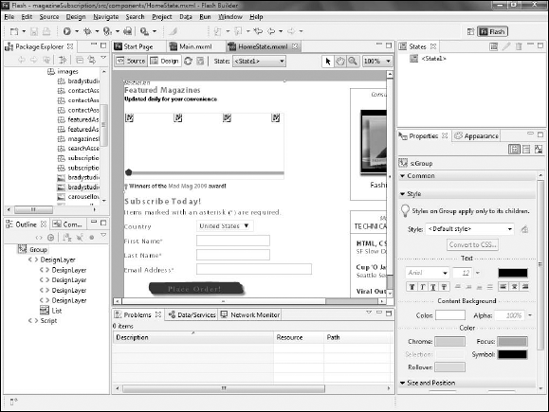
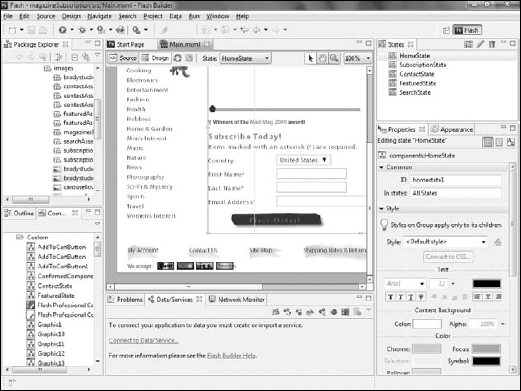
  13. If necessary, click Design to view the project in Design mode. The view of the project in Design mode should closely resemble Catalyst's view (see Figure 6).

  14. Click Source. This switches to Flash Builder's code view, where you can edit the code for the project.

  15. Examine the code that was created by Catalyst (see Figure 7).

    Figure 6. The project in Flash Builder's design mode
    Figure 7. The project's main file in source view

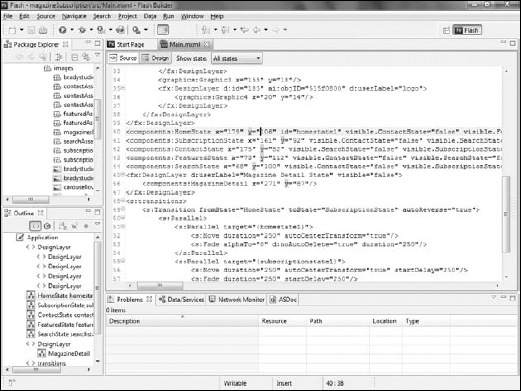
    There will likely be less code in this file than you may have anticipated, as it does not contain all of the code for the project. Every component is contained within its own, independent MXML file.

  16. In the Package Explorer, click the arrow to open the CustomComponents folder.

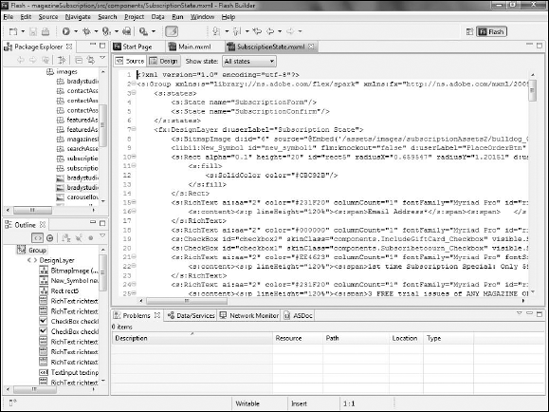
  17. Double-click one of the custom components to open it. In this example, the SubscriptionAssets component has been opened.

  18. Examine the source code of the component (see Figure 8).

    Figure 8. The component's source code
  19. Click Design to switch back to Design mode. Again, the component appears in Flash Builder in a manner very similar to what you saw in Catalyst (see Figure 9).

You have now imported your Catalyst project into Flash Builder and examined some of the elements of the project.

Figure 9. The component in Design mode
 
Others
 
- Adobe Flash Catalyst CS5 : Designing with Data - Using a wireframe data list
- Adobe Illustrator CS5 : Understanding the Layers Panel & Setting Layers Panel Options
- Adobe Illustrator CS5 : Understanding Overprints
- Dreamweaver CS5 : Using Dreamweaver Templates - Enabling Repeating Regions
- Dreamweaver CS5 : Using Dreamweaver Templates - Making Attributes Editable
- Adobe Photoshop CS5 : Fixing Group Shots the Easy Way
- Adobe Photoshop CS5 : Fixing Reflections in Glasses
- Adobe After Effects CS5 : Color Matching (part 3)
- Adobe After Effects CS5 : Color Matching (part 2) - The Fundamental Technique - Dramatic Lighting & No Clear Reference
- Adobe After Effects CS5 : Color Matching (part 1) - The Fundamental Technique - Ordinary Lighting
 
 
Top 10
 
- Microsoft Visio 2013 : Adding Structure to Your Diagrams - Finding containers and lists in Visio (part 2) - Wireframes,Legends
- Microsoft Visio 2013 : Adding Structure to Your Diagrams - Finding containers and lists in Visio (part 1) - Swimlanes
- Microsoft Visio 2013 : Adding Structure to Your Diagrams - Formatting and sizing lists
- Microsoft Visio 2013 : Adding Structure to Your Diagrams - Adding shapes to lists
- Microsoft Visio 2013 : Adding Structure to Your Diagrams - Sizing containers
- Microsoft Access 2010 : Control Properties and Why to Use Them (part 3) - The Other Properties of a Control
- Microsoft Access 2010 : Control Properties and Why to Use Them (part 2) - The Data Properties of a Control
- Microsoft Access 2010 : Control Properties and Why to Use Them (part 1) - The Format Properties of a Control
- Microsoft Access 2010 : Form Properties and Why Should You Use Them - Working with the Properties Window
- Microsoft Visio 2013 : Using the Organization Chart Wizard with new data
Technology FAQ
- Is possible to just to use a wireless router to extend wireless access to wireless access points?
- Ruby - Insert Struct to MySql
- how to find my Symantec pcAnywhere serial number
- About direct X / Open GL issue
- How to determine eclipse version?
- What SAN cert Exchange 2010 for UM, OA?
- How do I populate a SQL Express table from Excel file?
- code for express check out with Paypal.
- Problem with Templated User Control
- ShellExecute SW_HIDE
programming4us programming4us