1. Saving and Editing Selections
If
you frequently select the same elements in a document, you can save
yourself some time by saving the selection with a name of your choice.
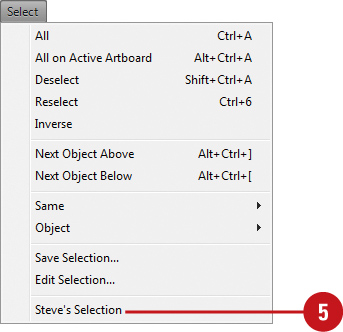
After you save a selection, the saved selection name appears as a menu
command at the bottom of the Select menu. When you need to make the same
selection, simply choose the command. When you no longer use a saved
selection, you can delete it.
Save and Use a Selection
- 1. Make the selection that you want to save.
- 2. Click the Select menu, and then click Save Selection.
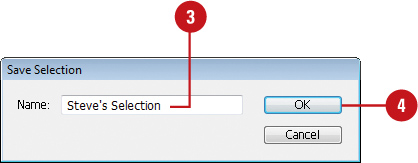
- 3. Enter a name for the selection.
- 4. Click OK.

- 5. Click the Select menu, and then click the name of the saved selection at the bottom of the menu.

Edit a Saved Selection
- 1. Click the Select menu, and then click Edit Selection.
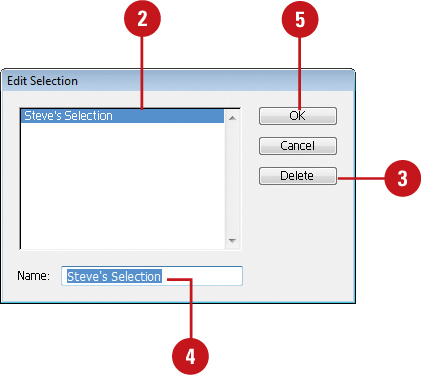
- 2. Select the saved selection that you want to rename or delete.
- 3. To delete a saved selection, click Delete.
- 4. To rename a saved selection, change the name in the Name box.
- 5. Click OK.

2. Moving Objects
Moving
an object or group of objects is very easy. The simplest way is to drag
the edge of an object in Outline or Preview view. If you want to
constrain the movement of the object in multiples of 45 degrees, then
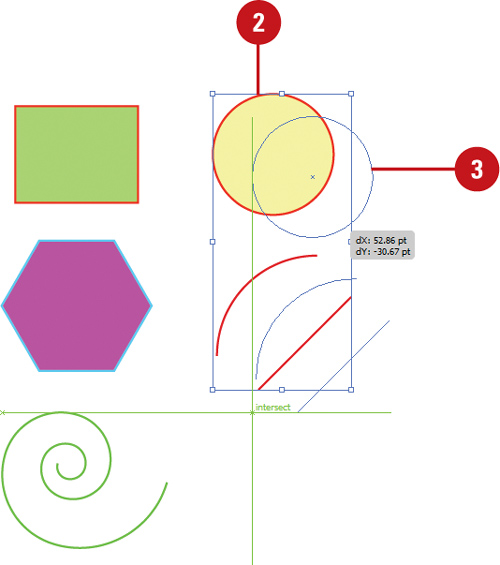
use the Shift key as you drag. While you drag an object, Smart Guides
appear automatically to make it easier for you to align objects with
other objects.
Move an Object
- 1. Select the Selection tool on the Tools panel.

- 2. Select one or more objects that you want to move.
- 3. Drag the edge of an object.
- To constrain the movement of the object to multiples of 45
degrees or the current angle in General preferences, hold down the Shift
key as you drag.
- If the path has a color fill, appears
in Preview mode, and the Object Selection by Path Only check box is
deselected in Selection & Anchor Display preferences, you can also
click the fill to select the object.

Did You Know?
You can delete an object. Select the object that you want to delete, and then press Delete, or click the Edit menu, and then click Clear.