1. Introducing Query Types
When
you want to retrieve table records that meet particular criteria, you
create a query. The type of query you create, however, depends on the
records you want to return and what, if anything, you want Access to do
with the results.
The most basic query type is
the select query, which reaches into one or more database tables and
locates records. While you can have Access return every field in a
record, you can also choose which fields are displayed in the results.
For example, you could get information about customers that placed an
order in a given month and, instead of displaying every field relating
to the company, display just the company’s name. You can also limit the
records returned by the query by specifying one or more criteria or
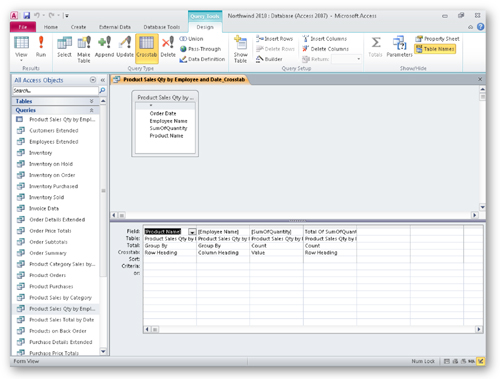
rules the query uses when deciding which table rows to return. If your
table contains data that relates to two different values, such as a
company name and sales representatives, you can create a crosstab query
to display the quantity of items sold by each employee to each company
(as shown in the following figure).
A version of the select
query is the parameter query. Like a select query, the parameter query
uses one or more criteria to limit the records returned by the query.
The difference, however, is that a parameter query lets the person
running the query specify the criteria Access uses to decide whether or
not to return a specific record. You can add a message to the criteria
entry dialog box that lets the searcher know what kind of value to
enter.

A
separate type of query is the action query, which makes changes to the
physical makeup of your database. You see two types of action queries in
this article: the update query, which lets you change values in a
table; and the make-table query, which writes query results to a new
table in the current database (or another database entirely).
The final query type
discussed in this section is the crosstab query. Unlike a select query,
which presents its results in a worksheet, a crosstab query presents its
results in a layout like that of a spreadsheet. Every value in the body
of the query’s results is related to two other values. In this case,
those values are your suppliers and your product categories.
As in a spreadsheet,
you can choose the mathematical operation Access uses to summarize the
data in the body of the crosstab query’s results. Available operations
include finding a sum, average, the number of occurrences (as in the
crosstab query results shown previously), or even the minimum or maximum
value.
After you create a query (as
shown following), you can display its results by double-clicking the
query in the Navigation Pane. If the query is open in Design view, you
can run it by clicking the Run button on the Design tab.
2. Creating a Query Using the Query Wizard
When
you create a basic select query, you identify the table (or tables)
with the data you want to find, name the fields to appear in the query
results, and then save the query. The Query Wizard walks you through the
process, making it easy to identify the tables and fields to appear in
your query. What’s more, you can choose whether to have Access display
detailed results (that is, the individual query rows) or summarize the
query’s contents.
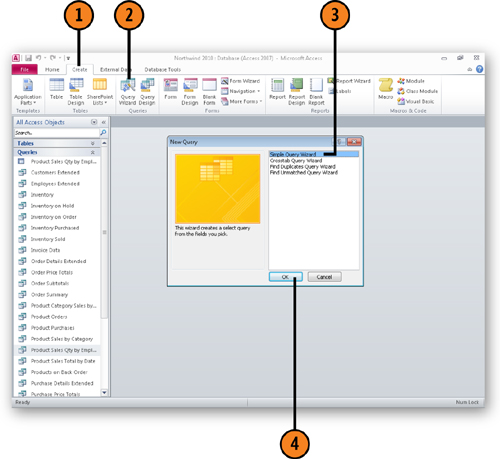
2.1. Create a Detail Query
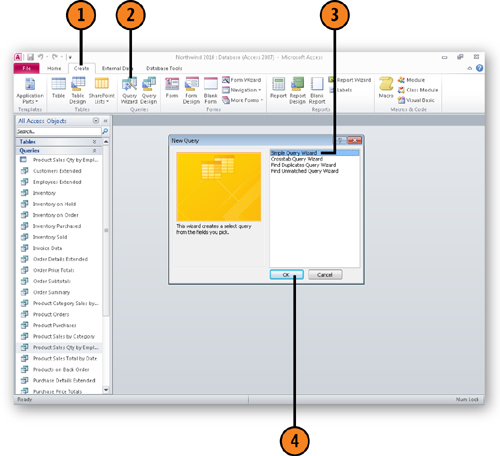
Click Simple Query Wizard.
Click OK.
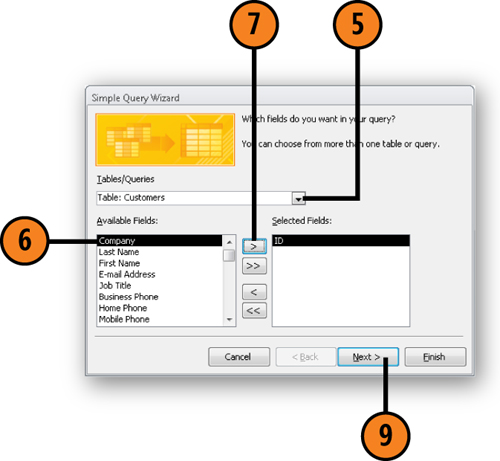
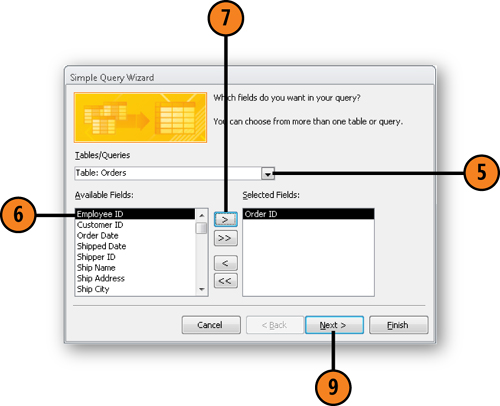
Click the Tables/Queries down arrow, and then click the table or query with the fields you want to use in your query.
Click the first field to include in the query’s results.
Repeat steps 6 and 7 to add more fields (and step 5 to change the table or query from which you draw fields).
Click Next.
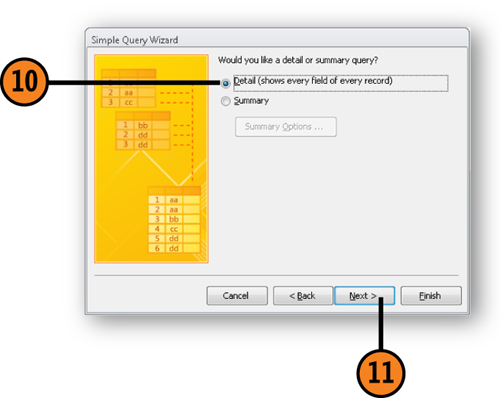
Click the Detail option button.
Click Next.
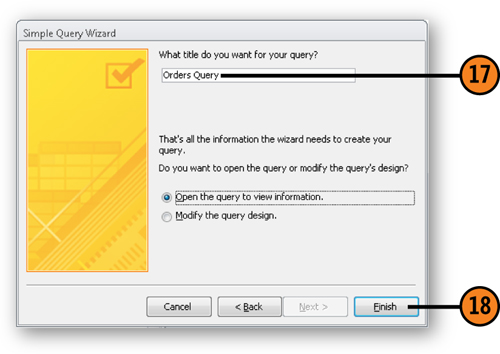
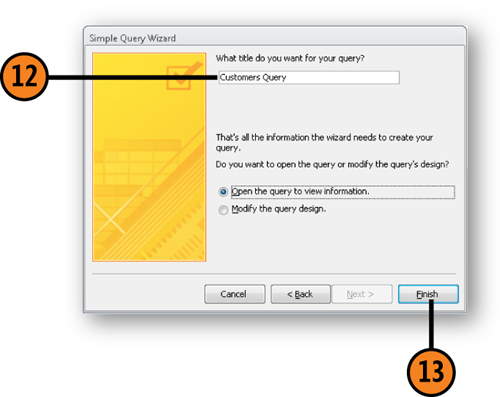
Type a name for your query.
Click Finish.
Note:
To add all of a table’s
fields to your query, click the Add All (>>) button. You can also
remove a field by clicking the Remove (<) button or remove all fields
by clicking the Remove All (<<) button.
Note:
The step of the wizard
that asks whether you want to create a detail or summary query appears
only for some types of queries; don’t panic if you don’t see it.
2.2. Create a Summary Query
Click Simple Query Wizard.
Click OK.
Click the Tables/Queries down arrow, and then click the table or query with the fields you want to use in your query.
Click the first field to include in the query’s results.
Repeat steps 6 and 7 to add more fields (and step 5 to change the table or query from which you draw fields).
Click Next.
Click the Summary option button.
Select the check boxes representing the summary values you want calculated.
Click OK.
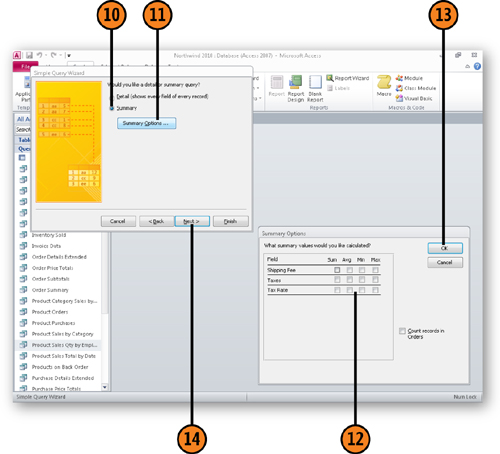
Select the option button representing how you want the query to group rows in the query’s source table.

Type a name for your query.
Click Finish.