7. Entering Alternative Text for an Image
If you plan to publish any of your notes containing
pictures as a web page, you can improve the reading experience for the
visually impaired by describing each picture with a short sentence or
phrase. In web browsers, this is called alternative text (or “alt text”
for short).
To enter or change the alternative text for any picture in OneNote, do the following:
1. | Right-click the picture you want to describe with alternative text.
|
2. | On the shortcut menu that appears, click Edit Alt Text.
|
3. | In
the Picture Alternative Text dialog box that opens, enter a short,
descriptive phrase for the selected image, and then click OK.
|
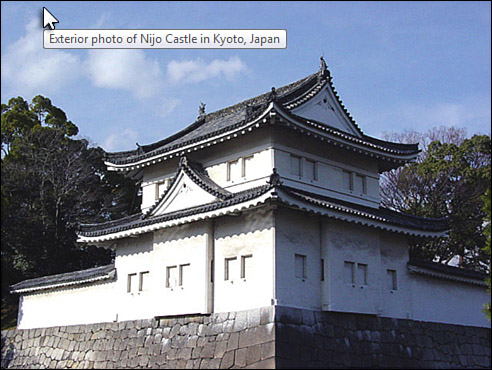
If you now save the current page as a web page (click
File, Save As, Page, Single File Web Page, and then click OK), and you
open the file in a web browser, the alternative text that you entered
for the picture will appear as a ToolTip when you move the mouse pointer
over that picture (see Figure 5).

Keep in mind that this feature is intended for
visually impaired or blind people, so choosing meaningful alt text is
very important. The user’s computer will read standard text to them out
loud with the speech capabilities built in to Microsoft Windows, but
pictures can only be described by having the computer read the alt text
out loud. The more specific you are when creating this descriptive text,
the more helpful it will be.
For example, if your page contains a picture of a
company logo that shows a red rose, you might describe the image as “the
Rose Company logo” instead of “Company
logo” (What company?) or “This is a flower” (Why is it there? What does
it have to do with the notes here?). Give your picture descriptions as
much context as possible for people who’ll depend on those descriptions.
In OneNote, entering alt text for pictures is
optional. That’s because most people won’t publish their notes as HMTL
web pages. Unless you decide to share your notes in this way, you
probably don’t need to bother with alt text.
8. Setting a Picture as the Page Background
After a picture appears on your page the way you want
it to, you have the option of leaving it in place on your notes page or
merging it with the background of the page. When
you set a selected picture as the background image, it becomes part of
the page on which your notes appear.
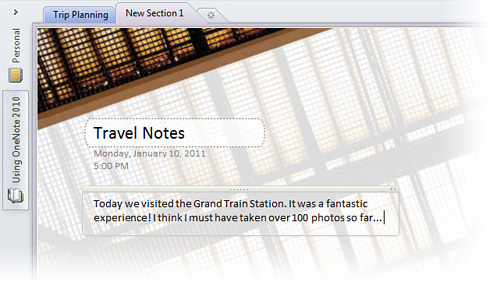
Setting a picture as your page background has several
uses. For one, you can use a decorative photo or piece of clip art to
function much like a stationery design does for writing paper. This is
how many OneNote templates are given a decorative background—you place a
picture of a nice, subtle design into the upper-left corner of your
page and then set that image as the background so that any typed and
handwritten notes appear over it (see Figure 6).

Another
benefit of setting a picture as the page background is to protect it
from accidentally being selected, moved, resized, or scaled. A
background picture can’t be selected again until you right-click it and
then turn off the Set Picture as Background option.
To set a picture as your page background, do the following:
1. | On your notes page, position the picture that you want to set as your background image where you want it to appear.
|
2. | Right-click the picture and then click Set Picture as Background.
|
When a picture is set as the background, you can no
longer interact with it as you can with regular pictures on your page.
If you need to select a background picture again, either to modify,
reposition, or delete it, right-click the background image where it
isn’t covered with a notes container or another object and then click
the selected Set Picture as Background option. When the picture has been
removed from the background, its eight selection handles reappear to
indicate that you can interact with the picture.