IT tutorials
 
Technology
 

Sharepoint 2013 : Managing an Office 365 SharePoint Site - Create a New Public Site Collection

5/18/2014 3:45:06 AM
- Free product key for windows 10
- Free Product Key for Microsoft office 365
- Malwarebytes Premium 3.7.1 Serial Keys (LifeTime) 2019

Scenario/Problem: You want to create an Internet site with Office 365.


Solution: To create an Internet site, navigate to the SharePoint Admin Center page and click the New button in the ribbon to open the drop-down menu . In this menu, choose Public Site. The dialog that opens asks you for a site title, an address (in which you can select from the list of domains you have registered with your Office 365 account), a language, a time zone, the site’s administrator and quota, but in this dialog you can only pick from the list of domains, and not specify any other URL addresses, as shown in Figure 1.

Image

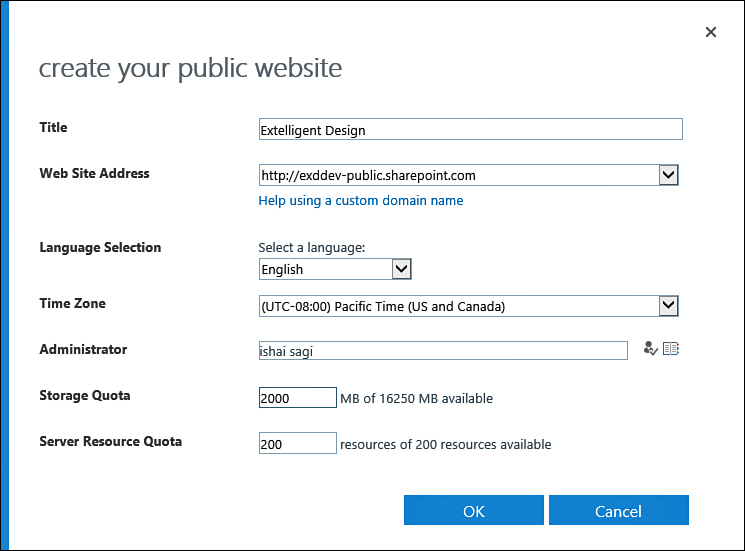
FIGURE 1 Creating a new public site collection.

After clicking OK, you are redirected back to the SharePoint Admin Center, where you see an animation next to the link to the site, signifying that the site is being provisioned. Wait for the animation to stop, and click the link of the site collection to open the dialog for the site collection properties. This dialog will have two links to the actual site—one for you as a site owner (who will need to edit the site) and another—the public website address for the visitors to the site. Clicking either of these opens a new window. When you have just created a site, it is not yet available to visitors from the Internet, until you decide to do so by clicking on the Make Website Online button in the new site, as shown in Figure 2.

Image

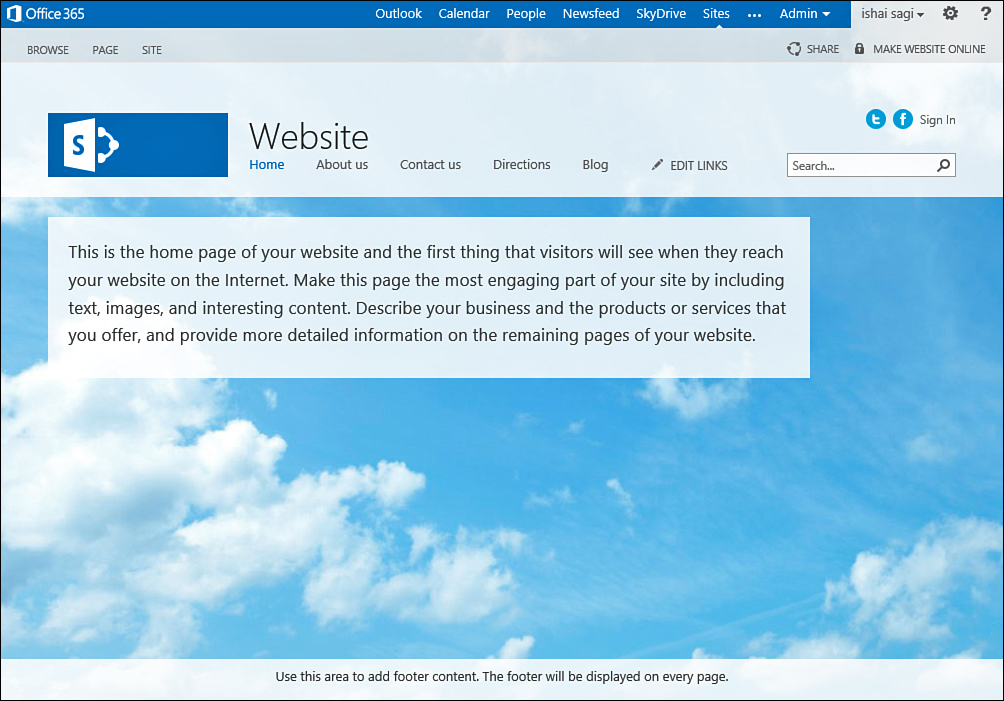
FIGURE 2. A new public site, with the Make Website Online button at the top.


Note

To have your site accessible to people over the Internet you must set up DNS for it. To do that, click the DNS Information button in the ribbon, and follow the instructions provided in that dialog.


When you click the Make Website Online button, a dialog appears explaining that the website is currently only available to users who are logged on, and a button to make the website online, as shown in Figure 3.

Image

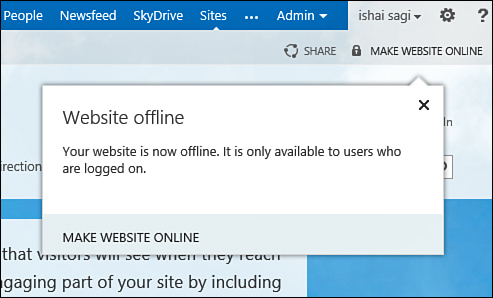
FIGURE 3 The Make Website Online dialog.

Clicking the button opens another confirmation dialog, in which you confirm again that you are ready to make the site online. After you approve that dialog, a final dialog appears telling you the site is now available to anyone on the Internet. Open it from another computer, or from another browser to see it as visitors will see it—without the editing controls, as shown in Figure 4.

Image

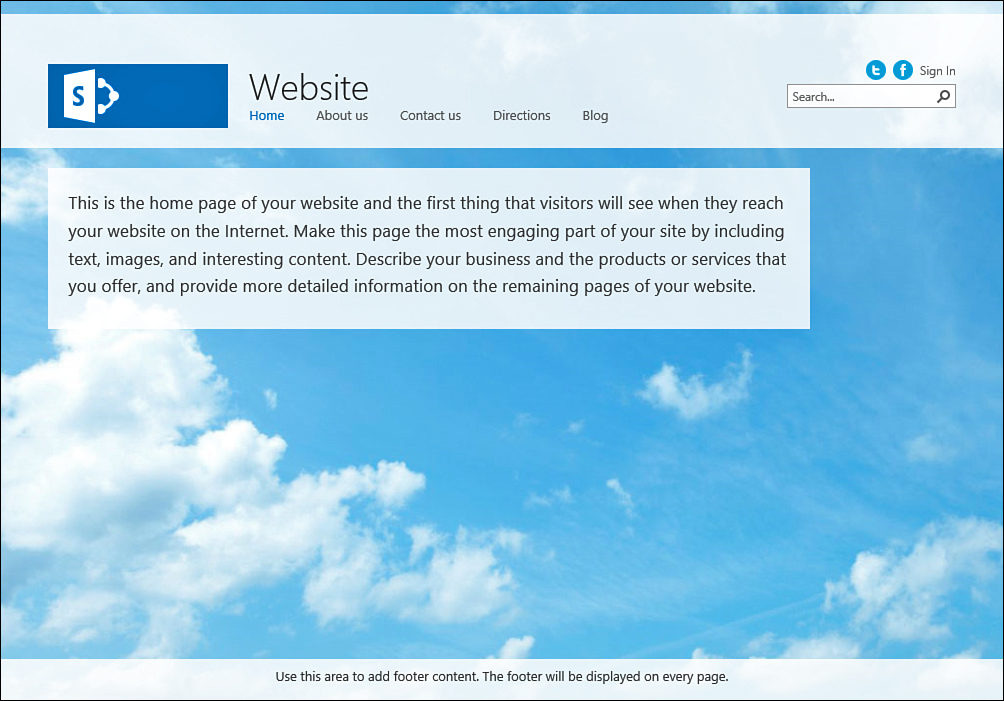
FIGURE 4. The new Internet site is shown to visitors without the editing controls.

 
Others
 
- Sharepoint 2013 : Managing an Office 365 SharePoint Site - Create a New Private Site Collection
- Sharepoint 2013 : Managing an Office 365 SharePoint Site - Sign In to Office 365 SharePoint Administrator Console
- Sharepoint 2013 : Authoring Pages - Discard the Check-out of a Page, Compare Versions of a Page
- Sharepoint 2013 : Authoring Pages - Publish a Page
- Sharepoint 2013 : Authoring Pages - Reuse a Web Part
- Sharepoint 2013 : Authoring Pages - Modify a Web Part
- Sharepoint 2013 : Authoring Pages - Use Built-in Web Parts (part 3) - Use the Content Query Web Part in SharePoint Server
- Sharepoint 2013 : Authoring Pages - Use Built-in Web Parts (part 2) - Use the Media Web Part in SharePoint Server
- Sharepoint 2013 : Authoring Pages - Use Built-in Web Parts (part 1) - Use the App Part Web Part, Use the Image Viewer Web Part
- Sharepoint 2013 : Authoring Pages - Add a Web Part or an App
 
 
Top 10
 
- Microsoft Visio 2013 : Adding Structure to Your Diagrams - Finding containers and lists in Visio (part 2) - Wireframes,Legends
- Microsoft Visio 2013 : Adding Structure to Your Diagrams - Finding containers and lists in Visio (part 1) - Swimlanes
- Microsoft Visio 2013 : Adding Structure to Your Diagrams - Formatting and sizing lists
- Microsoft Visio 2013 : Adding Structure to Your Diagrams - Adding shapes to lists
- Microsoft Visio 2013 : Adding Structure to Your Diagrams - Sizing containers
- Microsoft Access 2010 : Control Properties and Why to Use Them (part 3) - The Other Properties of a Control
- Microsoft Access 2010 : Control Properties and Why to Use Them (part 2) - The Data Properties of a Control
- Microsoft Access 2010 : Control Properties and Why to Use Them (part 1) - The Format Properties of a Control
- Microsoft Access 2010 : Form Properties and Why Should You Use Them - Working with the Properties Window
- Microsoft Visio 2013 : Using the Organization Chart Wizard with new data
Technology FAQ
- Is possible to just to use a wireless router to extend wireless access to wireless access points?
- Ruby - Insert Struct to MySql
- how to find my Symantec pcAnywhere serial number
- About direct X / Open GL issue
- How to determine eclipse version?
- What SAN cert Exchange 2010 for UM, OA?
- How do I populate a SQL Express table from Excel file?
- code for express check out with Paypal.
- Problem with Templated User Control
- ShellExecute SW_HIDE
programming4us programming4us