2.1.3 Using the Restore Utility
Before delving into the restoration process, it is
important to note that there is one underlying requirement when
performing SharePoint restores:
The authentication source (Active Directory or another LDAP source, for
example) must be the same. This is less critical for restorations on an
existing SharePoint environment but may impact the re-creation on new
servers.
Note
SharePoint maintains its security model (users,
roles, access) in its databases. Therefore, this security model is
maintained in the restoration. If, however, you restore the portal to a
machine that does not have access to the same authentication engine (a
specific Active Directory domain, for example) the security rules
previously defined will no longer be valid. This scenario is most
commonly seen in the restoration of a SharePoint environment onto a
development server. It is important to ensure that the restoration
environment has access to the same authentication engine as the backup
environment.
As previously mentioned, SharePoint maintains
version history associated with backup activity. This offers two
immediate benefits: 1) more flexibility for the IT staff in terms of
controlling what components of SharePoint to restore and 2) better
management of disk storage space in terms of the amount of space used. Figure 9 shows a sample Backup and Restore History screen.

Note
The information contained in the .xml files
previously discussed is shown on the interface to clearly identify the
type of backups registered and the associated attributes. SharePoint
will manage a complete collection of historical files associated with
backups. This feature allows for the on-demand restoration of
potentially corrupt or disabled components (a requirement for any plan
for high availability).
As mentioned previously, to successfully execute a
SharePoint restore, the user must have administrator privileges within
SharePoint and have access to the files on the file system.
The restoration process is very straightforward.
There are three steps associated with the SharePoint restore: the
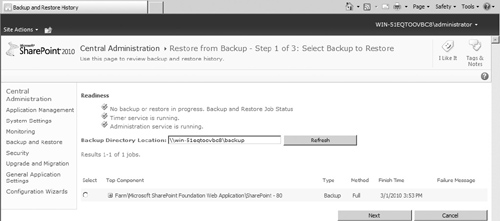
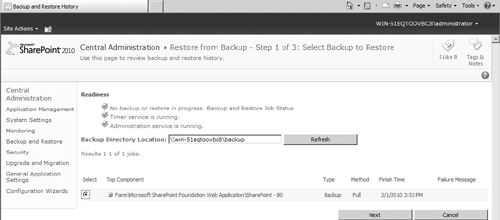
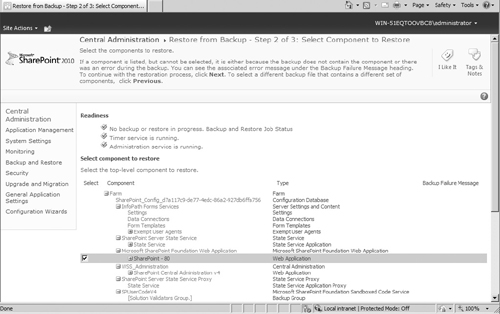
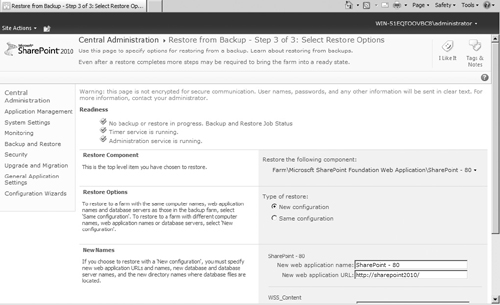
first, shown in Figure 10, is to select the location of the SharePoint backup files; the second, shown in Figure 11, is to select a specific SharePoint backup from the collection in history; finally; the third step is shown in Figure 12.
Once a backup collection is selected, the restoration starts the moment
you click Start Restore Process. The duration of the restoration is
directly related to the elapsed time during the backup process. Expect
a typical full-farm restore to take about the same amount of time it
took to create the backup. Once complete, the restoration will have
updated the appropriate SharePoint components with the specific content
selected.


Note: What’s the difference between New and Overwrite on the restore page?
Use
New when migrating to a different farm or restoring such that you want
to refer to a new machine or new database. Use Overwrite when you are
restoring on the machines and databases that the original farm backup
refers to. Use Overwrite for the catastrophic restore scenario; it does
not give you the option to use a different machine or database name.
Note
If a backup or restore fails, you can get
details on why the operation failed in spbackup.log (for a backup) or
sprestore.log (for a restore) in the backup location. If you have
errors during the backup/restore process, you have to delete the failed
Backup/Restore Timer Job before you can run the next backup/restore
process.